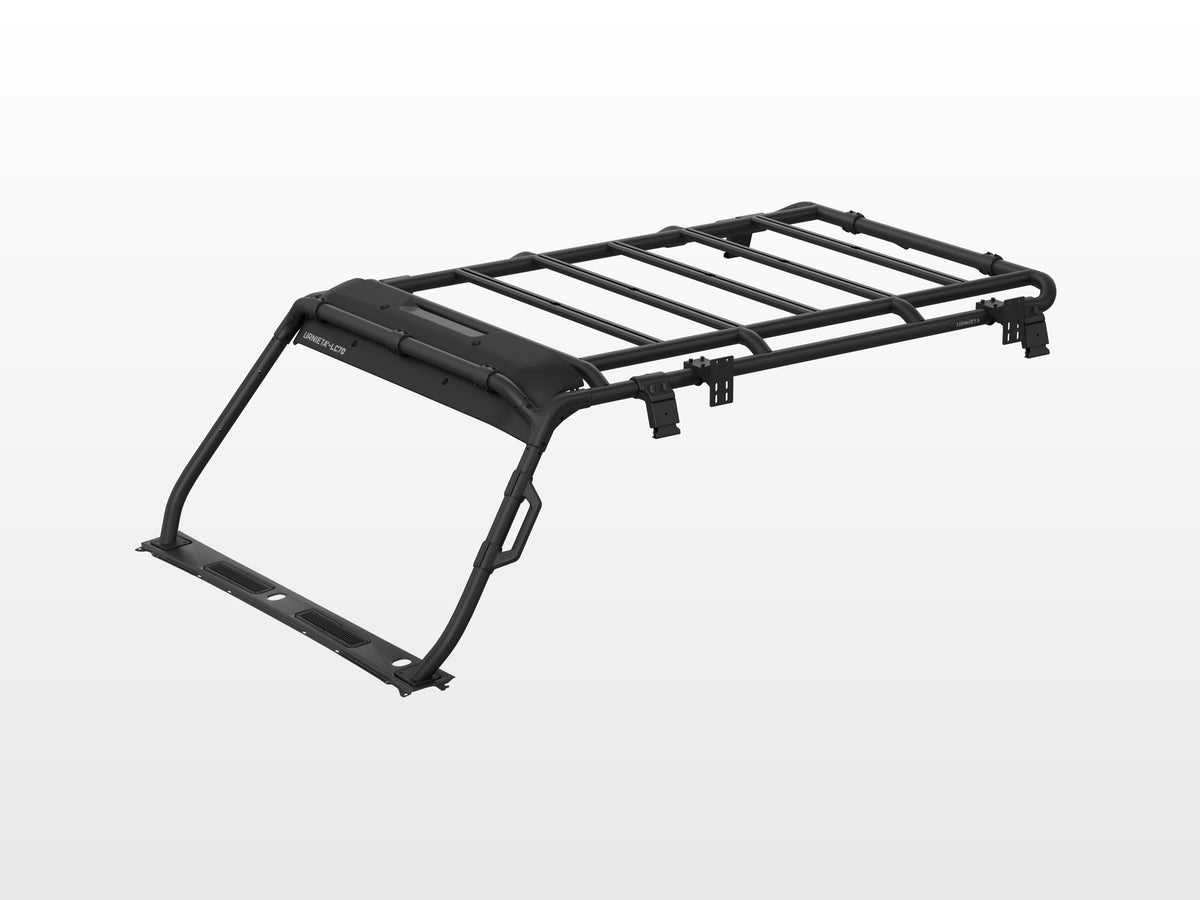
Safari Roof Rack
Fits the 70 Series LandCruiser
The Safari Roof Rack is a modular, split-section platform built for the 70 Series LandCruiser, with rain-gutter and A-pillar mounting and aluminium-magnesium alloy construction. It comes with expansion channels and light brackets, and fits the LC71, LC76, LC78 and LC79.
Item code: URN-SRR-LC71
In high demand. We're working through a backlog of orders on this range, so this item may dispatch one to two weeks later than usual.
12-Month Australian Warranty.Backed by PVS Automotive, Sydney based support. Tax Deductible for Business. GST claimable if you are registered.Often fully deductible as a business expense. Check with your accountant. Australian Owned and Operated.Australian Owned Certified · AO 08314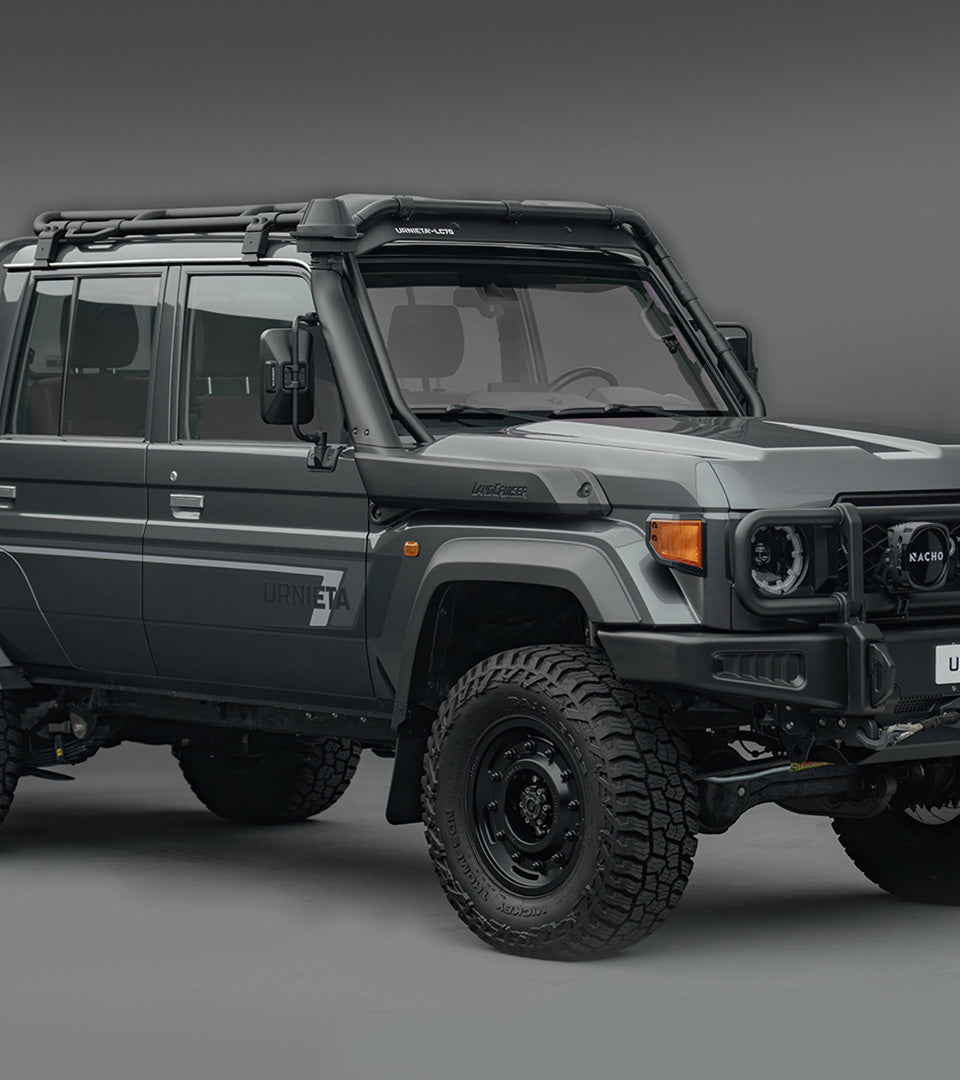
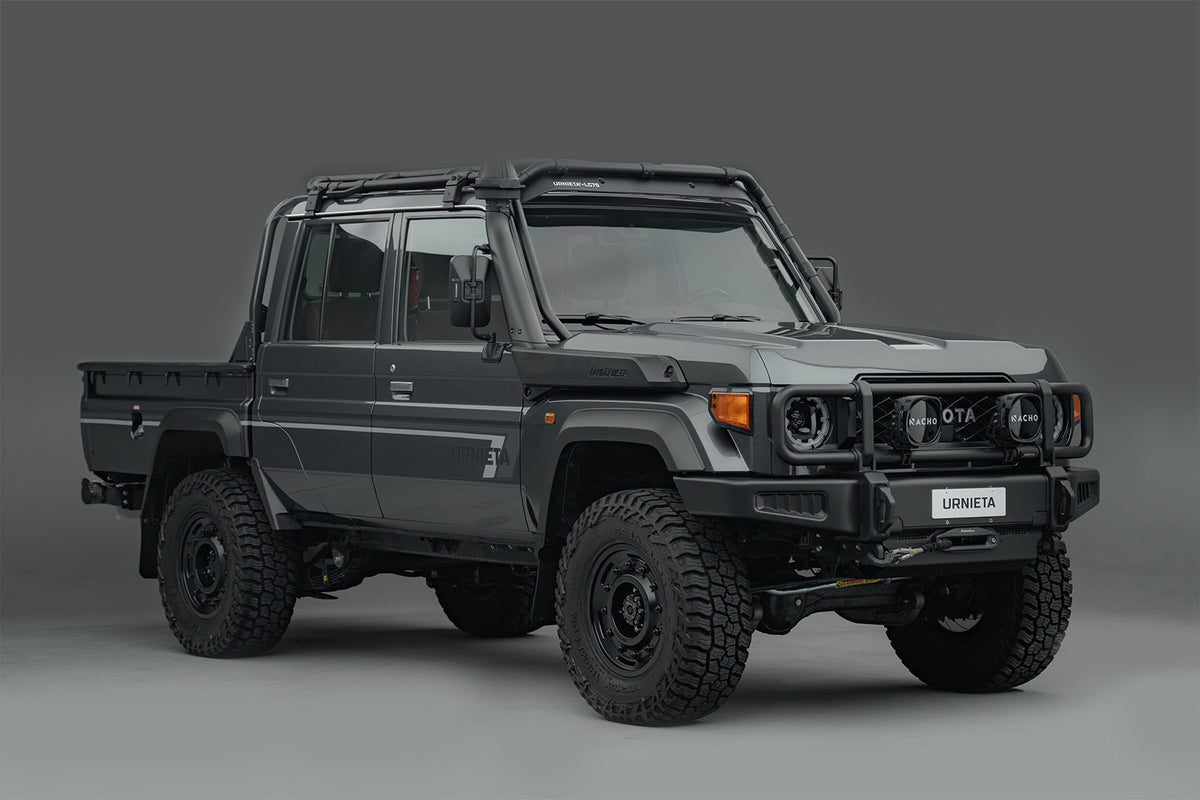



Built for the 70 Series.
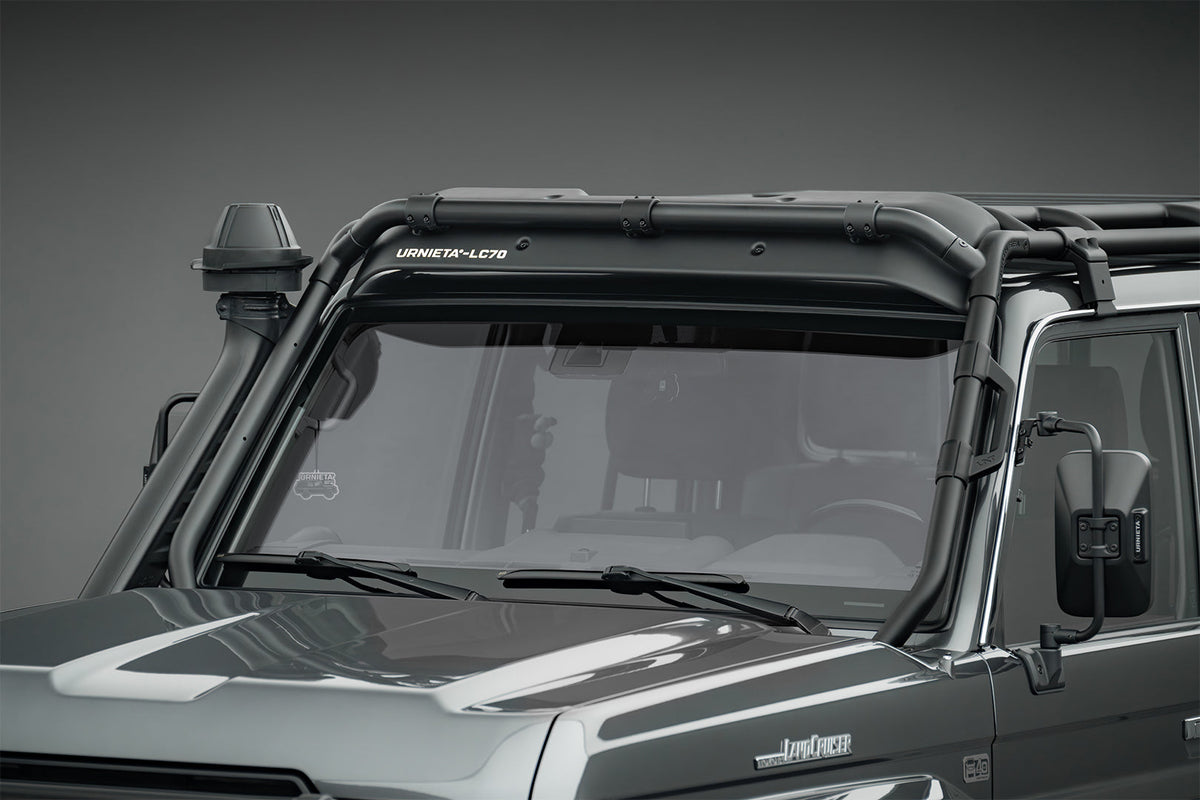
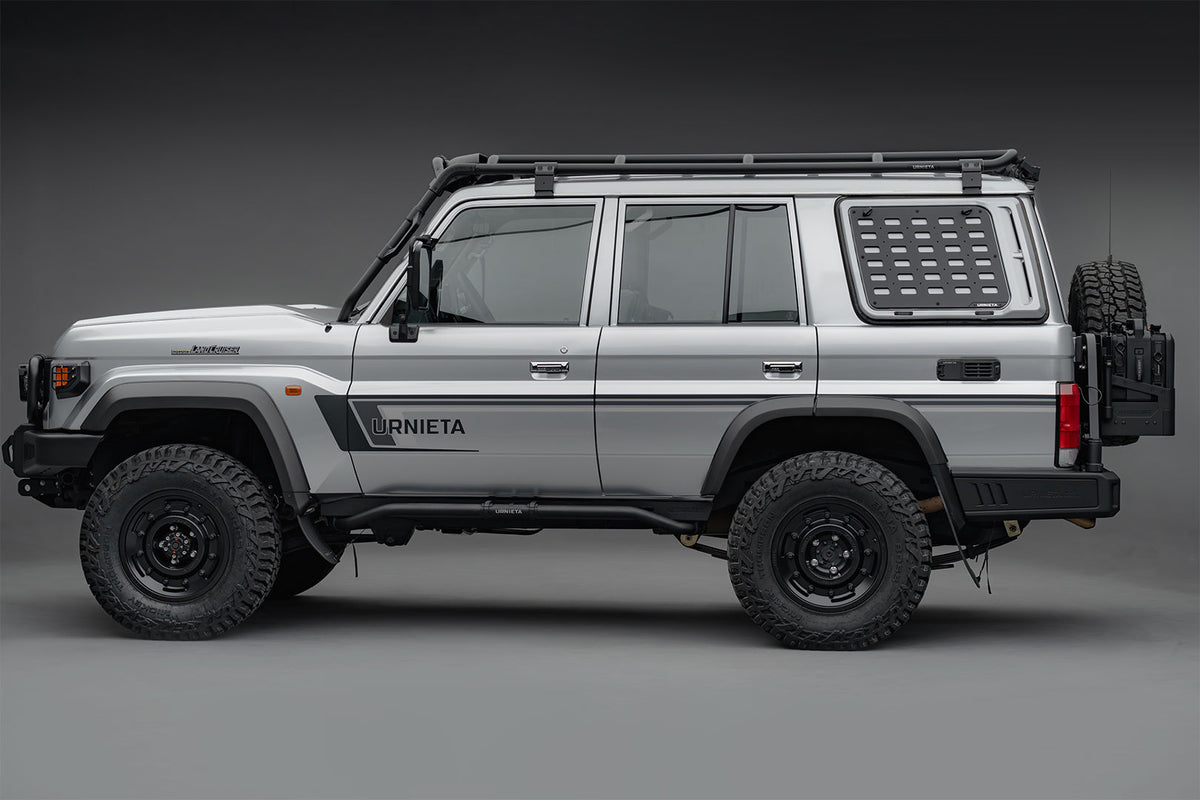
The Urnieta Safari Roof Rack is a modular, split-section platform made for the LC71, LC76, LC78 and LC79. It's built from aluminium-magnesium alloy, and the lightweight design means the load on your roof doesn't compromise how the vehicle handles.
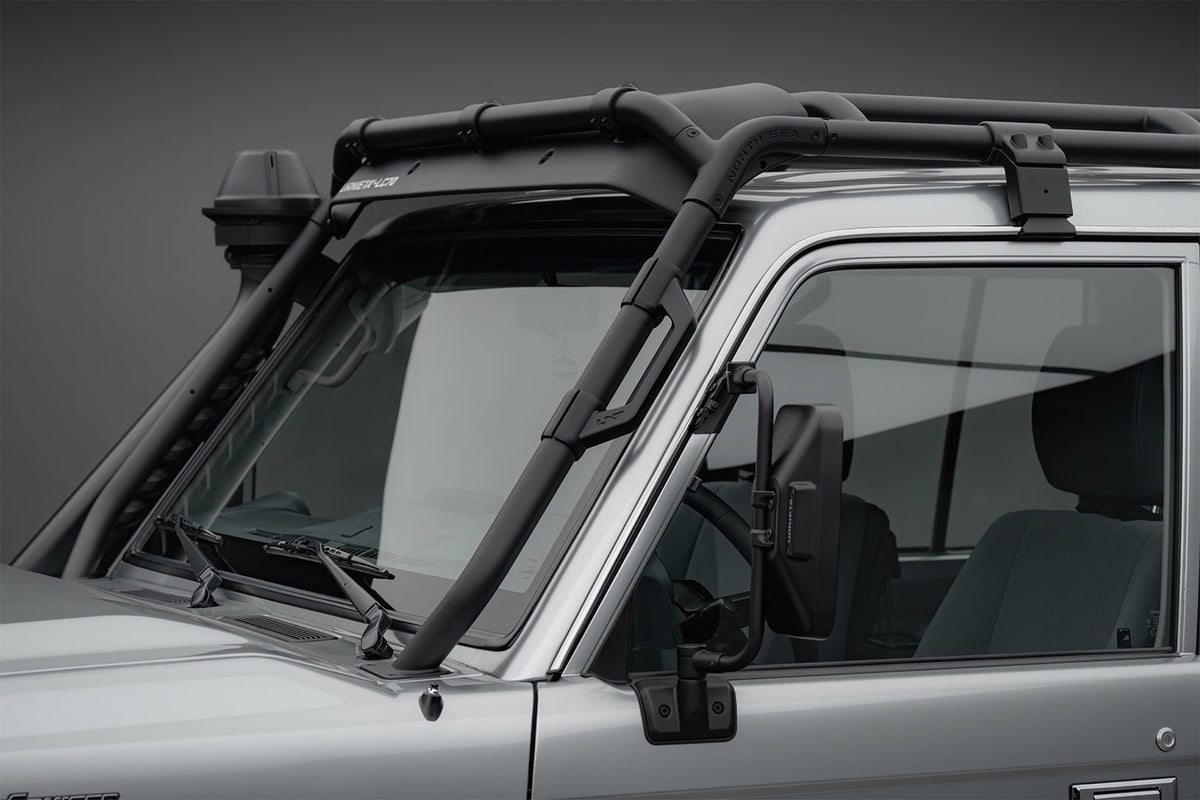
It anchors through the rain gutter channels and the A-pillar attachment points, and the assembled structure reinforces the body. Both front configurations come in the box, so you can swap between the wind deflector and the auxiliary light mount whenever you like.
Why the Safari Rack.
MULTI-POINT MOUNTING
The rack anchors through the body's rain gutter channels and the A-pillar attachment points. The assembled structure reinforces overall body rigidity.
TWO FRONT CONFIGURATIONS
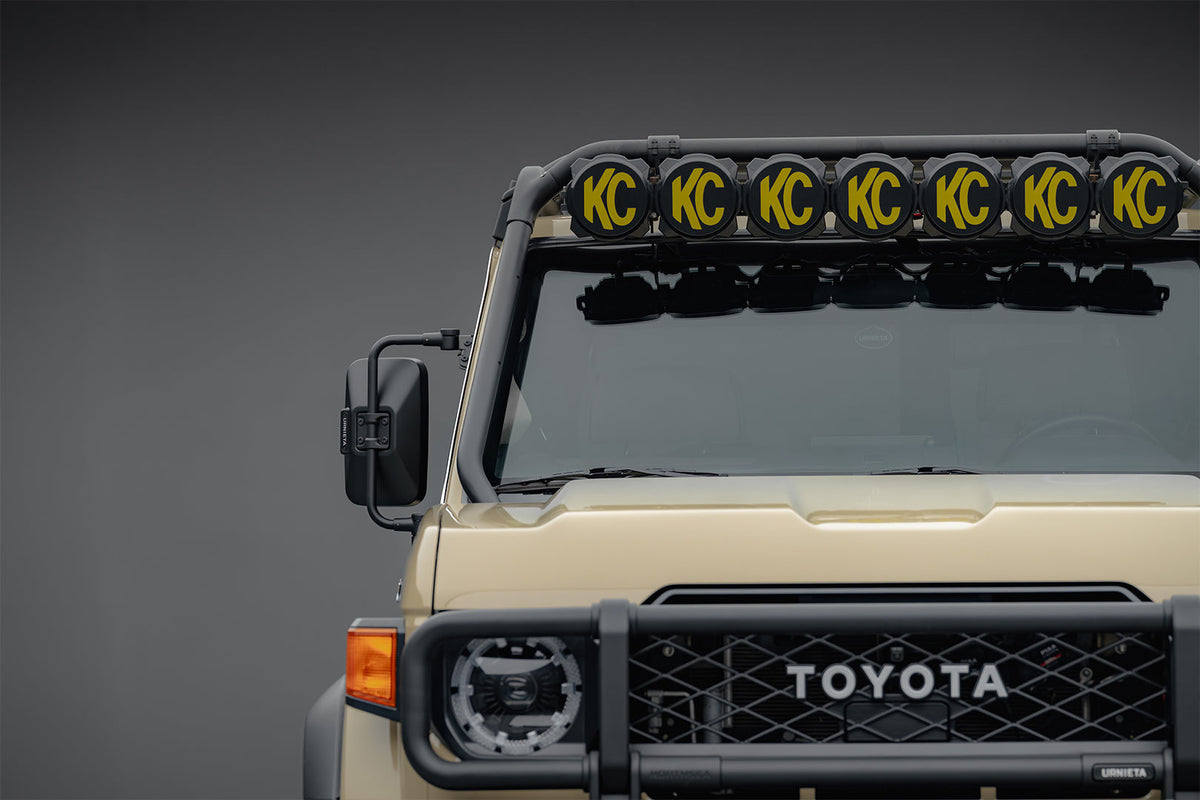
The front cage section anchors to the lower A-pillar. Fit the wind deflector for highway use or the auxiliary light mount for night convoys. It's compatible with an OEM snorkel.
EXPANSION READY
Longitudinal expansion channels run along the top of the platform. Removable grab handles mount anywhere on the system, and light brackets sit at the front shoulders and rear.
Vehicle fitment.
Installation overview.
SELECT YOUR VARIANT
Choose your LandCruiser series (71, 76, 78 or 79) at checkout so you get the correct rack configuration.
POSITION THE RACK
Position the platform over the rain gutter channels and the front cage section at the lower A-pillar, then check clearances before final tightening.
SECURE THE HARDWARE
Install the supplied hardware to specification and recheck torque after initial use.
Spec it
your way.
Not sure which setup suits your build? Get fitment advice, install guides, or talk to the PVS team before you buy. We are Sydney based and here to help.