


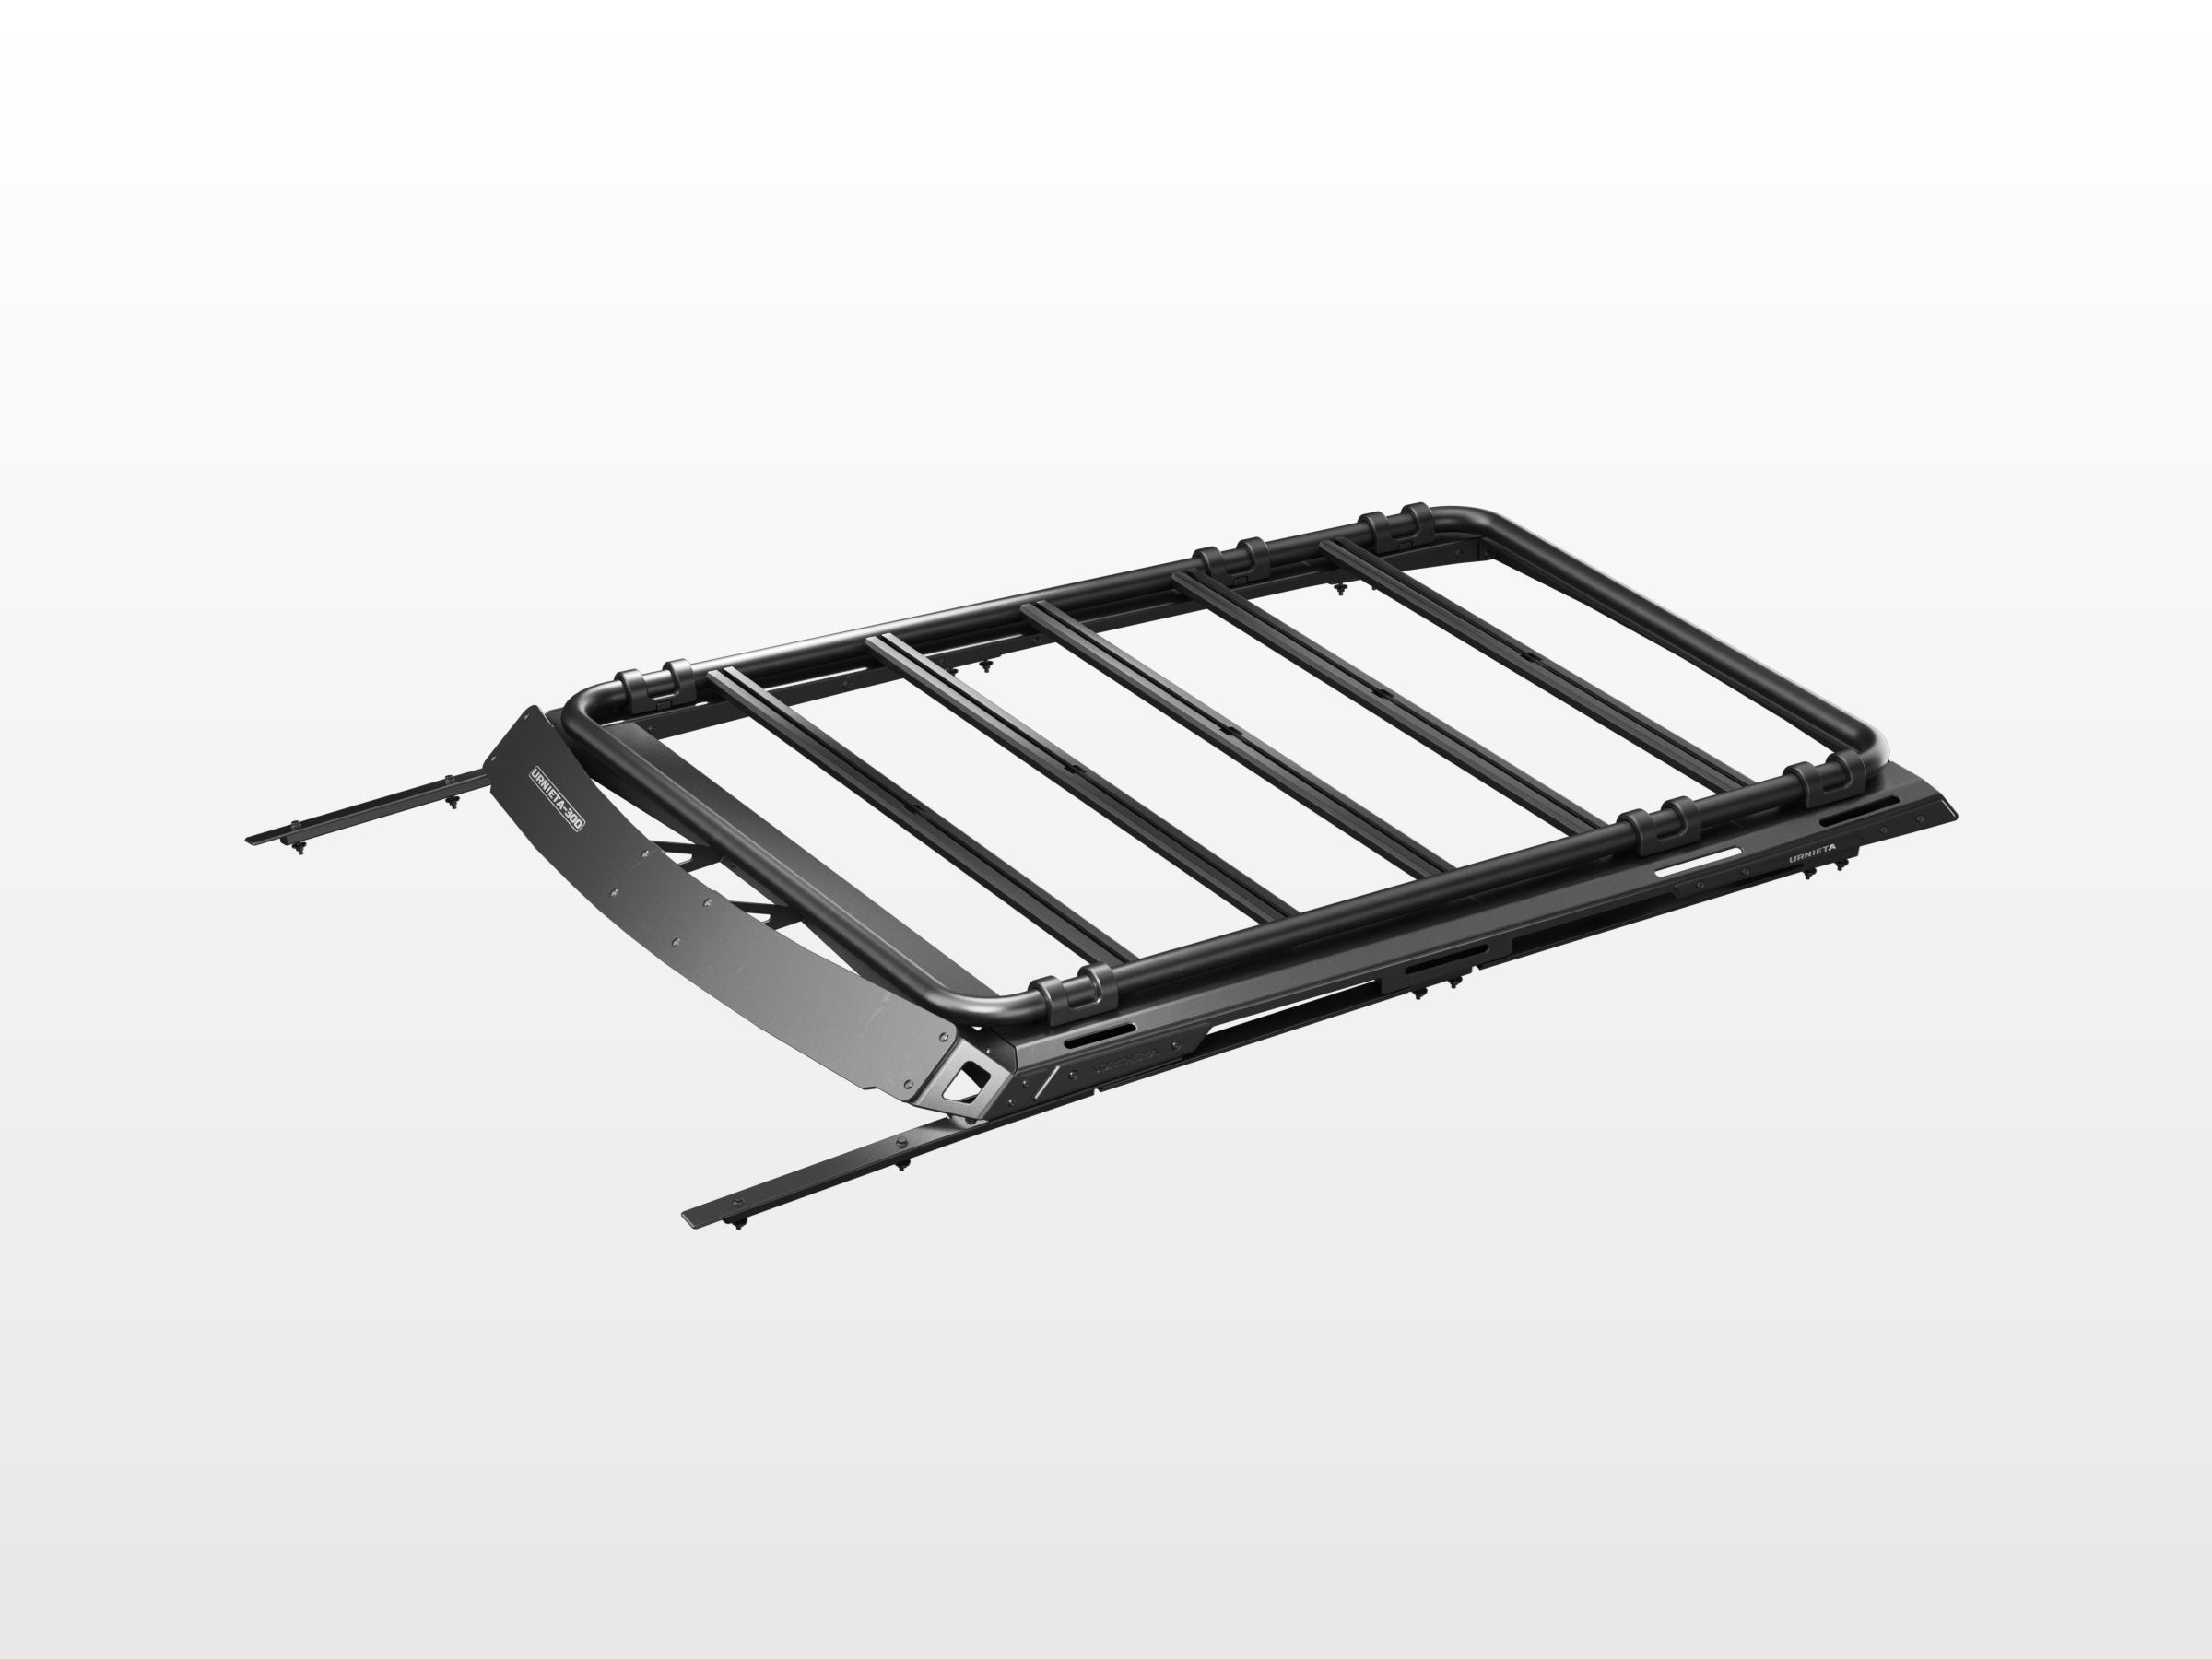
URNIETA Roof Rack
300 Series LandCruiser Platform Rack
The 300 Series roofline gets its own Urnieta platform rack, built to carry your gear without changing how the vehicle sits or drives. It's built from aluminium-magnesium alloy, SUS430 and composite resin, so it holds up to sustained off-road loads while keeping weight down.
This product is no longer being made, so we are not able to supply it.
Item code: URNIETA033
In high demand. We're working through a backlog of orders on this range, so this item may dispatch one to two weeks later than usual.
12-Month Australian Warranty.Backed by PVS Automotive, Sydney based support. Tax Deductible for Business. GST claimable if you are registered.Often fully deductible as a business expense. Check with your accountant. Australian Owned and Operated.Australian Owned Certified · AO 08314


Built for the 300 Series roof.
The Urnieta LC300 roof platform is designed to maximise your cargo-carrying capability without compromising style or performance. It's built from aluminium-magnesium alloy, SUS430 and composite resin for durability and light weight.
The low-profile mounting system minimises wind resistance while keeping a sleek, aerodynamic design. Whether you're hauling camping gear, rooftop tents or work equipment, it's a versatile and secure platform for the trip.
What the rack is made of.
ALLOY AND RESIN CONSTRUCTION
Aluminium-magnesium alloy, SUS430 and composite resin for durability and light weight.
LOW-PROFILE MOUNTING
The low-profile mounting system minimises wind resistance and keeps the design sleek and aerodynamic.
BUILT TO CARRY
Camping gear, rooftop tents or work equipment.
Vehicle fitment.
Installation overview.
PREPARE VEHICLE
Inspect mounting points, remove required trim, and confirm all supplied parts before installation.
TEST FIT PRODUCT
Position the part, confirm clearances, and verify alignment before final tightening.
SECURE HARDWARE
Install the supplied hardware to specification and recheck torque after initial use.
Spec it
your way.
Not sure which setup suits your build? Get fitment advice, install guides, or talk to the PVS team before you buy. We are Sydney based and here to help.