Windshield Light Mount System
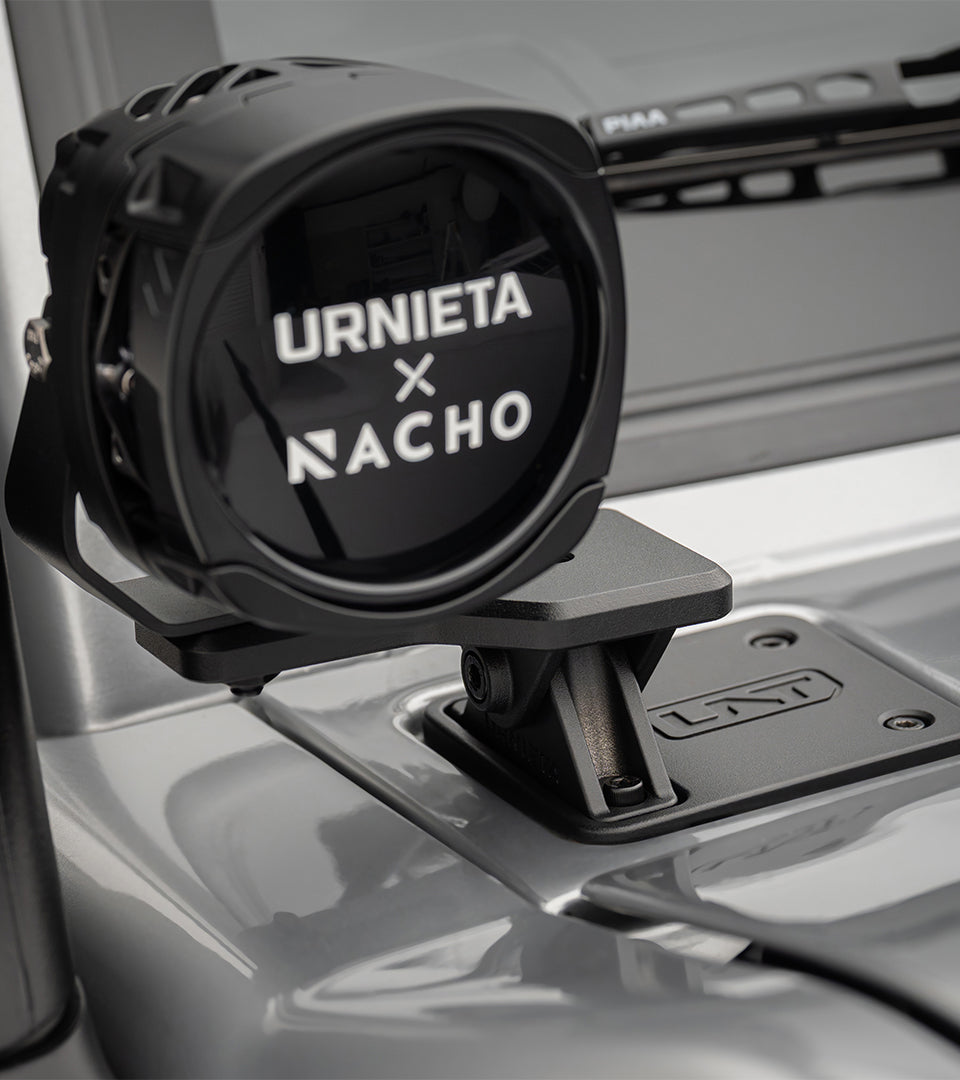
CNC-machined aluminium, no drilling required
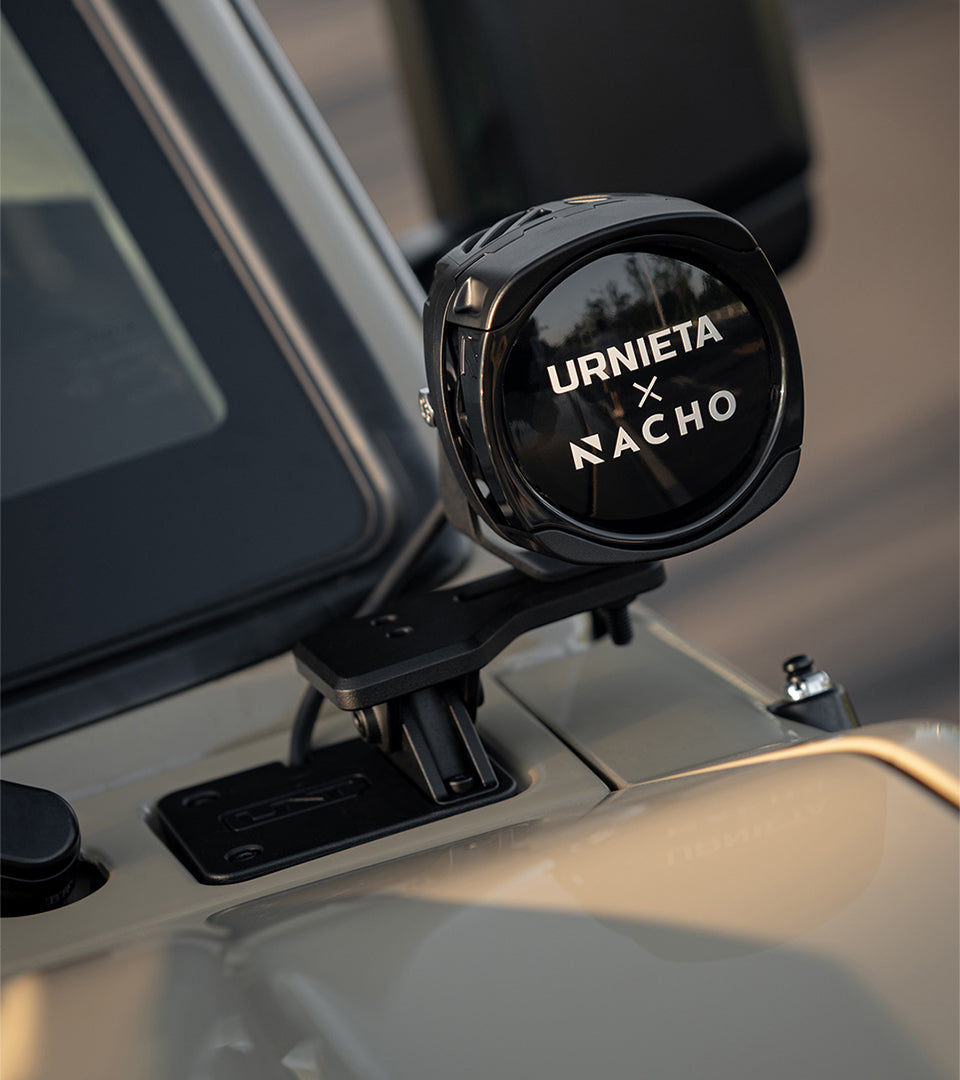
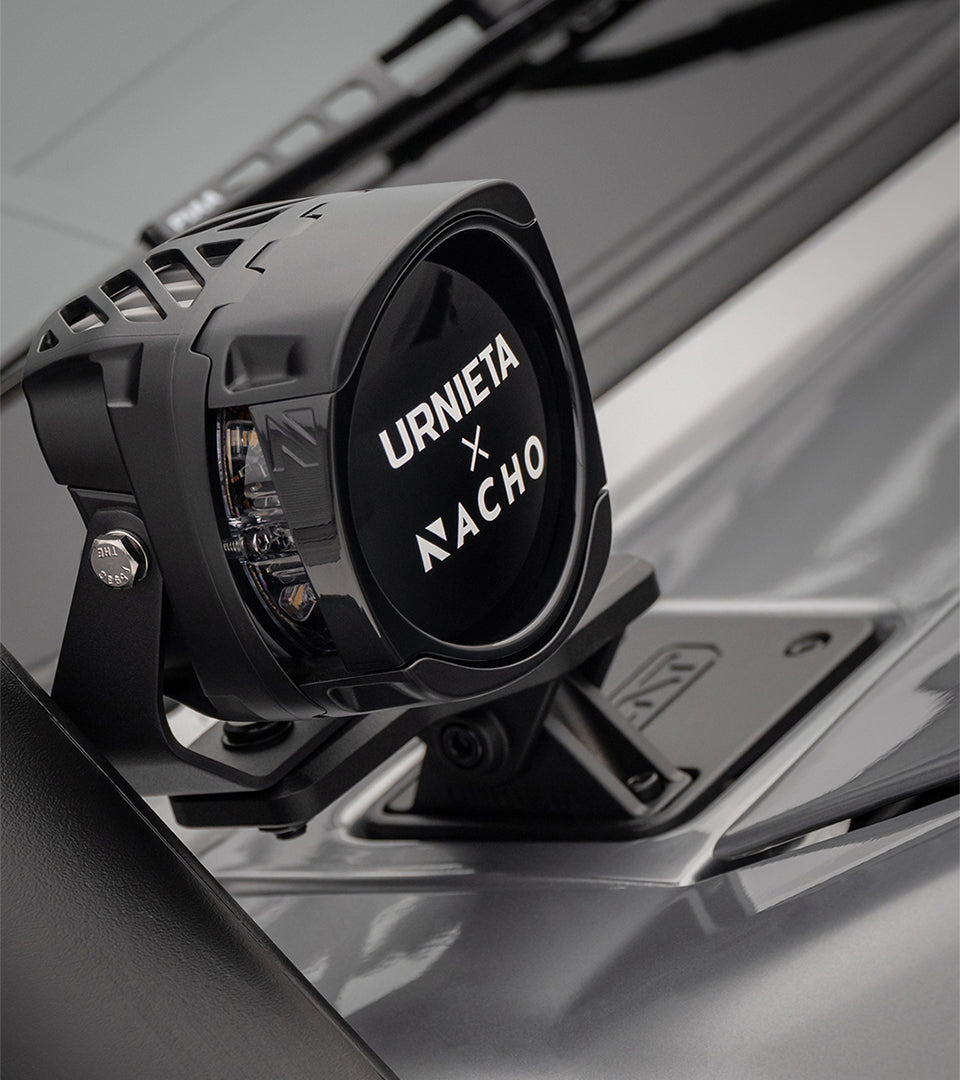
Designed for the Toyota Land Cruiser 70 Series, the URNIETA LC70 Windshield Light Mount System is a vehicle-specific solution for mounting auxiliary lights at the windshield cowl area.
Item code: URNIETA042


No holes, no compromise.
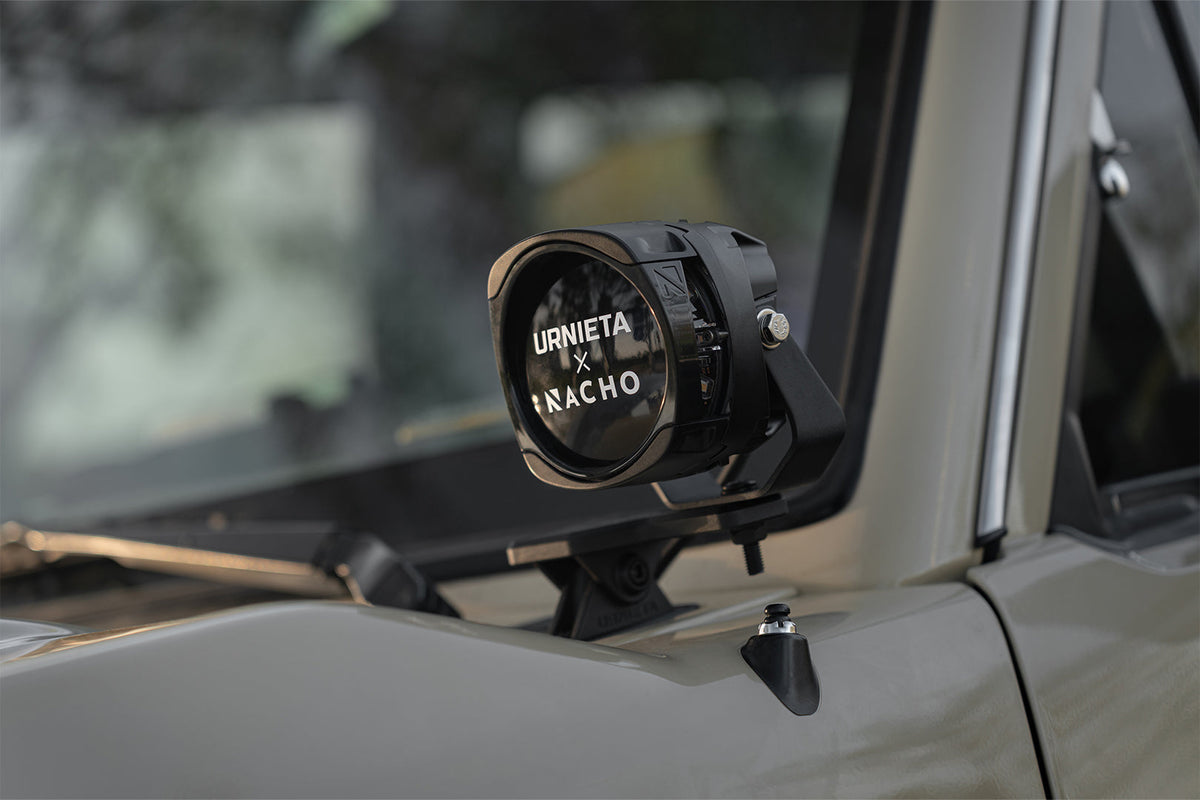
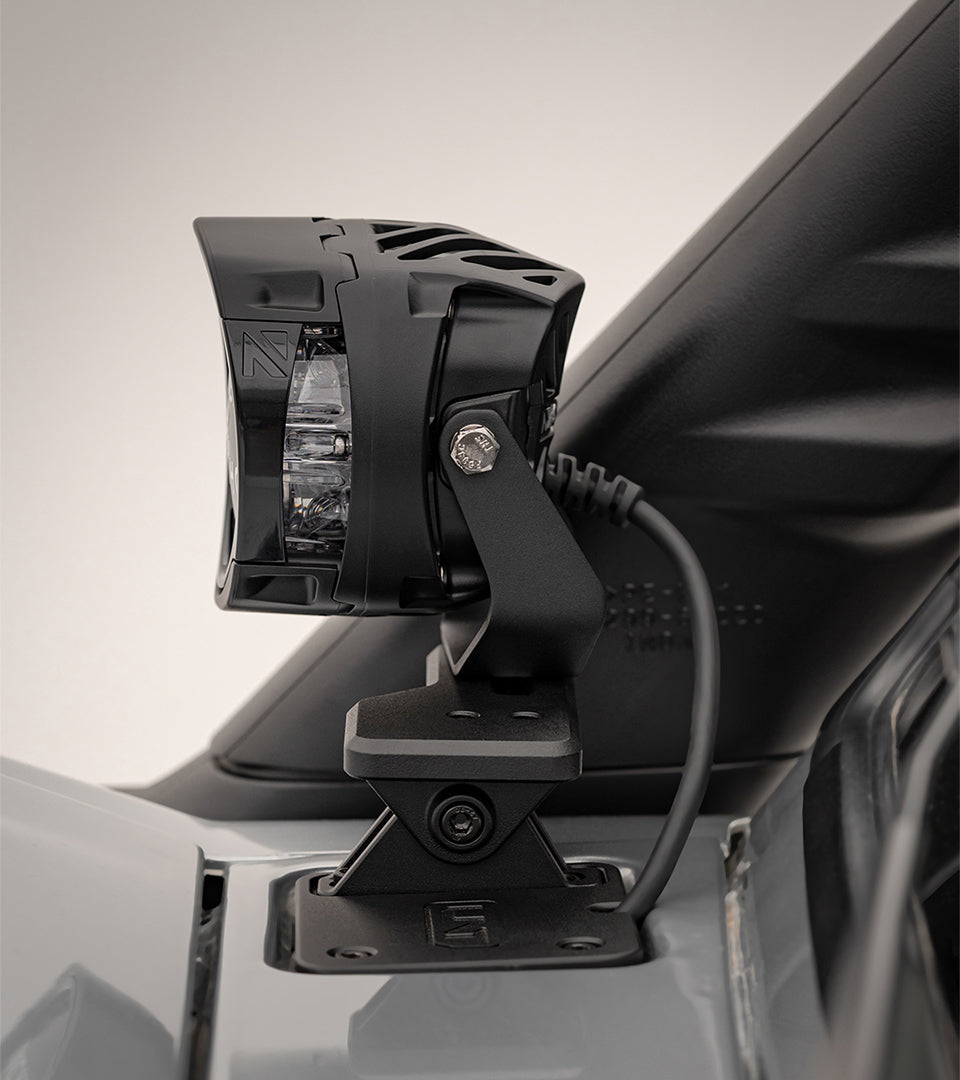
Most windshield light mounts ask you to drill into the roof or cut through a panel to get a clean result. This system takes a different approach, picking up the A-pillar bolts that are already there and using them to carry the bracket pair. The end result looks factory-tidy and comes apart just as easily if you ever want to remove it.
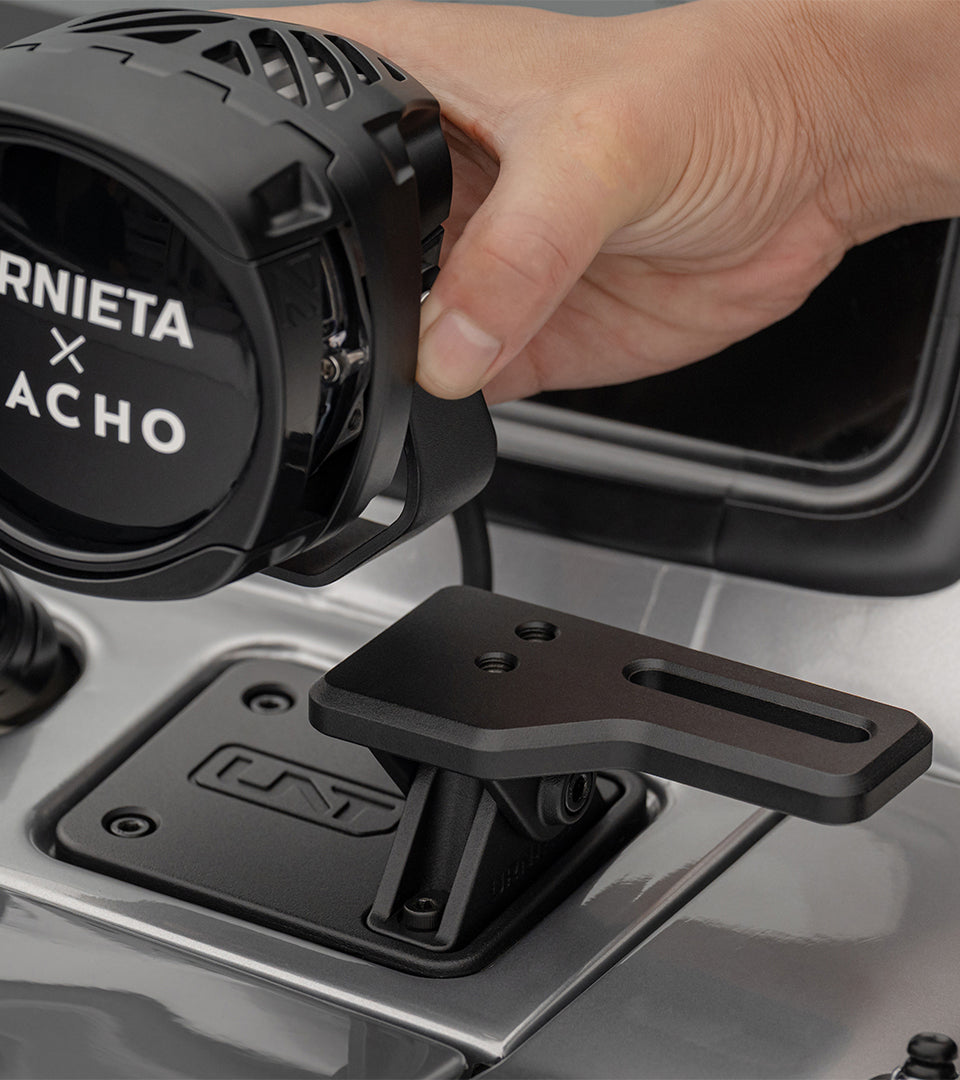
Each bracket is machined from aluminium and finished in satin anodise. That finish bonds into the surface of the metal rather than sitting on top of it, so a hard corrugated run or a scrape through scrub will not chip or flake it. Sized for light bars from 22 to 30 inches, with slotted holes pre-machined to your specific light bar bolt pattern when you place your order.
Made to order with a 3 to 4 week production lead time. Free worldwide shipping.
Built to the details.
ZERO DRILLING
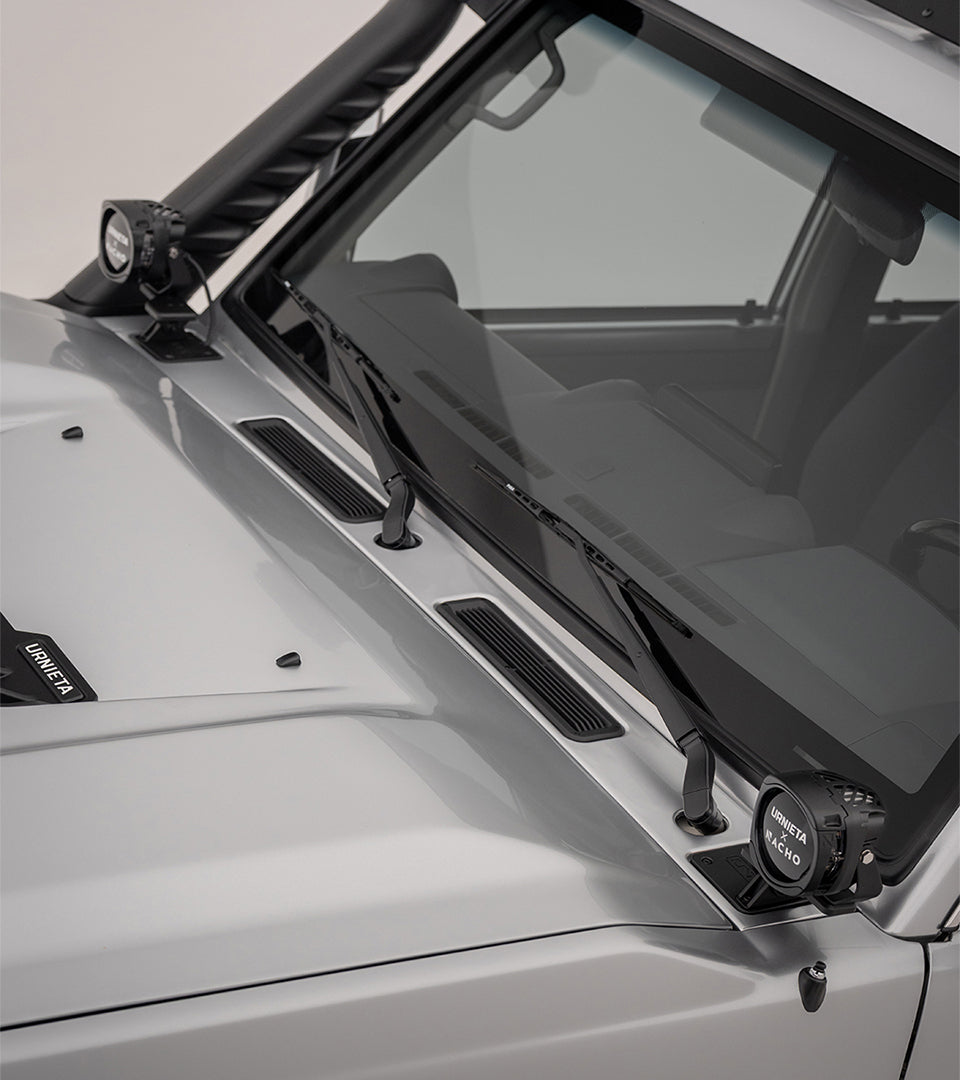
Mounts directly to the factory A-pillar bolt locations. No holes in the roof, no panel cutting, no permanent modification to your LandCruiser.
SATIN ANODISE
The anodised finish is bonded into the aluminium surface, not a coating on top of it. It holds up to corrugated tracks and bush scrapes without chipping.
MADE TO YOUR BAR
Specify your light bar's mounting bolt pattern at the time of order and the slotted holes are pre-machined to suit, fitting 22 to 30 inch bars.
Vehicle fitment.
Installation overview.
ORDER TO FIT
Provide your light bar's mounting bolt pattern at checkout. The slotted holes are pre-machined before your brackets are shipped.
REMOVE FACTORY BOLTS
Undo the existing A-pillar bolts on one side. No drilling, cutting or panel removal needed.
FIT THE BRACKET
Locate the bracket over the factory bolt positions and refit the bolts to the manufacturer-specified torque.
MOUNT YOUR LIGHT BAR
Drop your 22 to 30 inch light bar onto the pre-machined slotted holes and fasten off. Repeat on the opposite side.
Spec it
your way.
Not sure which setup suits your build? Get fitment advice, install guides, or talk to the PVS team before you buy. We are Sydney based and here to help.