
Extended Spare Tyre Cover
Jimny rear spare tyre protection
The URNIETA SALADO Extended Spare Tyre Cover is engineered for the Jimny JB74 / JC74 / JB64, combining a universal tyre fit, folding workbench, and structural cover with design-led fitment and high-end build quality. The exposed spare tyre area becomes a structural tailgate cover and folding outdoor workbench, fitting all Jimny variants and tyre sizes up to 235/75 R15.
Item code: URN-SAL-STC-JIM


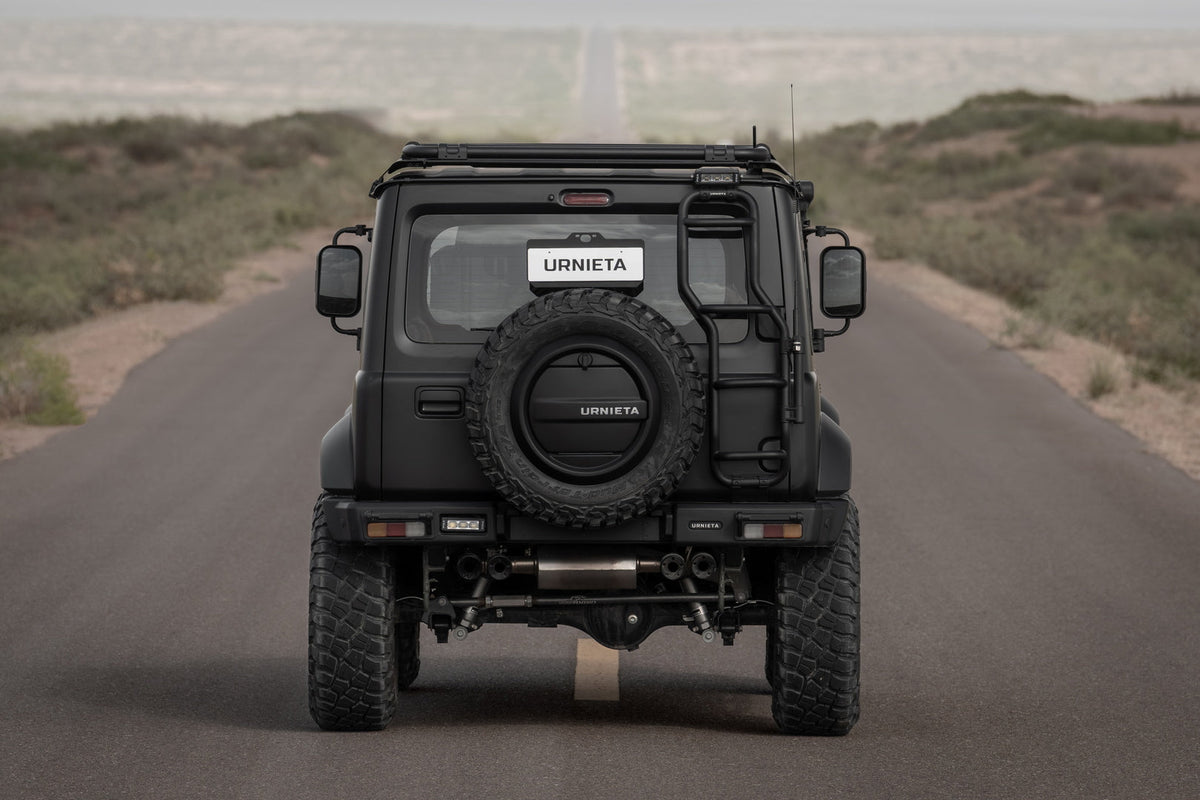


Built for the Jimny.
The Jimny wears its spare tyre on the outside, which means it cops every stone chip, UV ray and downpour the road throws at it. An unprotected spare tyre sidewall degrades faster than you'd expect, leaving you with a compromised backup when you need it most.
This extended cover wraps further around the tyre than a standard fitment, keeping the sidewall and tread shoulder properly shielded. Whether you're doing daily suburban runs or pushing down corrugated fire trails, the cover stays put and the spare stays protected.
Why the extended cover?
EXTENDED COVERAGE
Wraps further over the tyre than a standard cover, protecting more of the sidewall and shoulder from UV and impact damage.
JIMNY-SPECIFIC FIT
Shaped to suit the Jimny's rear-mounted spare tyre setup for a clean, secure fit without slipping or sagging.
UV AND WEATHER PROTECTION
Shields the rubber from sun, rain and road debris, slowing sidewall degradation so the spare is ready when you actually need it.
Vehicle fitment.
Installation overview.
POSITION THE COVER
Align the cover over the spare tyre mounted on the Jimny's rear door, centring it over the tread face.
PULL OVER THE TYRE
Work the extended edge around the tyre, ensuring the sidewall and shoulder are fully covered.
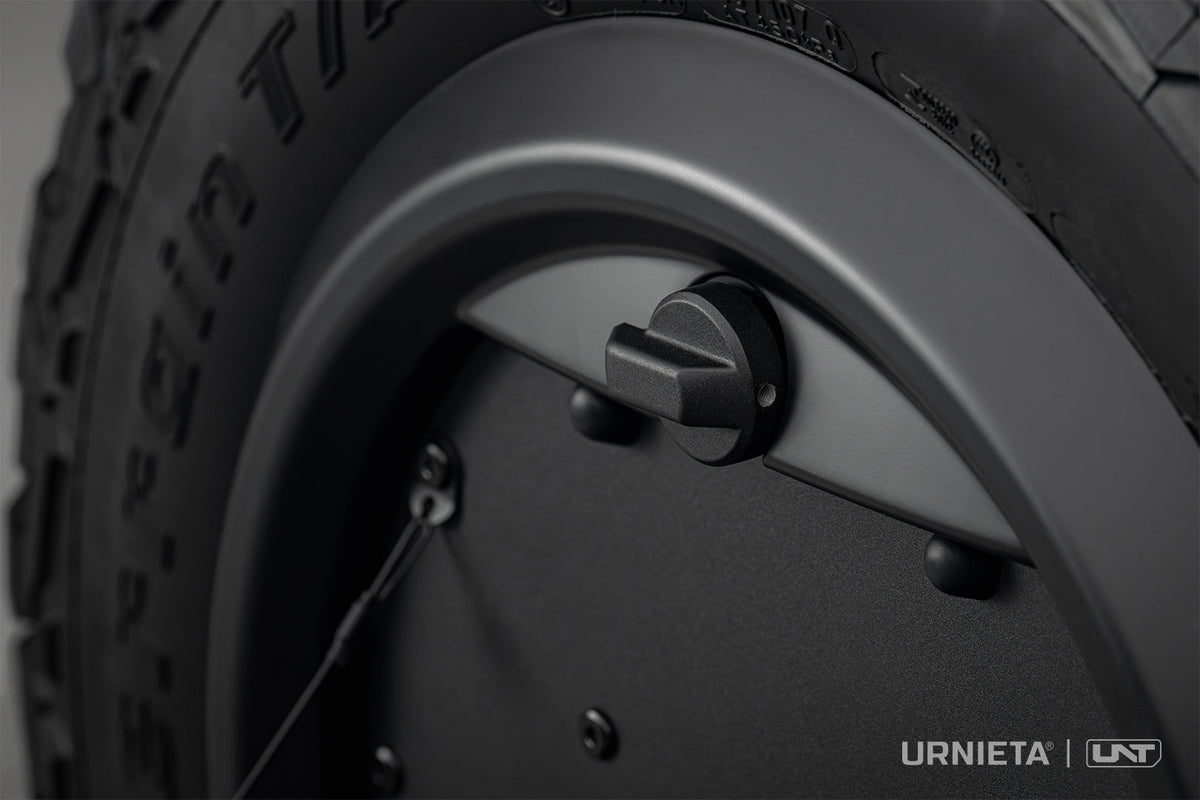
SECURE IN PLACE
Check the cover sits flush and is firmly seated all the way around before hitting the road.
Spec it
your way.
Not sure which setup suits your build? Get fitment advice, install guides, or talk to the PVS team before you buy. We are Sydney based and here to help.