


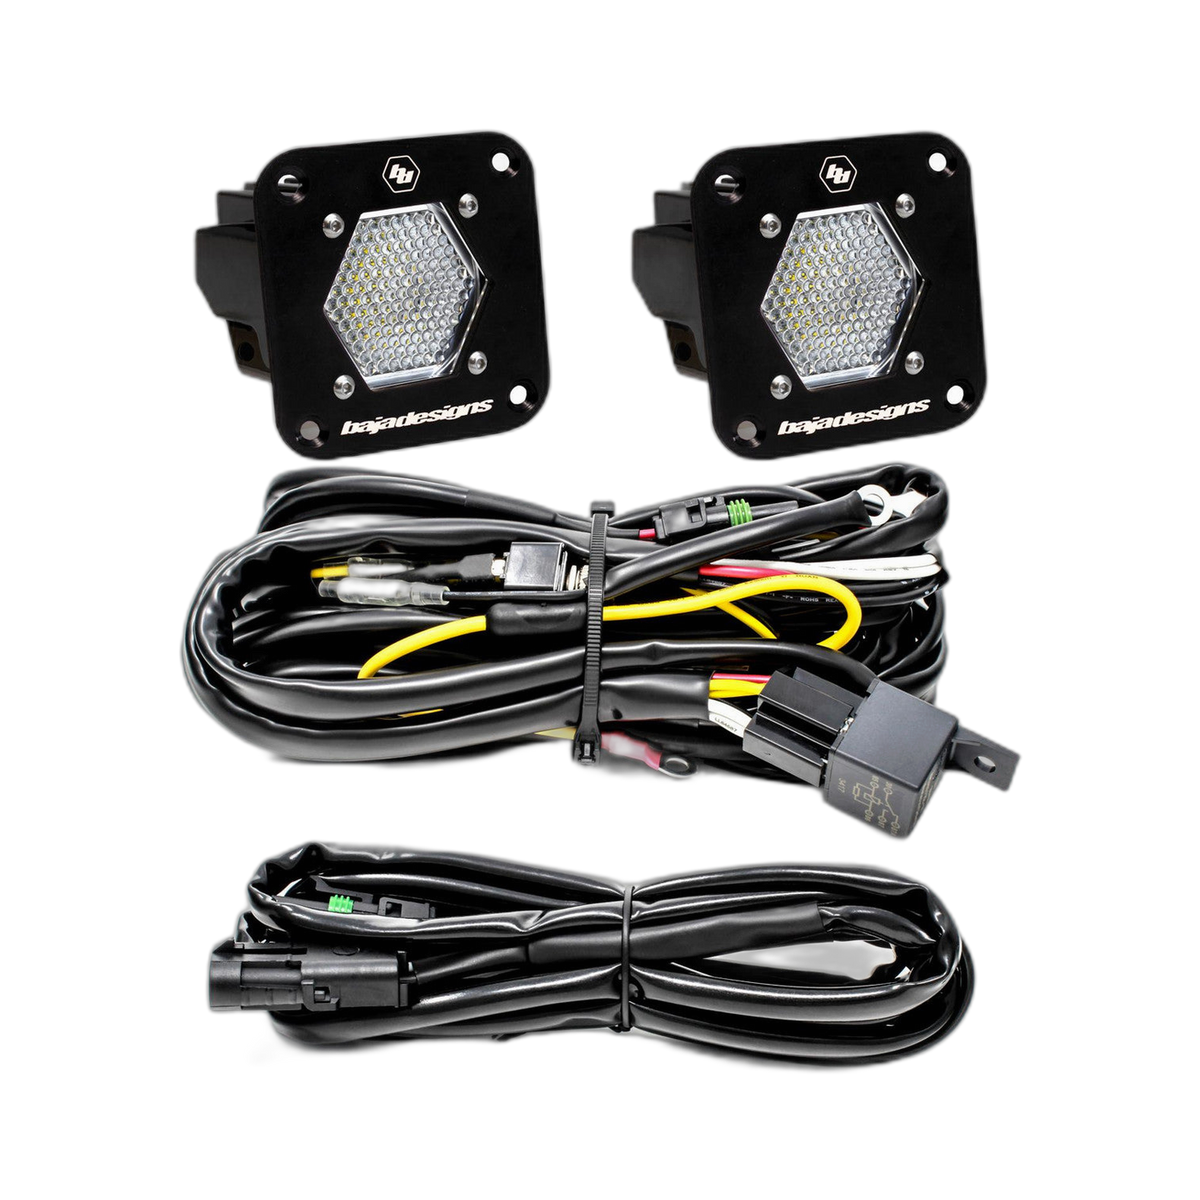
S1 Black Flush Mount LED Light Pod Reverse Kit Compact auxiliary light, big output
The Baja Designs S1 Flush Mount packs serious LED output into a 2.1-inch cube, with a reverse kit that makes the wiring straightforward on any 4WD or off-road build.
Thanks, your enquiry is with us. We will confirm current price, stock and lead time with the manufacturer and email you back. We have emailed a copy to . Reply to that email to add anything.
 Australian Owned and Operated.Australian Owned Certified · AO 08314
Big light output, small footprint.
Most auxiliary lights make you choose between mounting flexibility and real-world output. Baja Designs built the S1 to break that trade-off. A highly specialised reflector and LED combination packs into a 2.1-inch cube, so the S1 fits into tight spots that rule out a conventional pod light.
The flush-mount design is one of its standout features. A standard 2.5-inch hole saw cuts the mounting hole, so the install stays clean without specialist tooling. The included relay harness with wiring extensions takes the guesswork out of the electrical side, so you spend less time under the dash and more time on the track.
Choose Wide Cornering to spread light across the landscape on tight bush tracks, or go Work/Scene for a broad, even wash over a campsite or work area. Either way, 5000K daylight colour keeps things natural and easy on the eyes over long nights.
Built around what matters.
COPPERTDRIVE LEDS
Baja Designs' CopperDrive technology drives every LED at 100 per cent, for maximum output and long-term reliability from every emitter.
MOISTUREBLOCK SEALED
Waterproof, rainproof and submersible construction means the S1 handles creek crossings, mud and heavy rain without missing a beat.
5000K DAYLIGHT OUTPUT
Natural daylight colour cuts driver fatigue on long night runs and renders the trail ahead in true colour, so obstacles are easier to read.
Installation overview.
CHOOSE YOUR LOCATION
Pick the mounting position and check there's enough clearance behind the panel for the light body and wiring connections.
CUT THE HOLE
Cut the flush-mount hole with a 2.5-inch hole saw. Watch for hidden wiring or structural members behind the panel.
FIT THE S1 POD
Insert the S1 into the cut-out and secure it with the flush-mount hardware supplied in the kit.
CONNECT THE HARNESS
Route the included relay harness and wiring extensions to your power source, following the supplied instructions. The relay harness means you don't need any extra components.
TEST AND ADJUST
Power up and check it's working correctly. Adjust the beam angle as needed before you finish the wiring with the provided conduit or loom wrap.