Moulded Vinyl Flooring
A heavy-duty moulded PVC flooring kit built specifically for the Toyota LandCruiser 76 Series Wagon. Made to order in Australia and tested in real-world conditions for over seven years.
or 4 interest-free payments of $299.75 with Shop Pay & Afterpay
Item code: LC70-VINYL-WAGON-BLK-AUTOMATIC
Built for the job, not the catalogue.
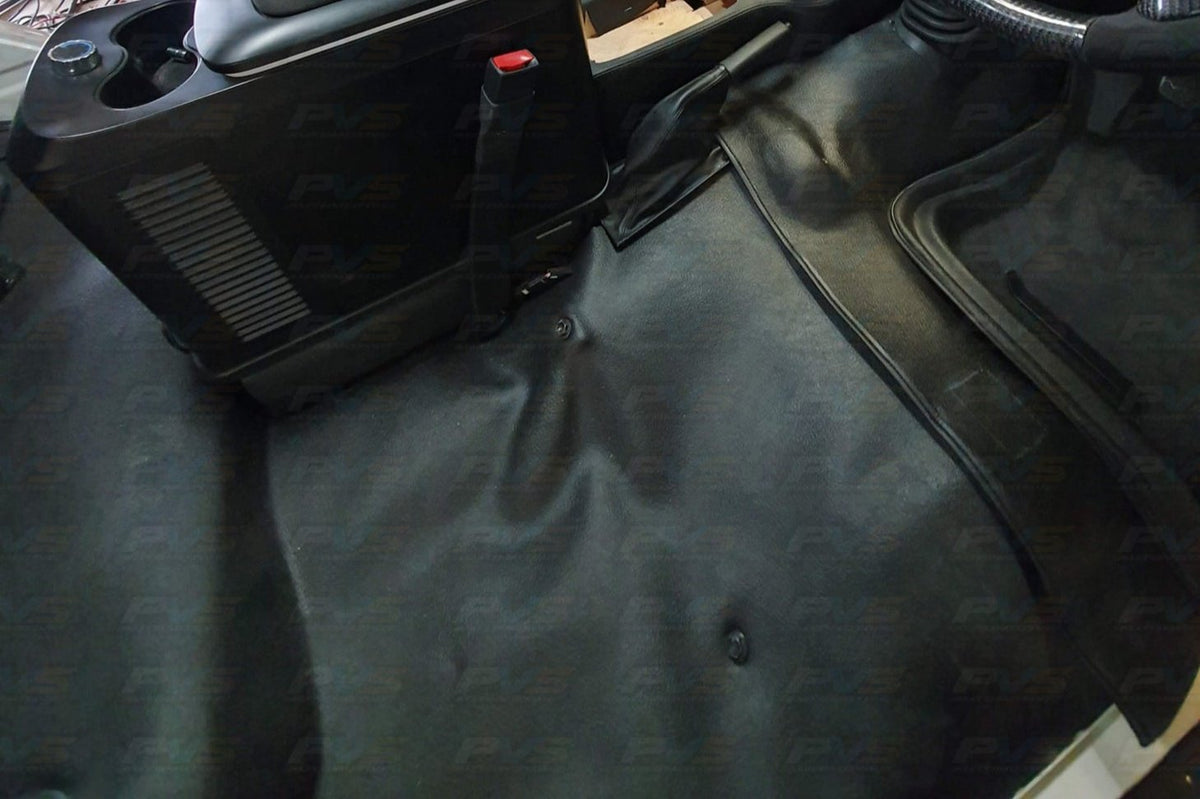
Most universal flooring products are a compromise. They sit roughly in place, bunch at the edges and collect mud in every gap. This kit is moulded to the exact floor profile of the 76 Series Wagon, so it sits flush, looks factory and cleans up in minutes.
Every kit is manufactured here in Australia and has been run in our own vehicles for over seven years before we offered it to customers. Bolt holes are drilled in-vehicle for precise alignment, and minor trimming at the door sills is all that is needed for a clean, professional finish.
Select your transmission, colour and body style from the options above. Because each kit is made to order, please allow 12 to 17 business days from the time you place your order.
What makes it worth the wait.
MOULDED FIT
Shaped precisely to the 76 Series Wagon floor profile. No universal guesswork, no awkward bunching at the edges.
TOUGH PVC
Hard-wearing PVC construction handles mud, water, fuel and the daily punishment of a working 4x4 interior.
EASY TO CLEAN
Smooth moulded surface wipes down quickly, so grime from a weekend off-road does not become a permanent fixture.
Vehicle fitment.
Installation overview.
REMOVE OLD FLOORING
Pull out any existing floor mats or carpet and give the floor pan a clean before fitting.
POSITION THE KIT
Lay the moulded flooring into the vehicle and confirm it sits flush against the floor pan and firewall.
TRIM DOOR SILLS
Some trimming at the door sill edges is required. Take your time here for a neat, factory-looking finish.
DRILL BOLT HOLES IN-VEHICLE
Bolt holes are not pre-cut. Mark and drill them in-vehicle so alignment is exact to your specific floor pan.
SECURE AND FINISH
Fasten the flooring, check all edges are seated correctly and refer to the included installation guide for any model-specific notes.
