Side Window Upgrade Kit
Left or right hand fitment for the Suzuki Jimny
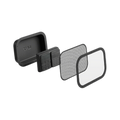
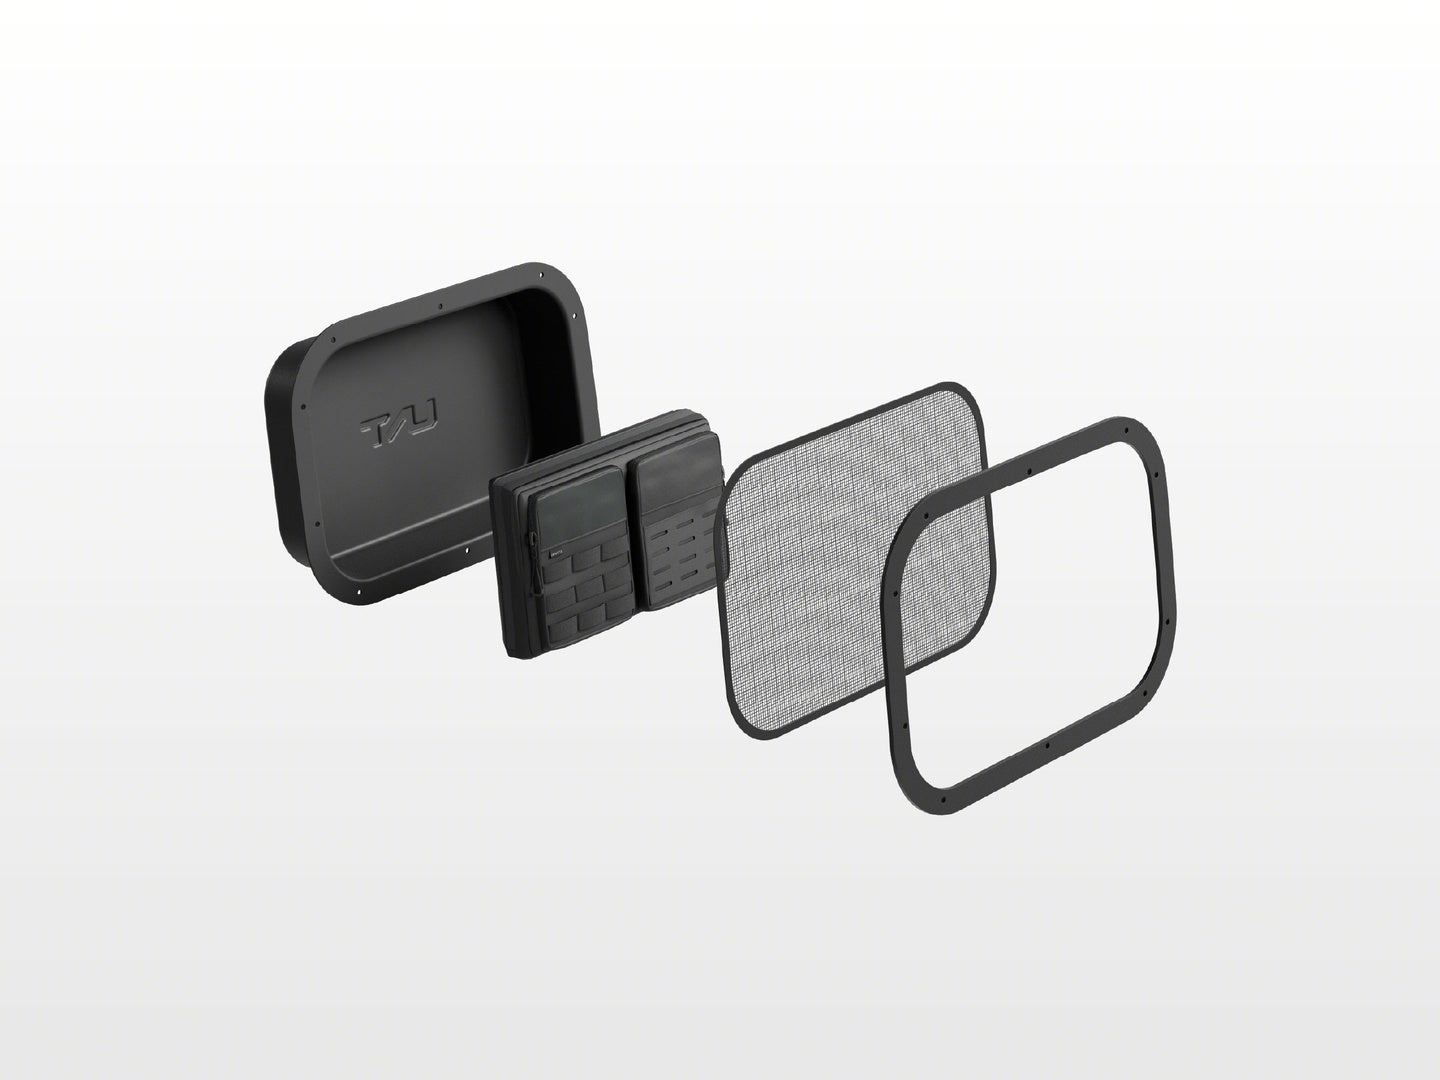
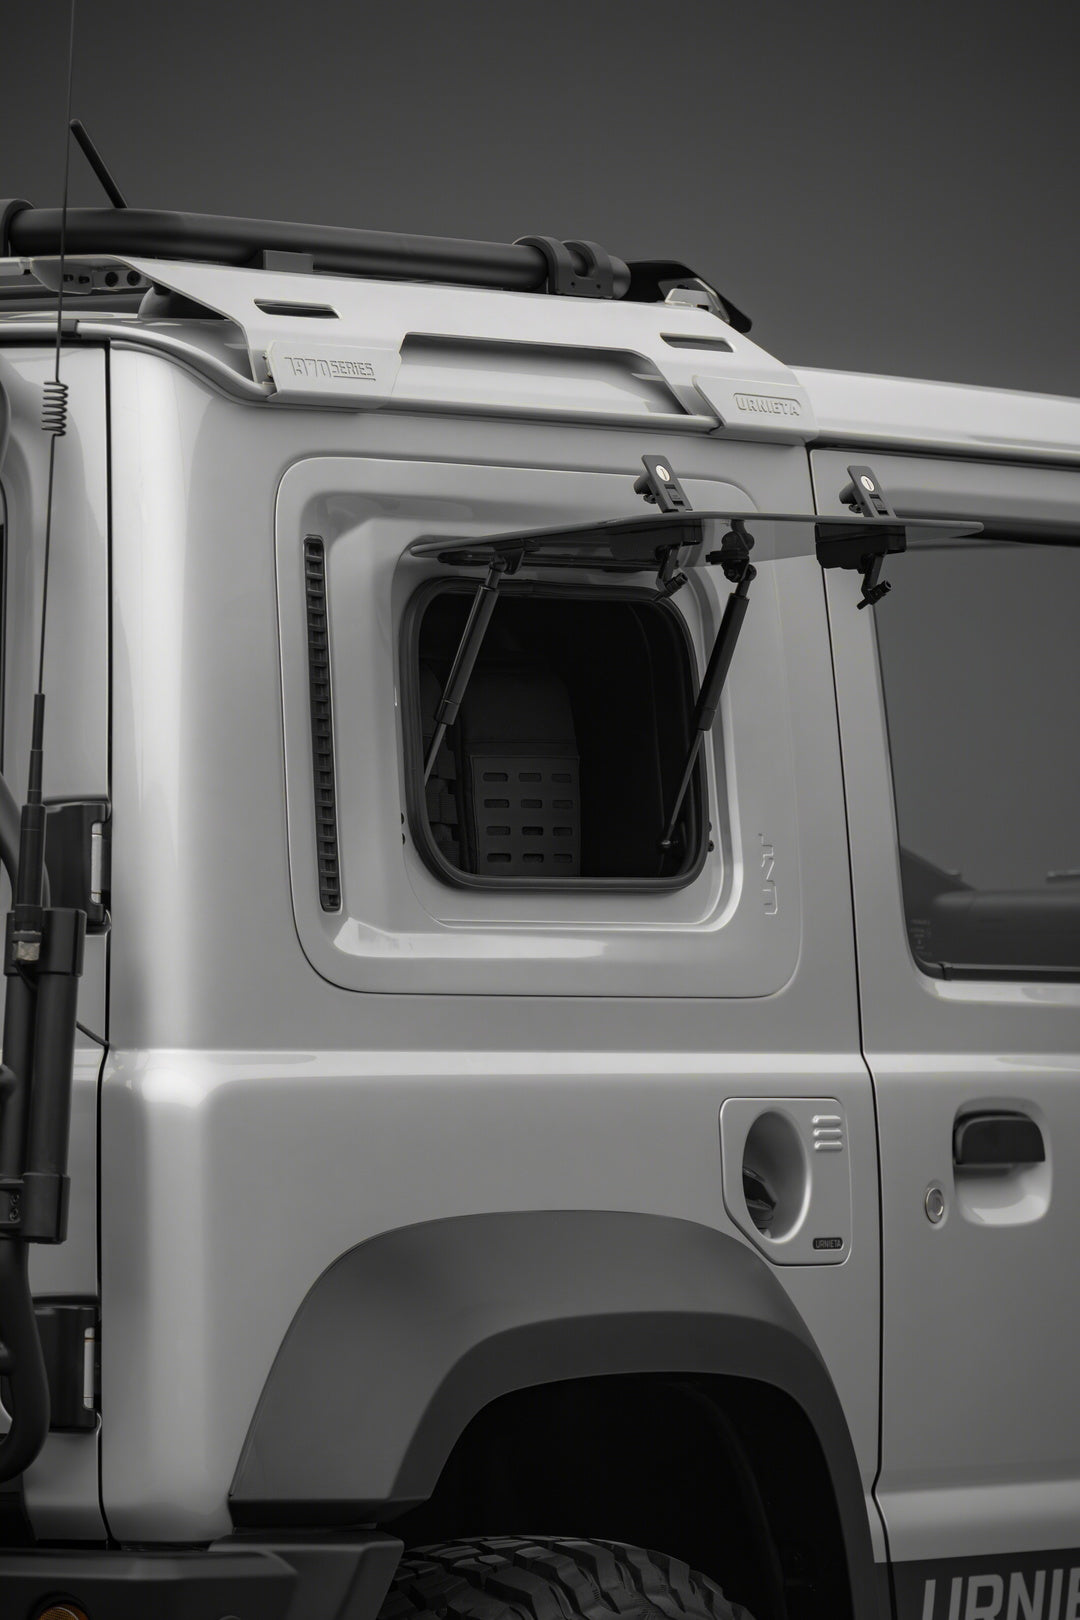
The Urnieta Side Window Upgrade Kit fits the 3-door Jimny JB74 and needs a base kit installed first. It builds on the Salado Side Window Storage Kit and the 1970 Gullwing Window, adding storage, controlled venting, outside access and a magnetic mosquito screen for camp ventilation.
Item code: URN-SAL-SWU-LH
In high demand. We're working through a backlog of orders on this range, so this item may dispatch one to two weeks later than usual.
12-Month Australian Warranty.Backed by PVS Automotive, Sydney based support. Tax Deductible for Business. GST claimable if you are registered.Often fully deductible as a business expense. Check with your accountant. Australian Owned and Operated.Australian Owned Certified · AO 08314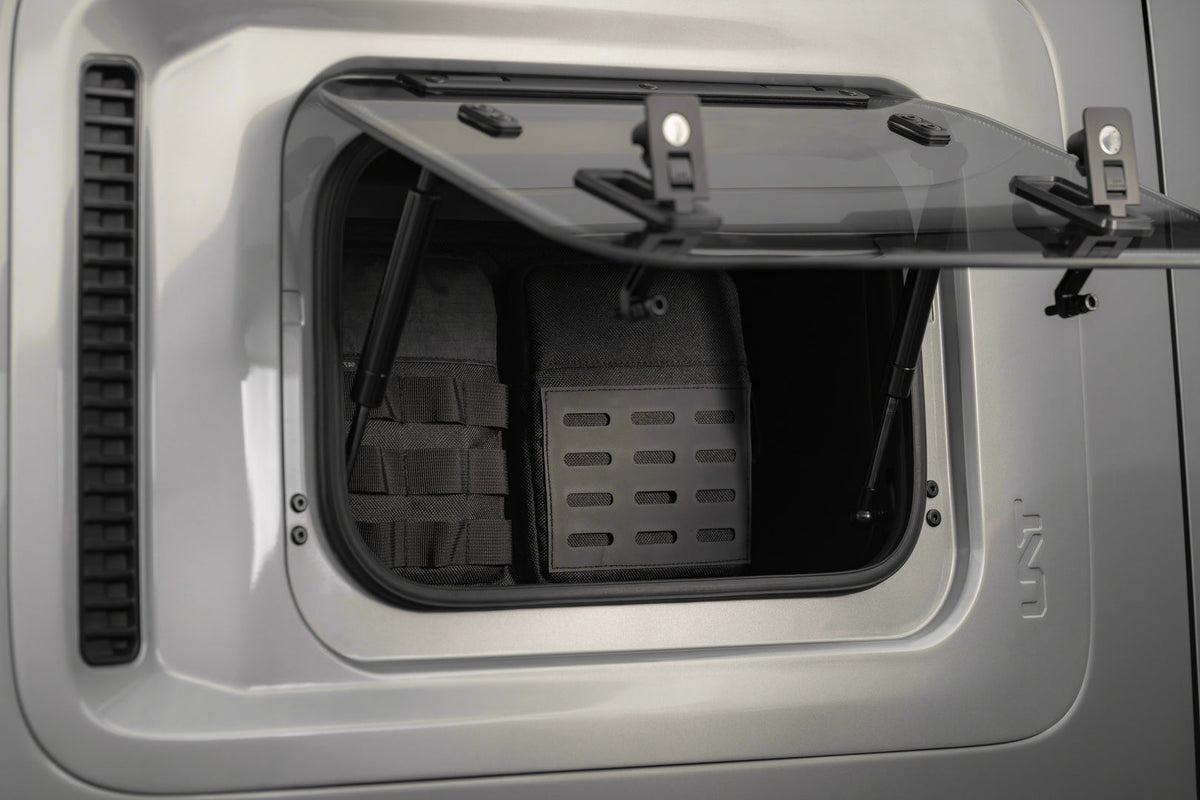
Add to your side window kit.
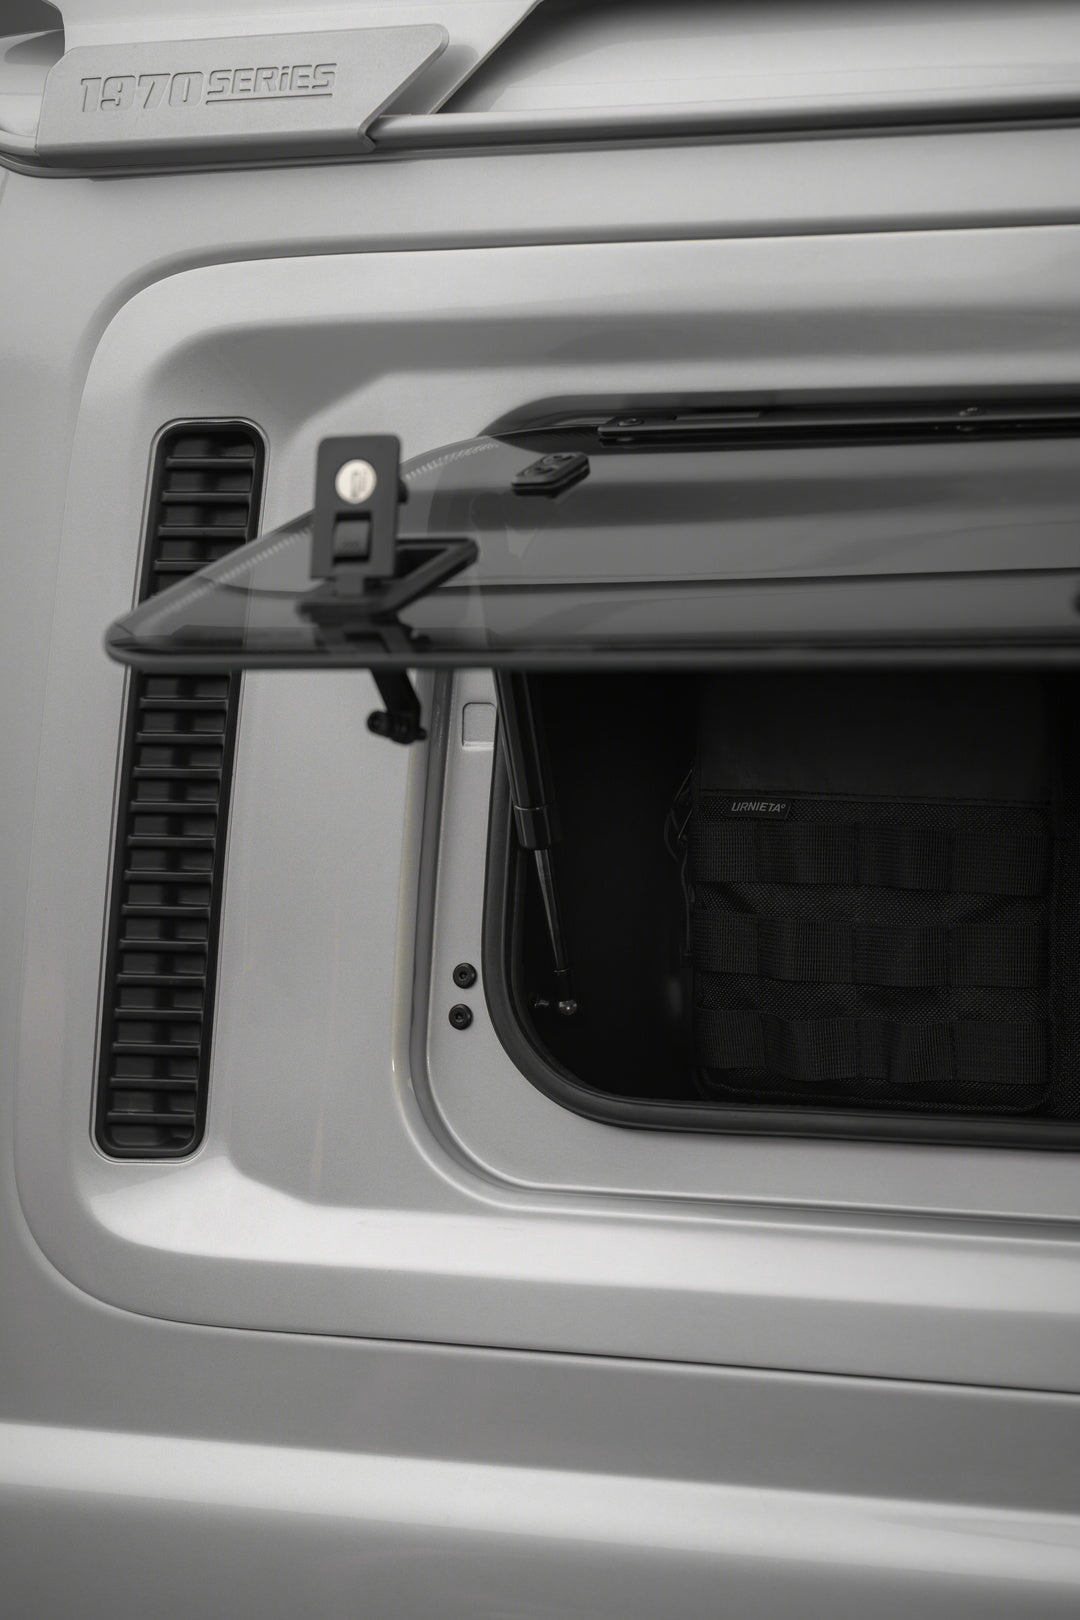
The Urnieta Side Window Upgrade Kit is the expansion layer for the Salado Side Window Storage Kit and the 1970 Gullwing Window Kit. It suits the 3-door Jimny JB74 and needs one of those base kits installed first.
With the 1970 Gullwing Window Kit it adds a storage box and expansion pack. With the Salado Storage Kit it adds a hunting window. Order the left or right kit to match your installed base kit.
Three things that matter.
UPGRADES BOTH BASE KITS
Compatible with the Salado Side Window Storage Kit and the 1970 Gullwing Window Kit. Add functionality after the base kit is installed, with no need to choose immediately.
MAGNETIC MOSQUITO SCREEN
Magnetic attachment to the window or panel. Easy to fit at camp and easy to remove for transit, for cabin ventilation without insects.
LH + RH AVAILABLE
Available in left-side and right-side variants. Select the side that matches your installed base kit.
Vehicle fitment.
Installation overview.
SELECT YOUR SIDE
Check you have the left-hand or right-hand kit that matches your installed base kit.
PREPARE VEHICLE
Inspect mounting points, remove required trim, and confirm all supplied parts before installation.
TEST FIT
Position the part, confirm clearances, and verify alignment before final tightening.
SECURE THE HARDWARE
Install the supplied hardware to specification and recheck torque after initial use.
Spec it
your way.
Not sure which setup suits your build? Get fitment advice, install guides, or talk to the PVS team before you buy. We are Sydney based and here to help.