Side Steps
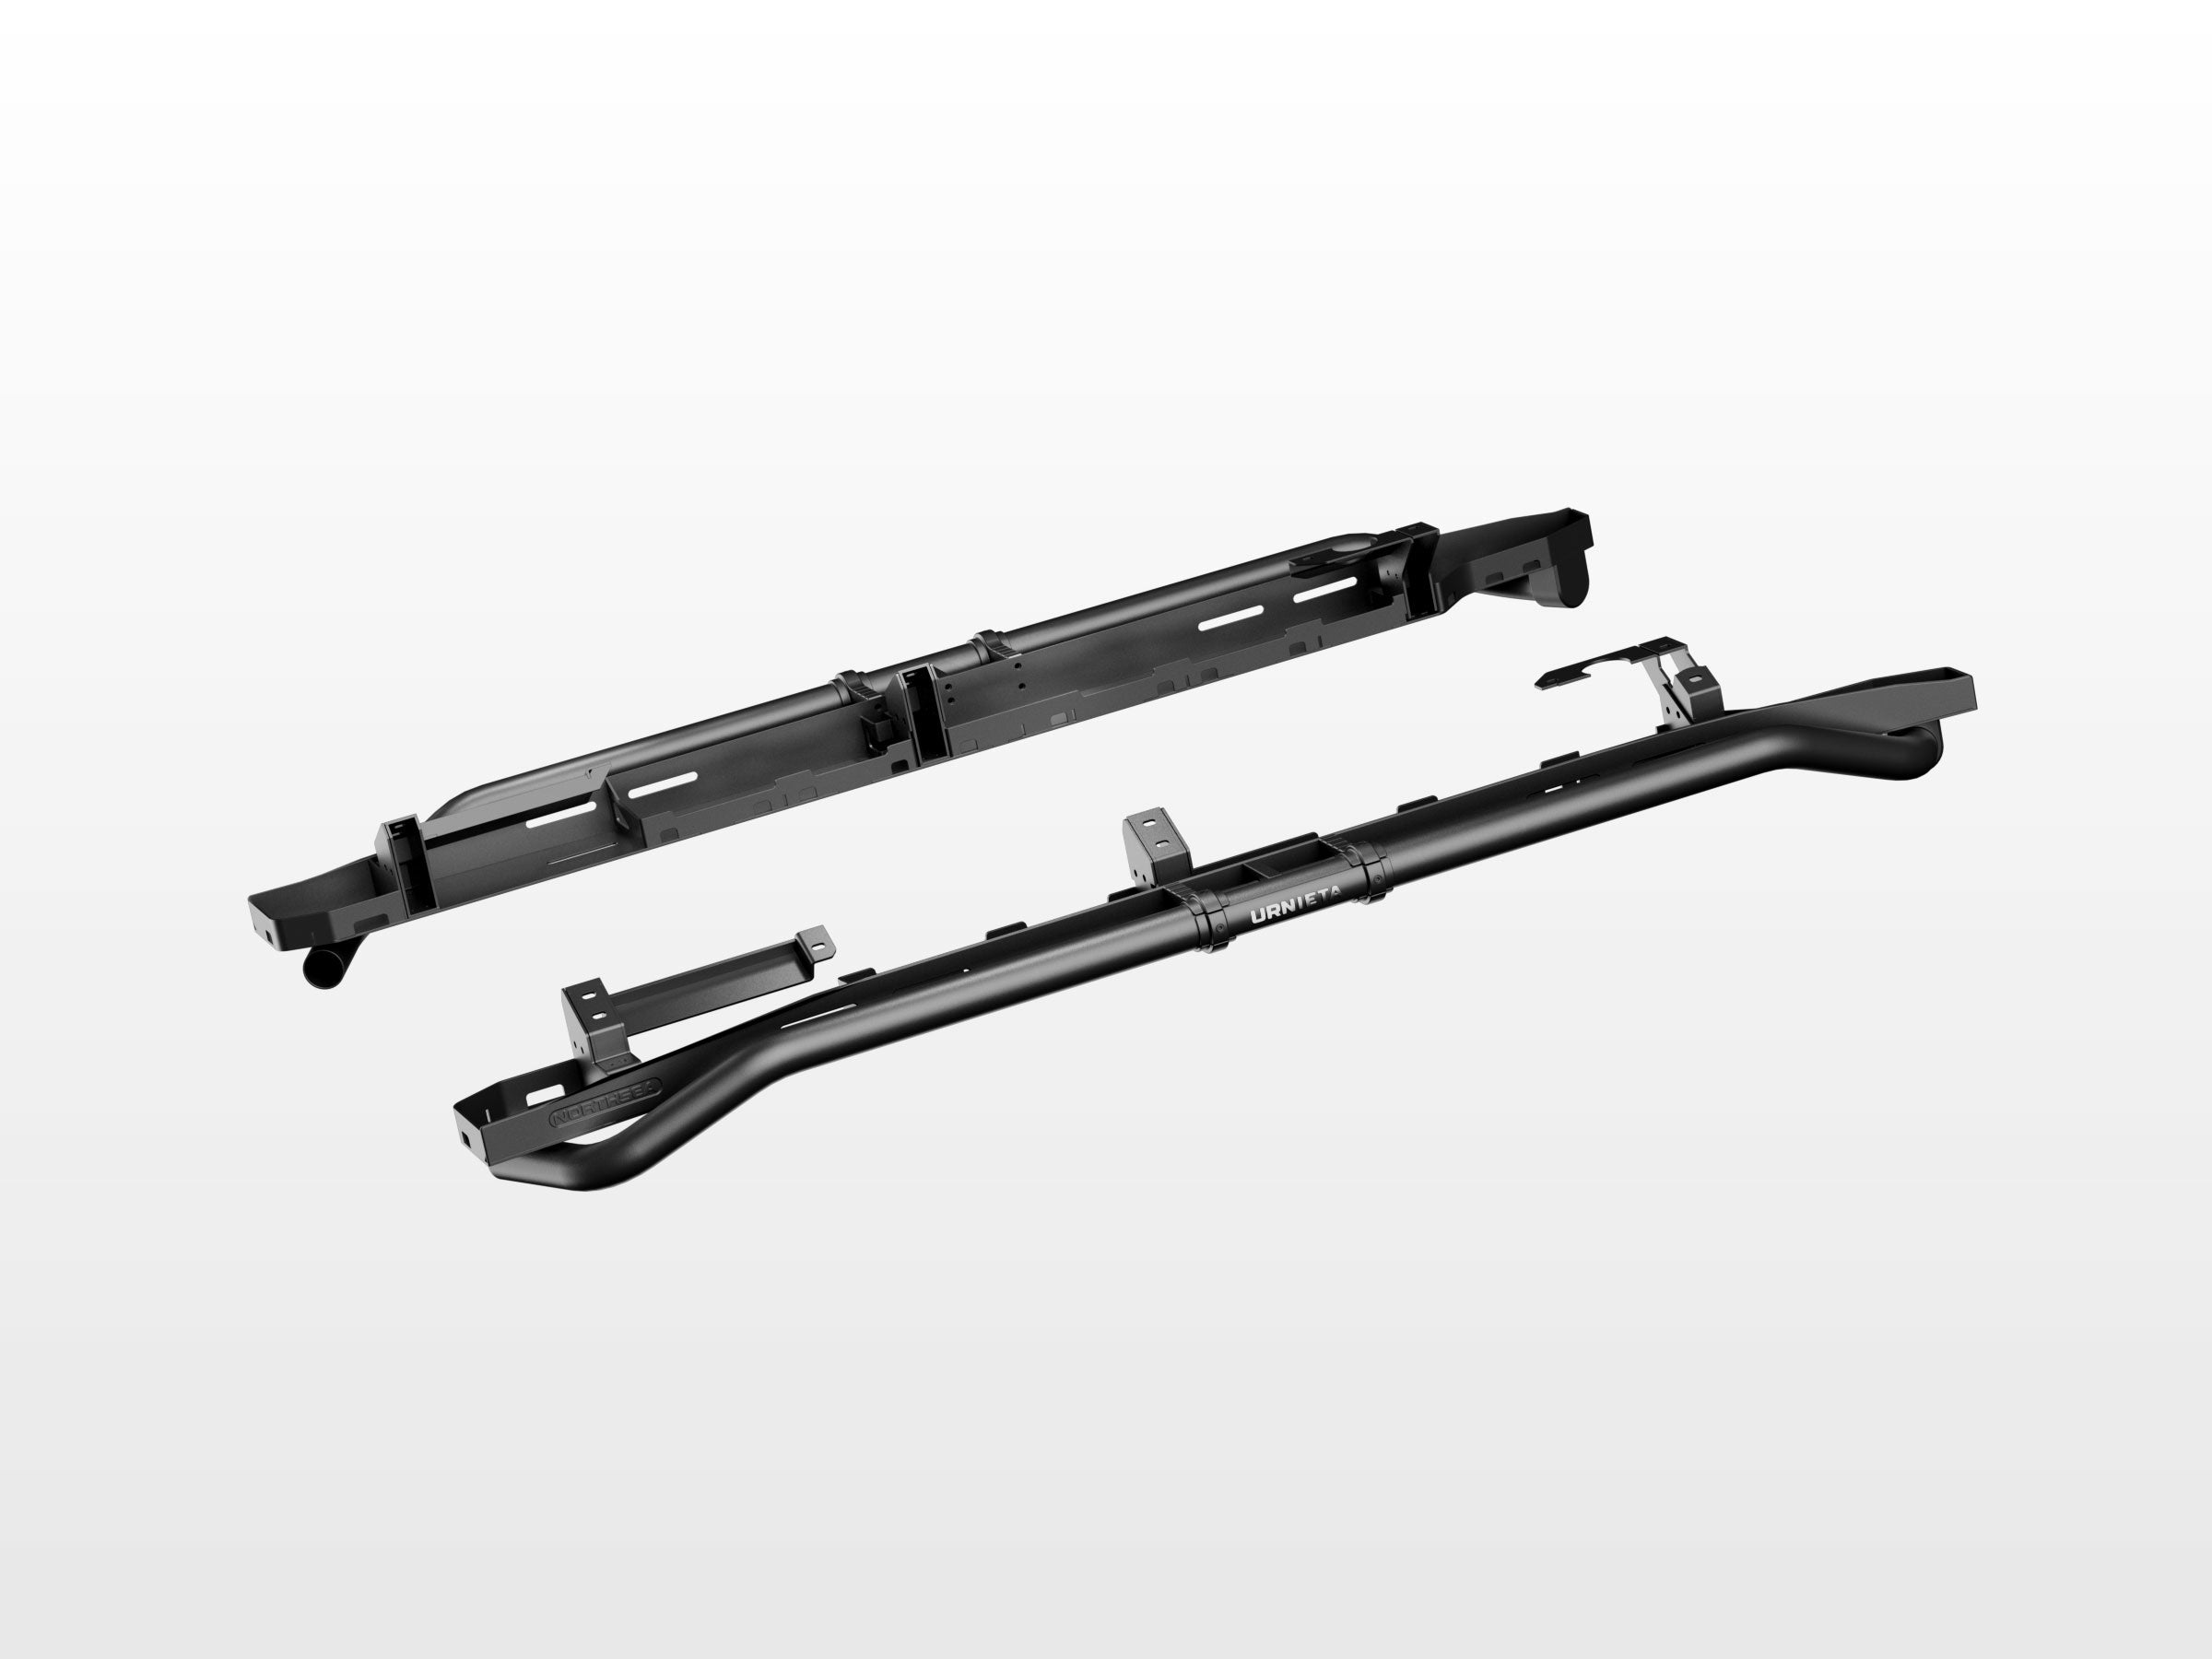
Aluminium-magnesium alloy side bars for the 250 Series Prado
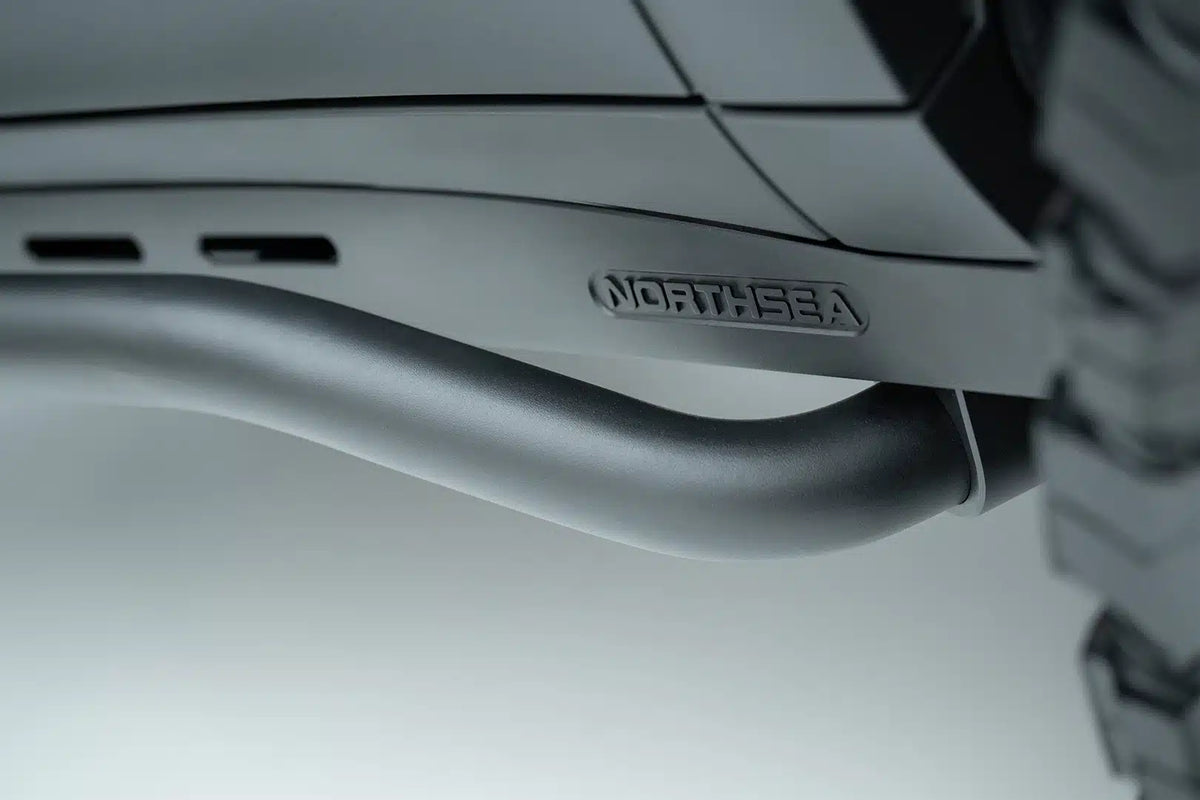
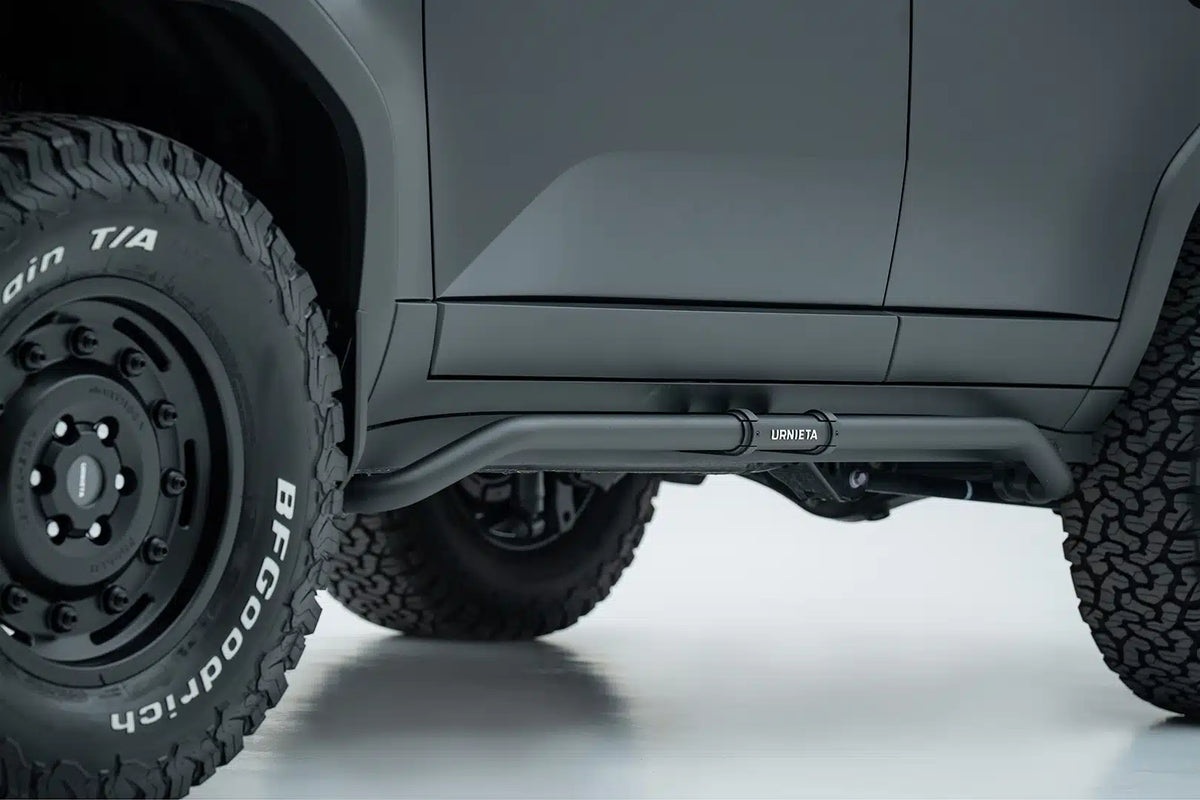
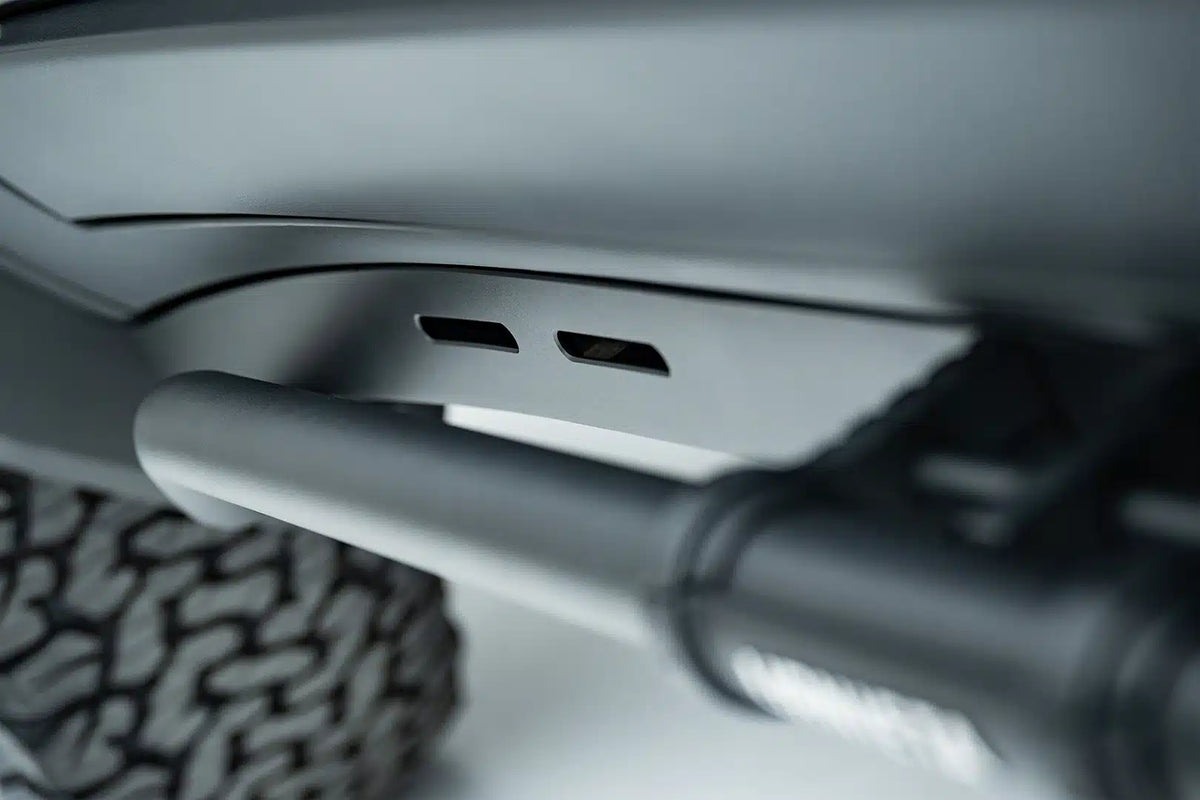
The 250 Series Prado's new body brought factory skirting most side steps can't clear. URNIETA's aluminium alloy side bar kit is profiled to fit around it, adding a durable step up without cutting into your Prado's factory look.
Item code: URNIETA005
In high demand. We're working through a backlog of orders on this range, so this item may dispatch one to two weeks later than usual.
12-Month Australian Warranty.Backed by PVS Automotive, Sydney based support. Tax Deductible for Business. GST claimable if you are registered.Often fully deductible as a business expense. Check with your accountant. Australian Owned and Operated.Australian Owned Certified · AO 08314
Built for the new platform.
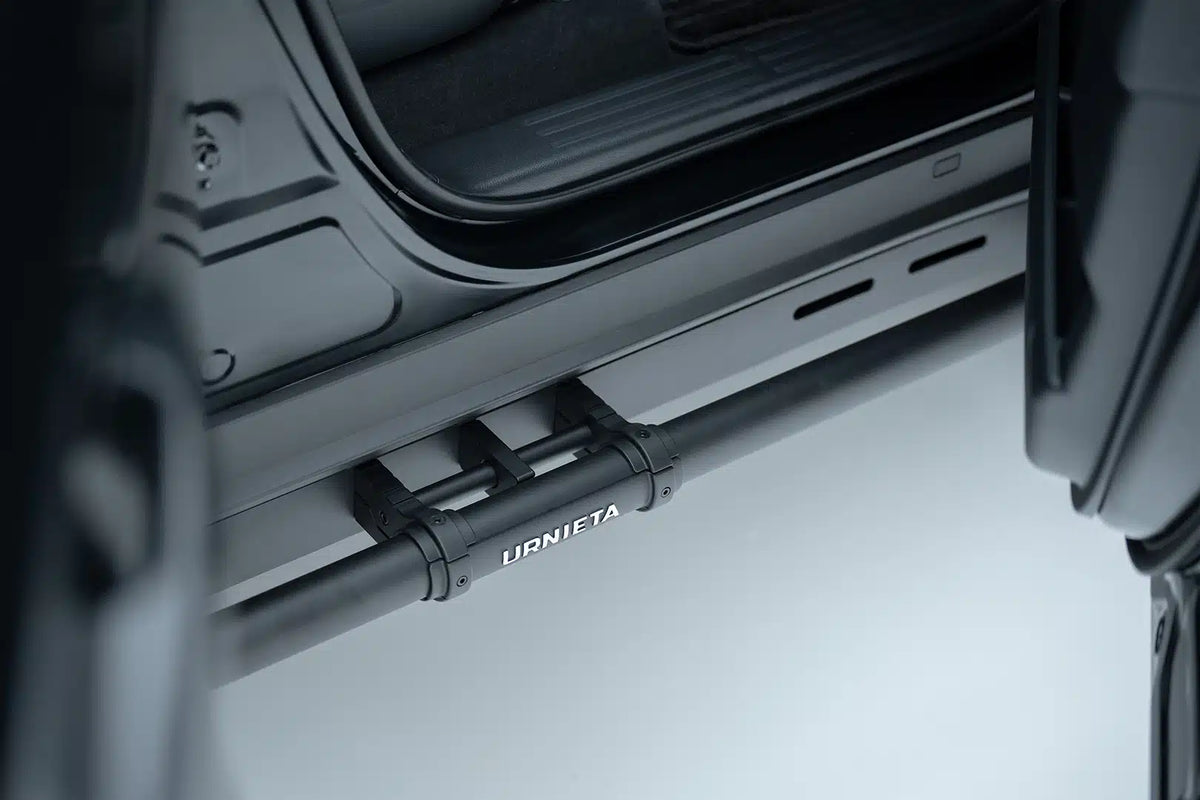
The URNIETA side bar kit is engineered specifically for the Toyota LC250. It adds protection to your vehicle's sides and gives you added stability when you enter or exit.
It's made from high-strength aluminium-magnesium alloy, and the streamlined design fits the LC250's profile. Whether you drive off-road or around town, the bars shield the sides of your vehicle from impacts and debris.
What sets these steps apart.
ALUMINIUM-MAGNESIUM ALLOY
High-strength alloy for long-lasting performance.
SIDE PROTECTION
Shields the sides of your vehicle from impacts and debris.
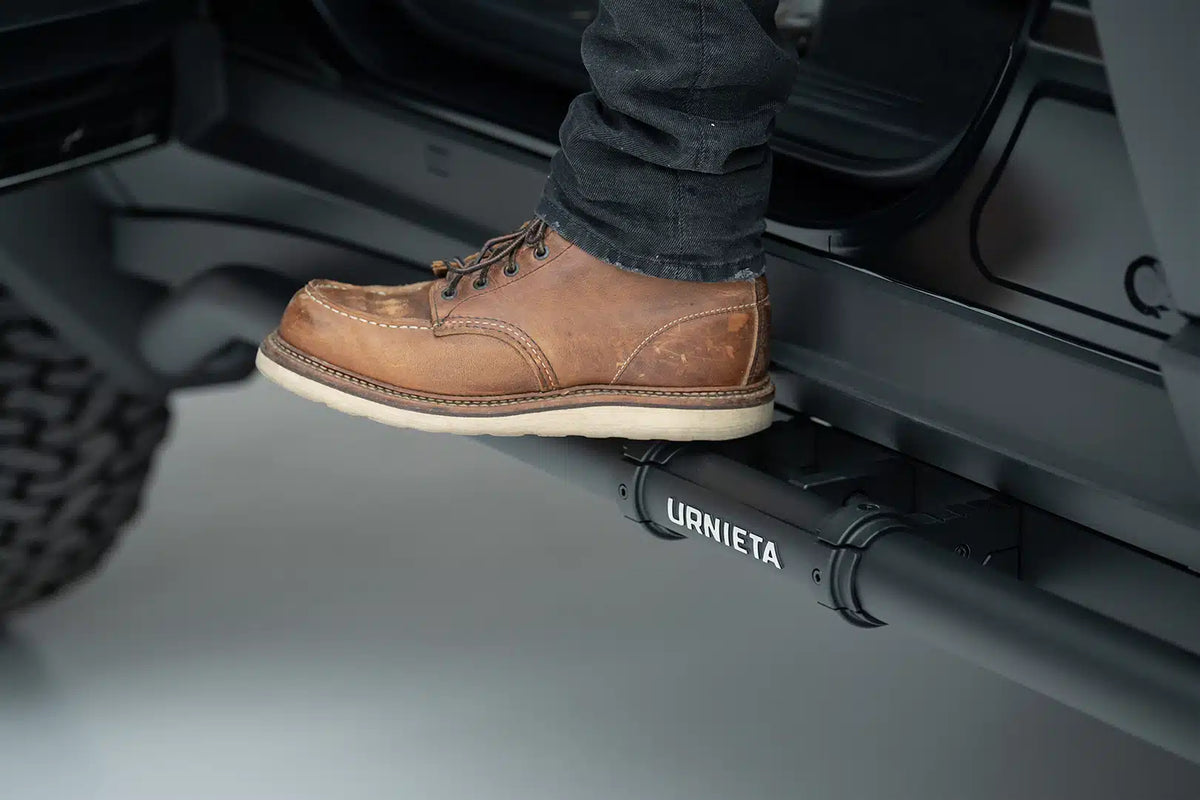
STEADY ENTRY AND EXIT
The bars add stability when you get in or out of your vehicle.
Vehicle fitment.
Installation overview.
PREPARE VEHICLE
Remove the original side steps, or where none are fitted, the corresponding mounting screws. Confirm all supplied parts.
SET THE SIDE BARS
Position the LH and RH side bars to the body mounts using the factory screws, checking the L/R marking on each bracket.
CHECK ALIGNMENT
Confirm the bars sit level and parallel to the body with even clearance front to rear before final tightening.
FINAL TORQUE
Tighten all mounting screws to specification.
Spec it
your way.
Not sure which setup suits your build? Get fitment advice, install guides, or talk to the PVS team before you buy. We are Sydney based and here to help.