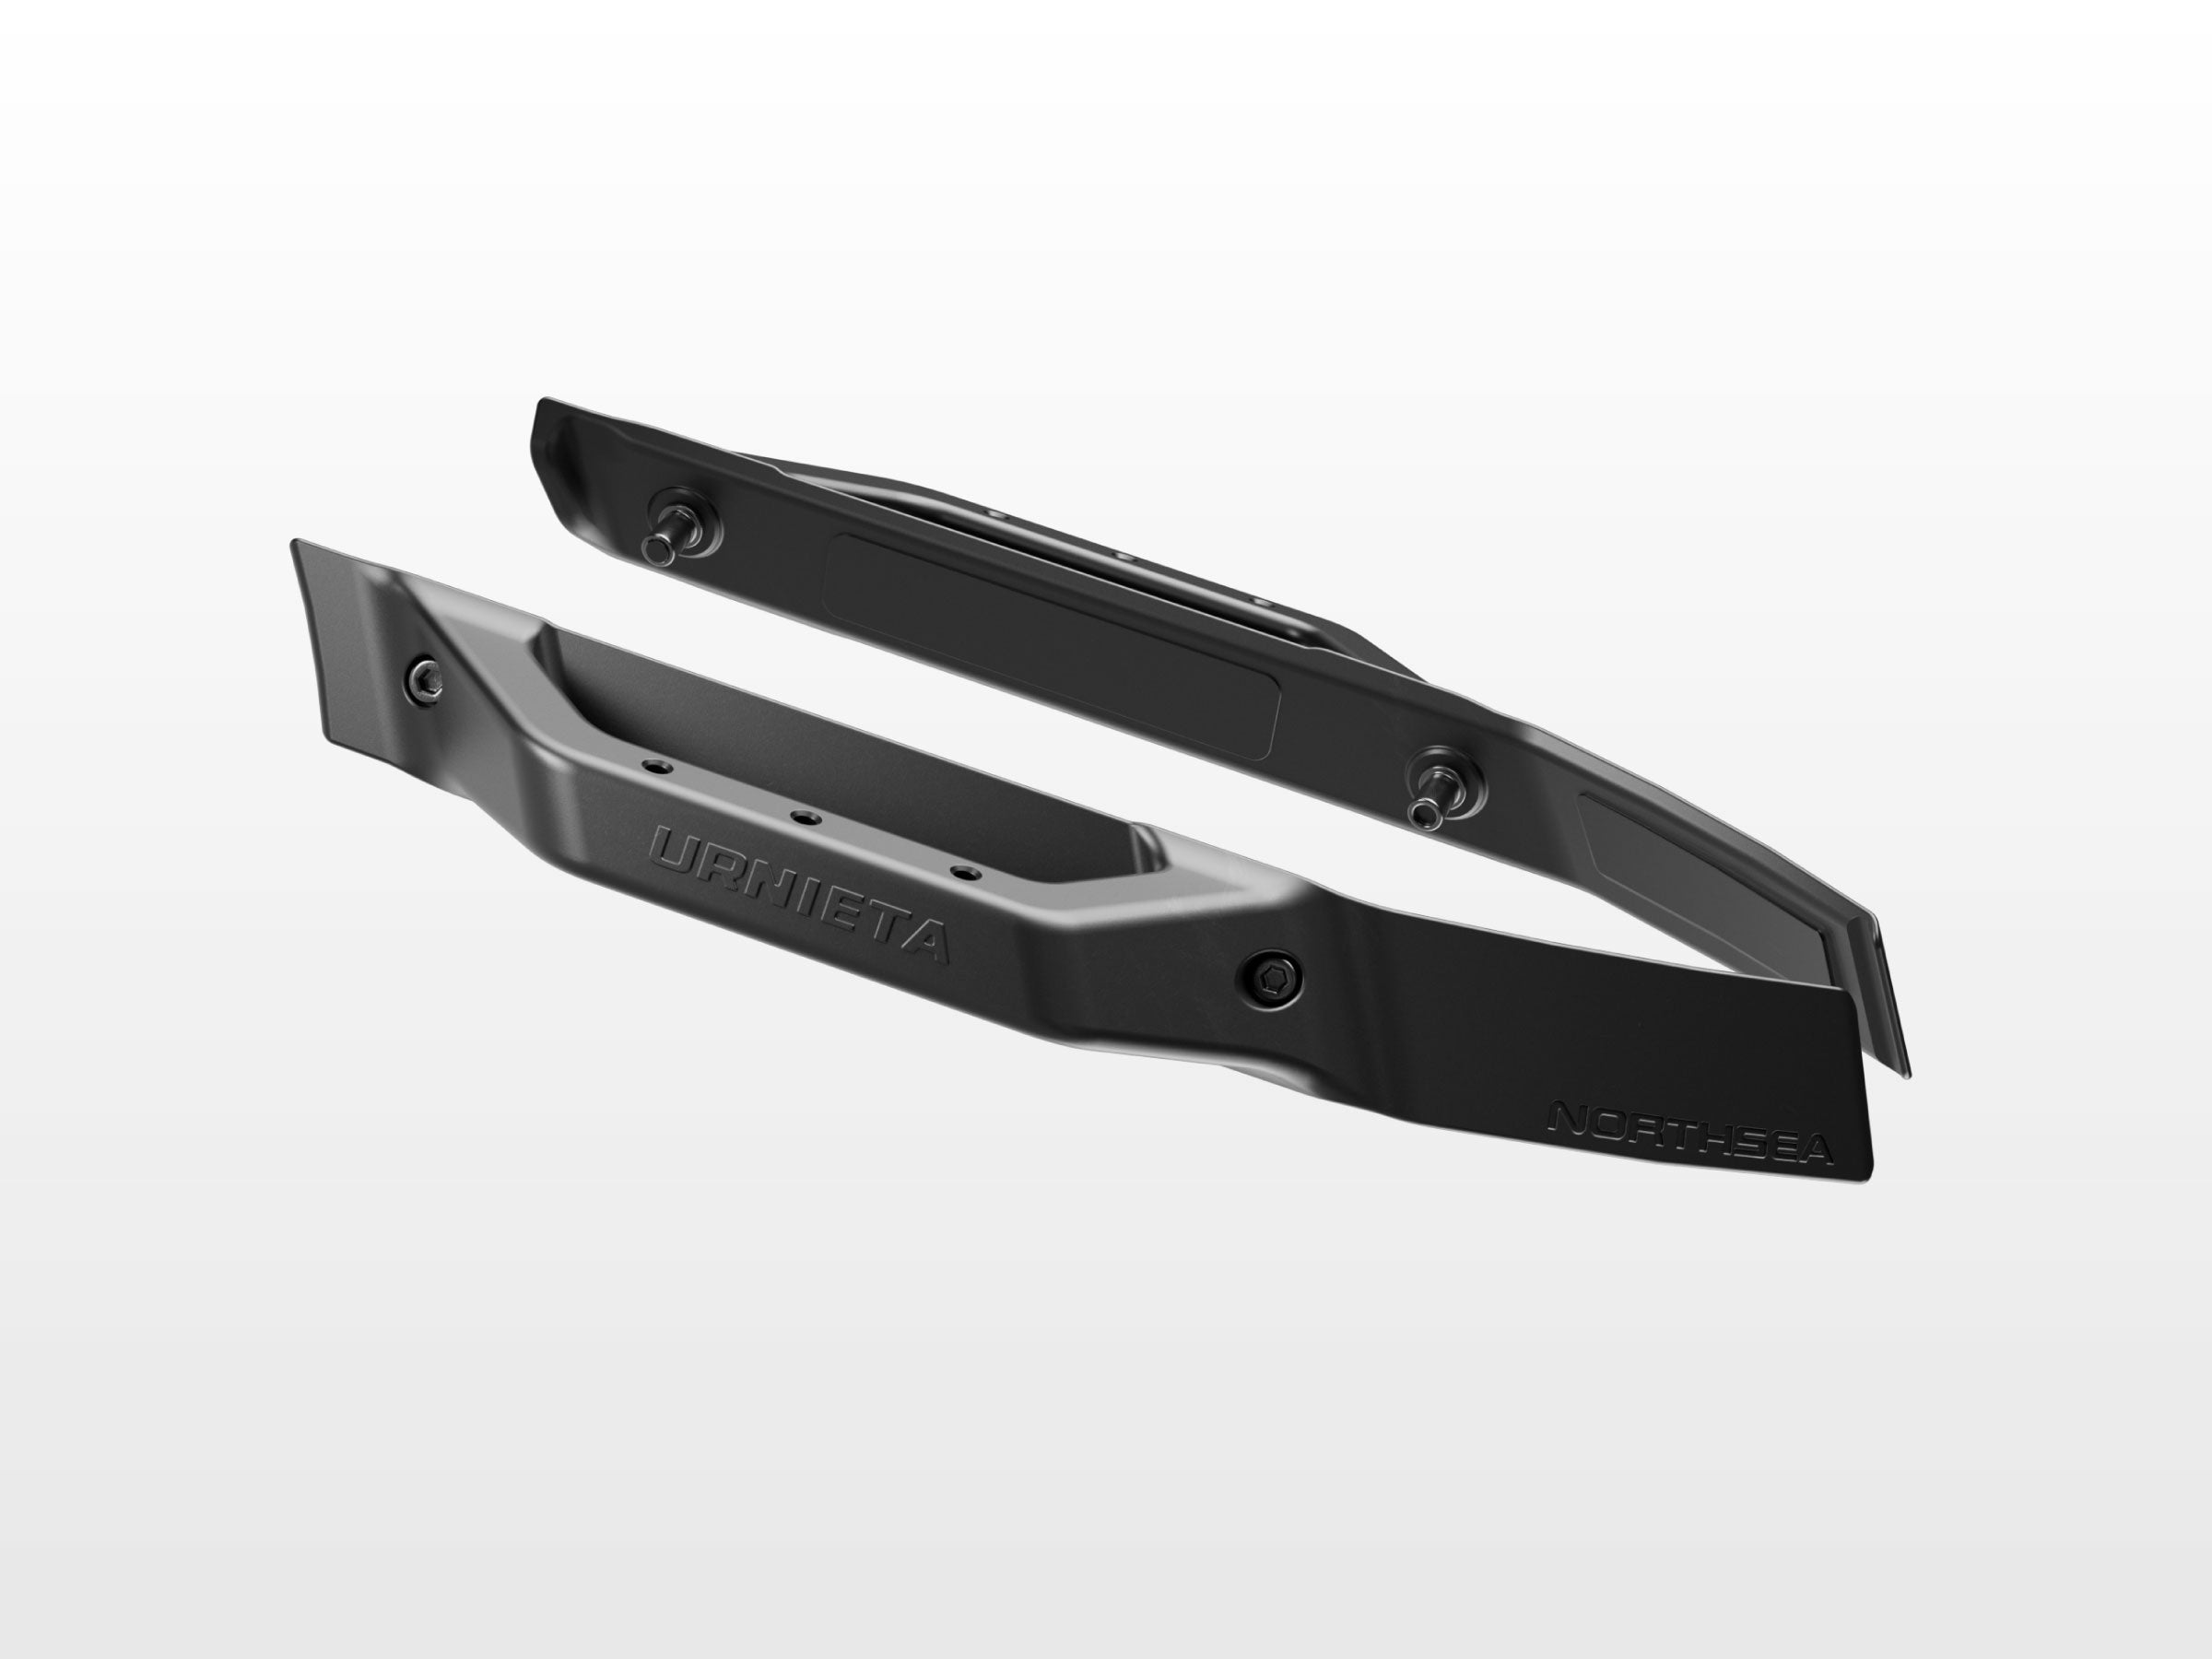
Side Handle
Aluminium-magnesium alloy D-pillar grab handle for the 250 Series Prado
The Urnieta side handle is a grab handle for the exterior D-pillar of your 250 Series Prado, made from high-strength aluminium-magnesium alloy with a black finish and tailored specifically for LC250 models.
Item code: URNIETA008
In high demand. We're working through a backlog of orders on this range, so this item may dispatch one to two weeks later than usual.
12-Month Australian Warranty.Backed by PVS Automotive, Sydney based support. Tax Deductible for Business. GST claimable if you are registered.Often fully deductible as a business expense. Check with your accountant. Australian Owned and Operated.Australian Owned Certified · AO 08314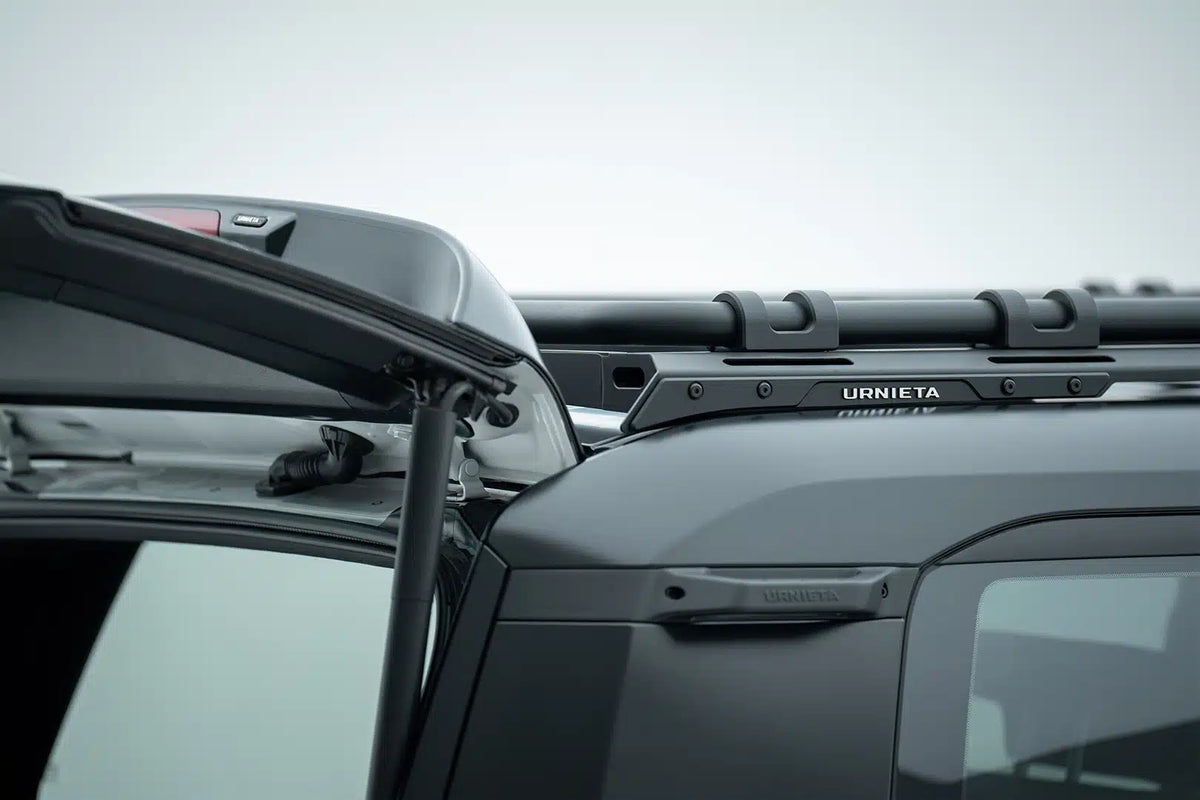
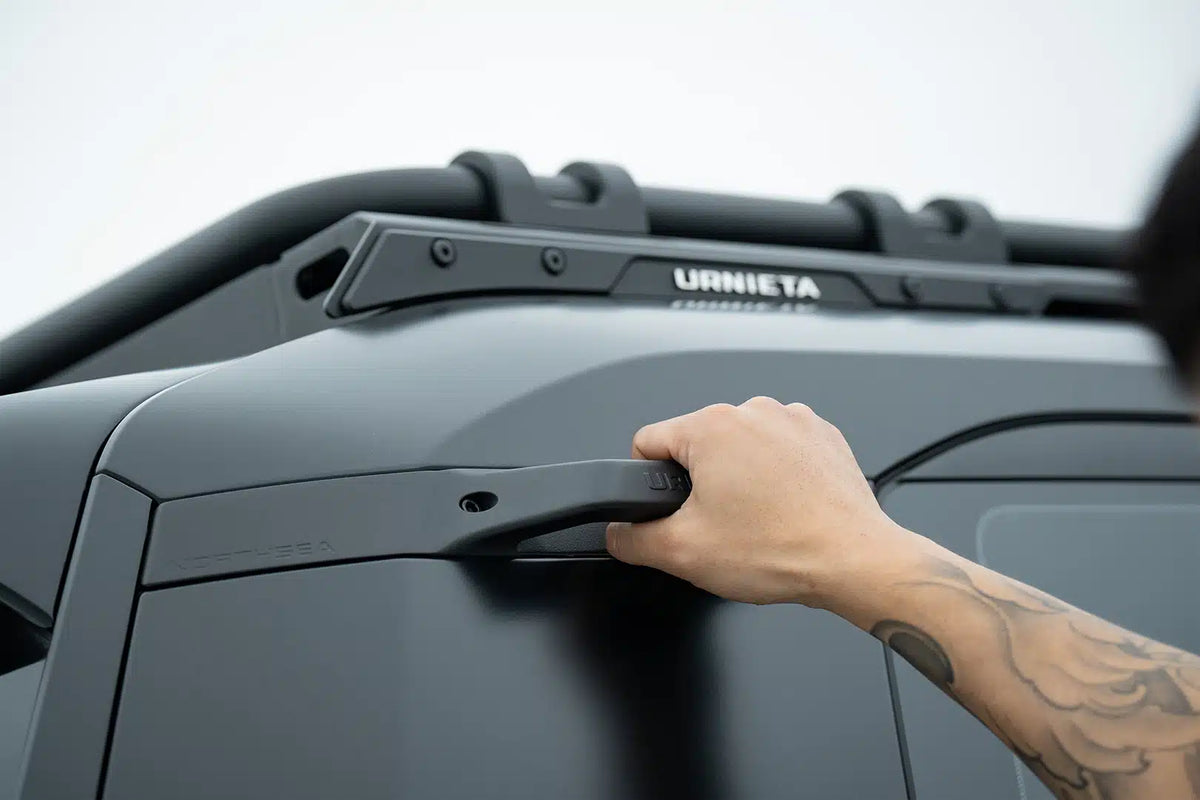
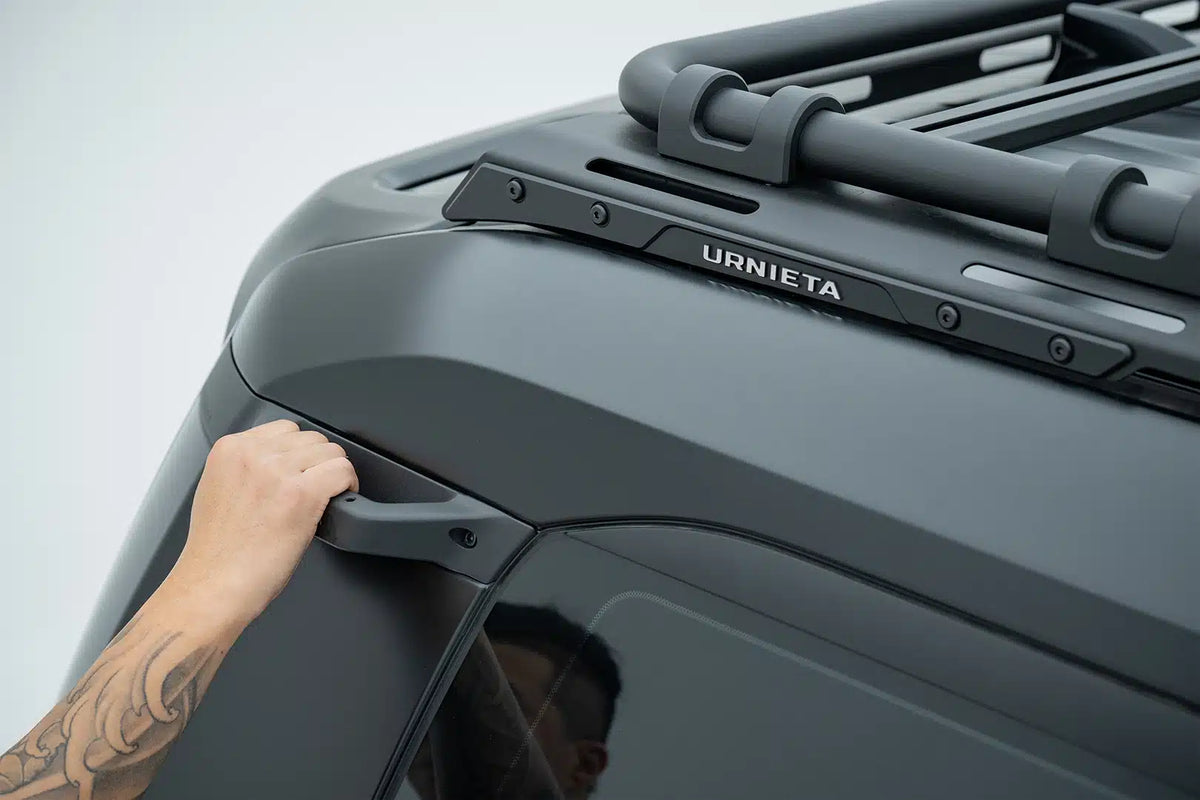
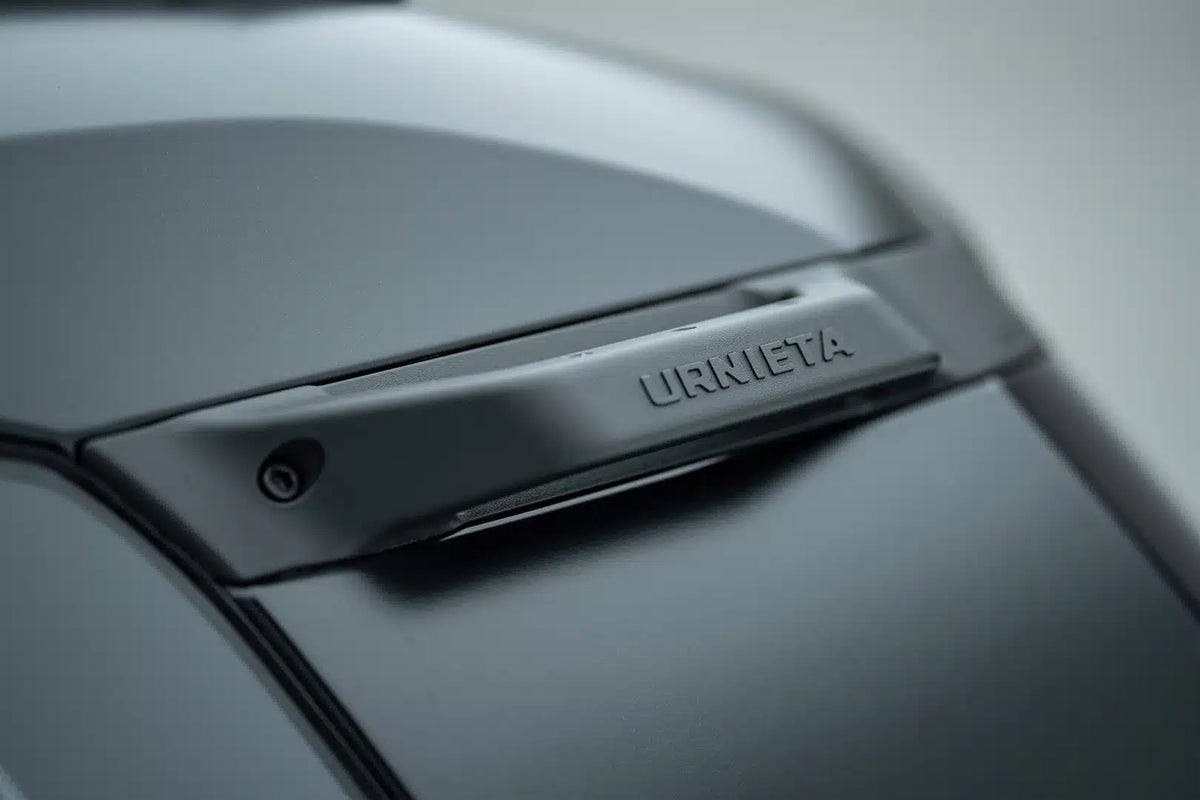
Step up with confidence.
The Urnieta side handle is a sturdy, easy-to-grip handle for the exterior D-pillar of your 250 Series Prado. It improves vehicle accessibility whether you're loading gear, climbing in and out or securing equipment.
It's made from high-strength aluminium-magnesium alloy with a black finish. Fitting enlarges the original mounting holes and uses rivet nuts, an essential step to guarantee the strength of the grab handle.
Built for the job.
ALUMINIUM-MAGNESIUM ALLOY
High-strength alloy gives you durability and a sleek black finish.
EASY-TO-GRIP
A sturdy handle built to withstand tough environments, with a design that blends in with your LC250.
RIVET NUT MOUNT
The original mounting holes are enlarged and fitted with rivet nuts. The handle is then bonded with 3M adhesive and secured with M6×20 screws.
Vehicle fitment.
Installation overview.
REMOVE THE TRIM
Remove the D-pillar exterior trim and confirm all supplied parts.
PREP THE HOLE
Clean the adhesive from the original lower rubber strip and enlarge the marked hole with an 8.9 mm drill bit.
RIVET THE HOLE
Rivet the enlarged hole and confirm the handle position before bonding.
FIT THE HANDLE
Apply 3M adhesive to the contact face and secure the D-pillar handle with M6×20 socket head screws.
Spec it
your way.
Not sure which setup suits your build? Get fitment advice, install guides, or talk to the PVS team before you buy. We are Sydney based and here to help.