Roof Console
78 Series Troop Carrier upgrade kit
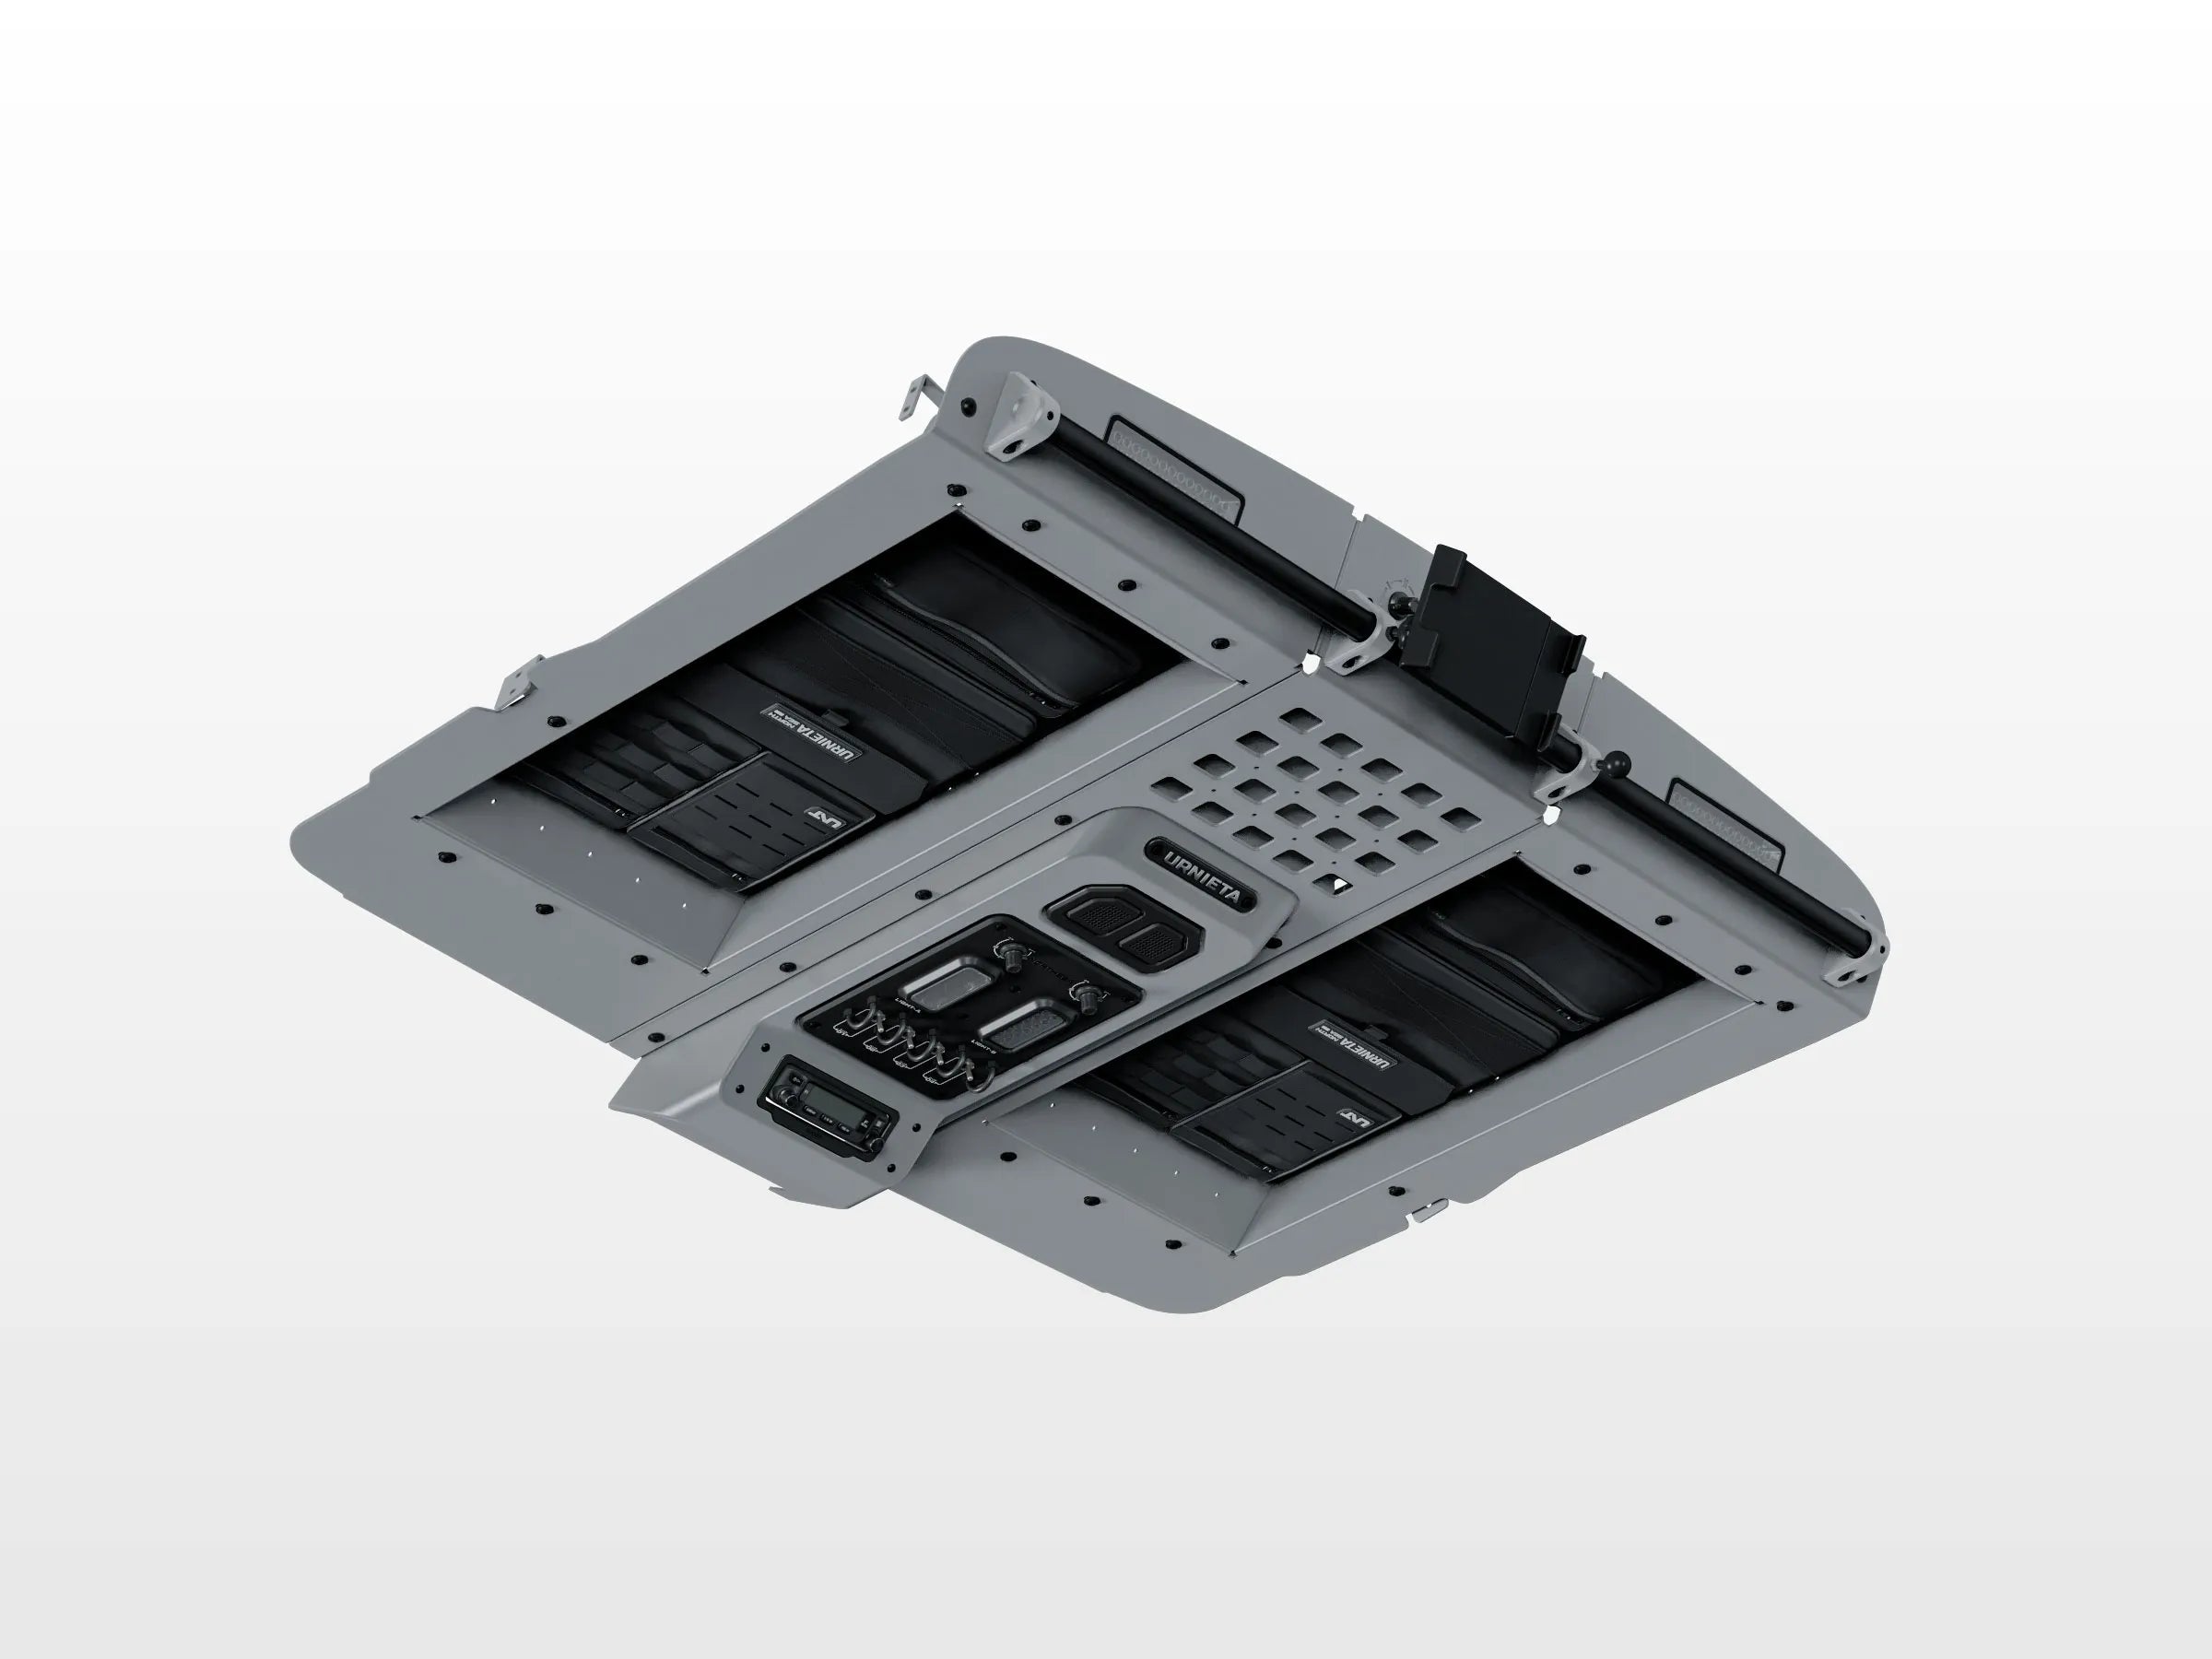
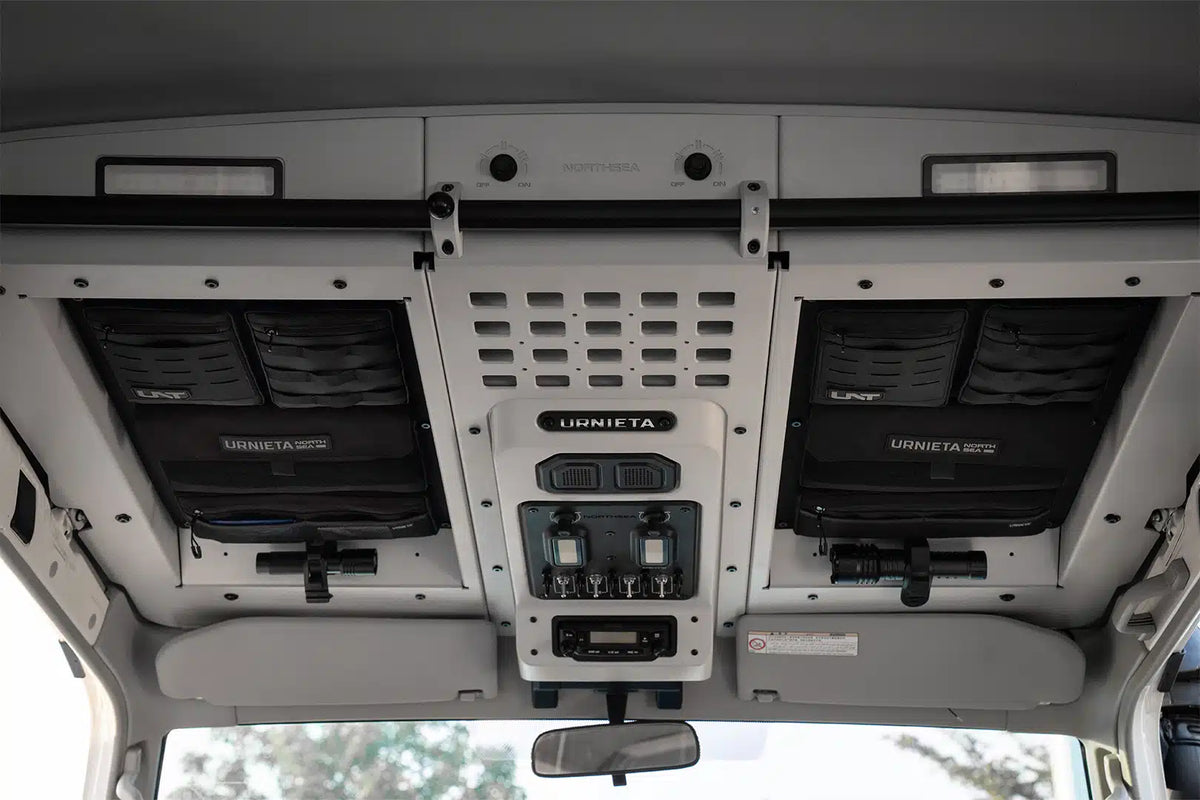
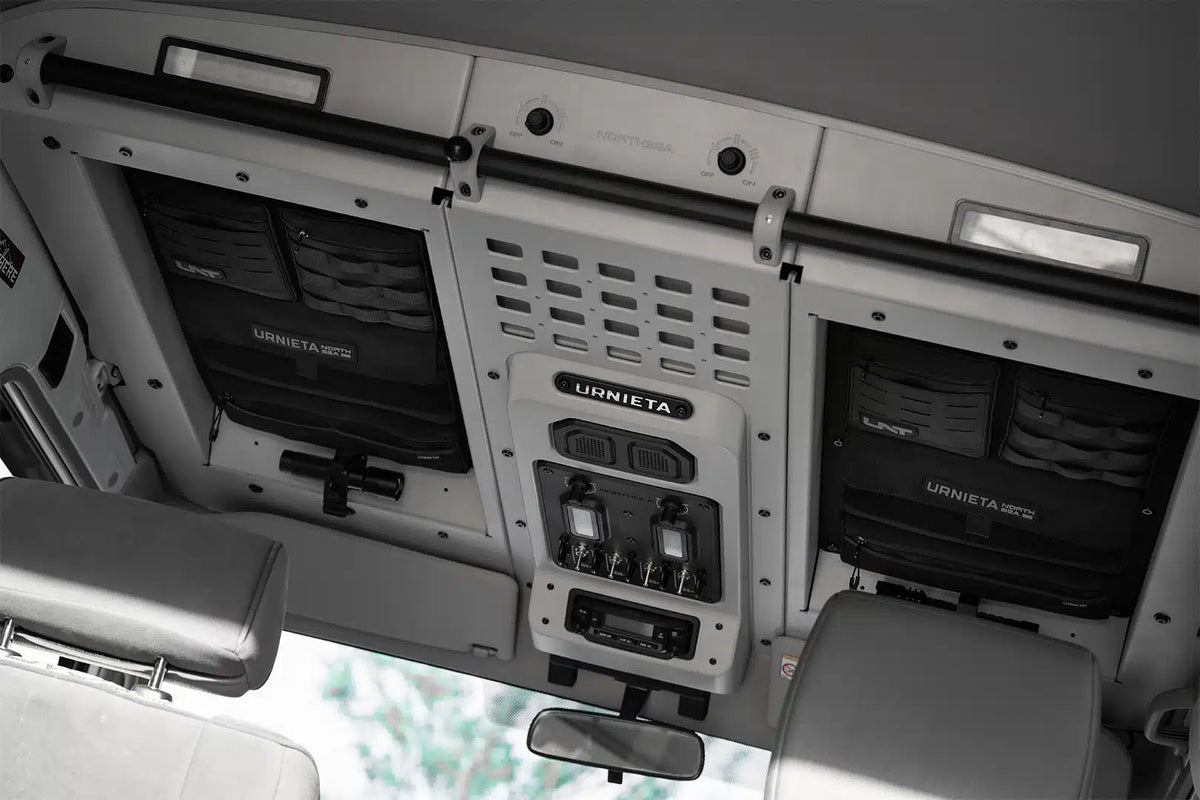
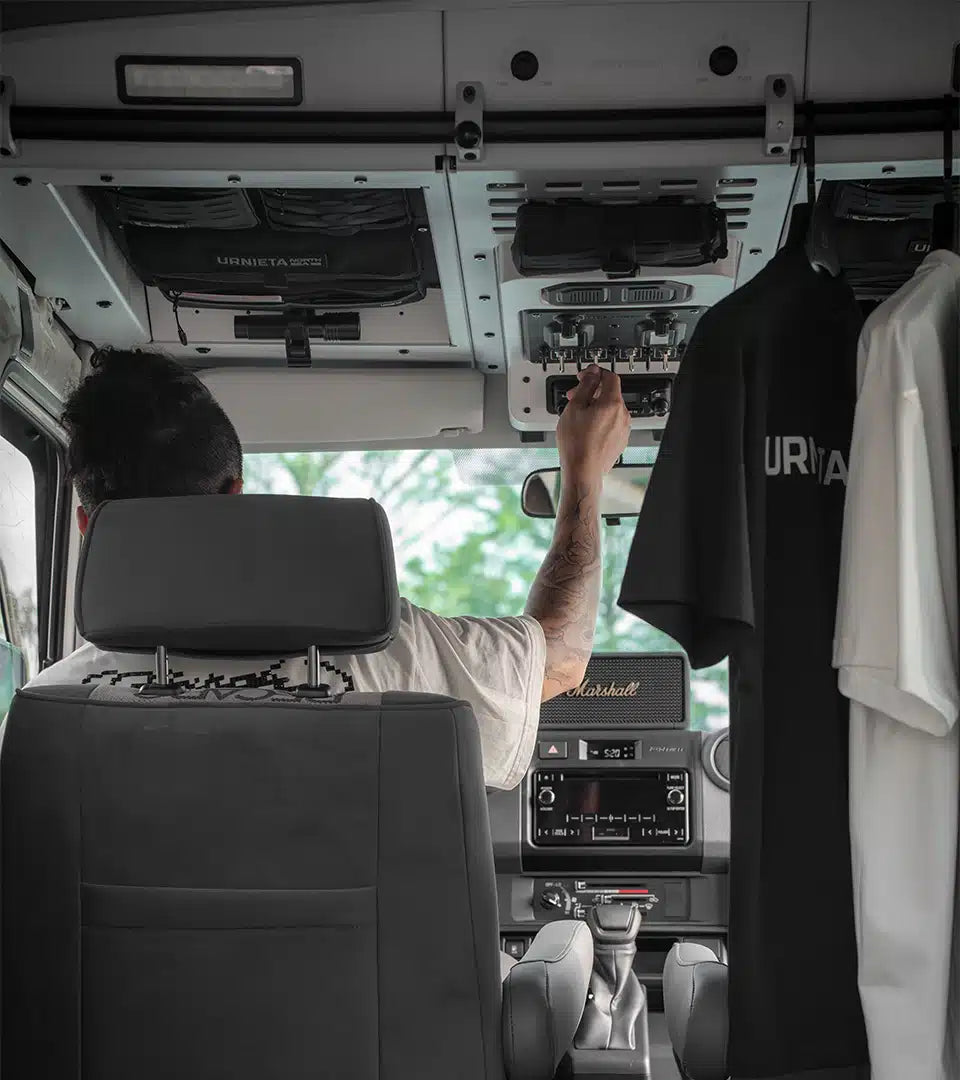
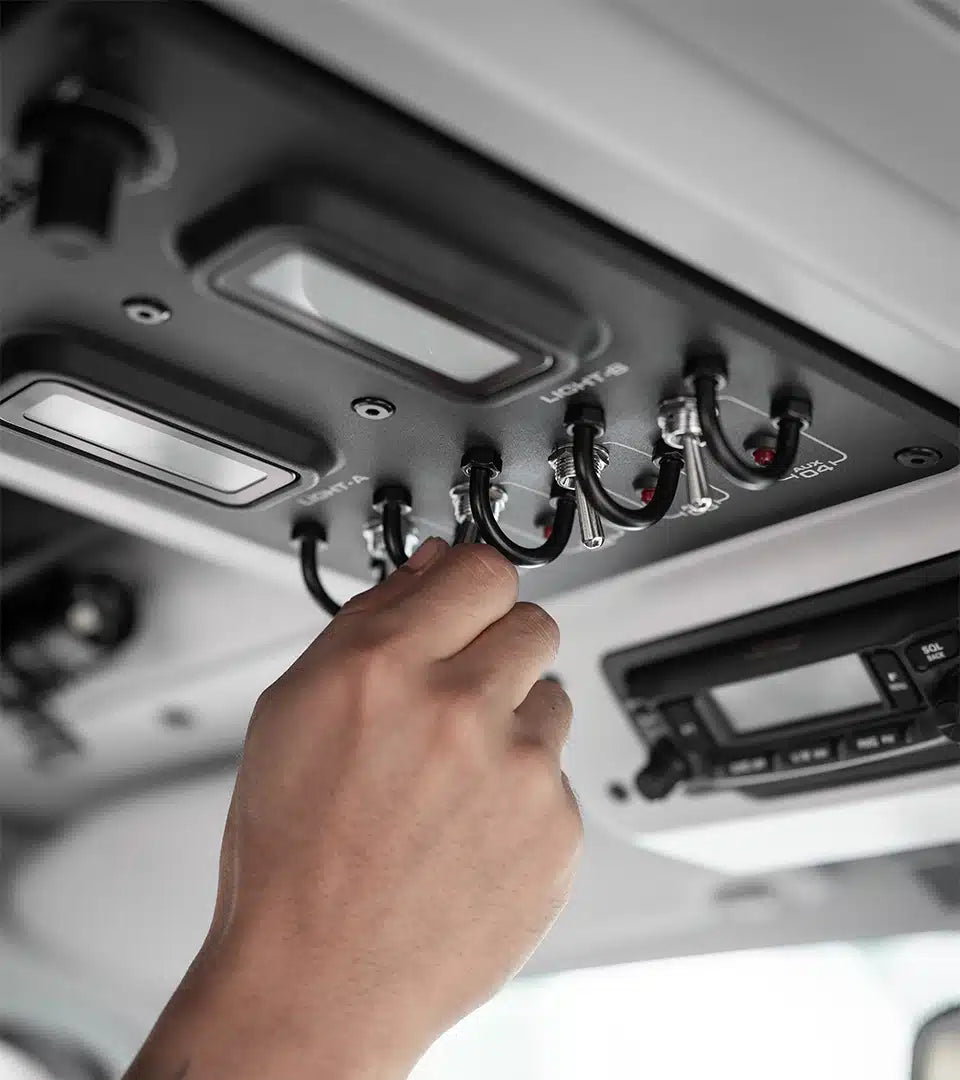
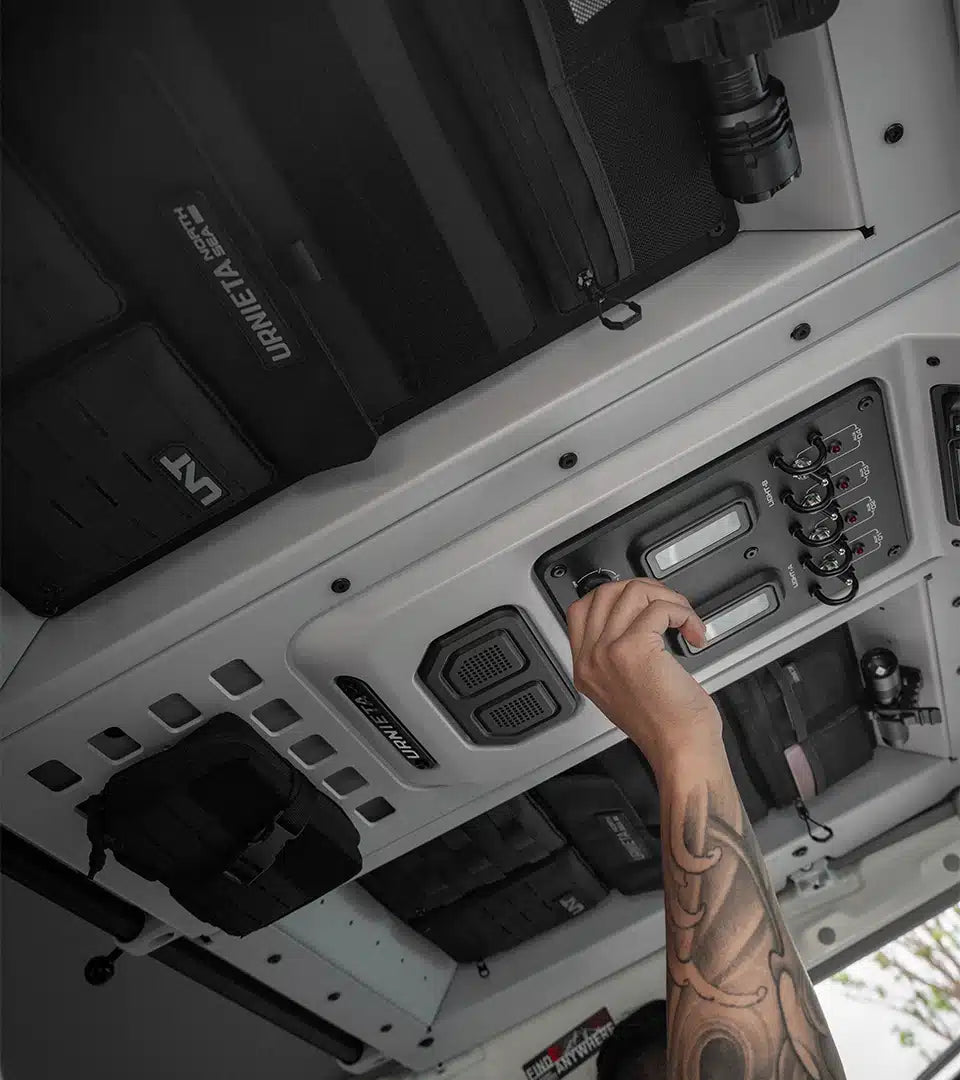
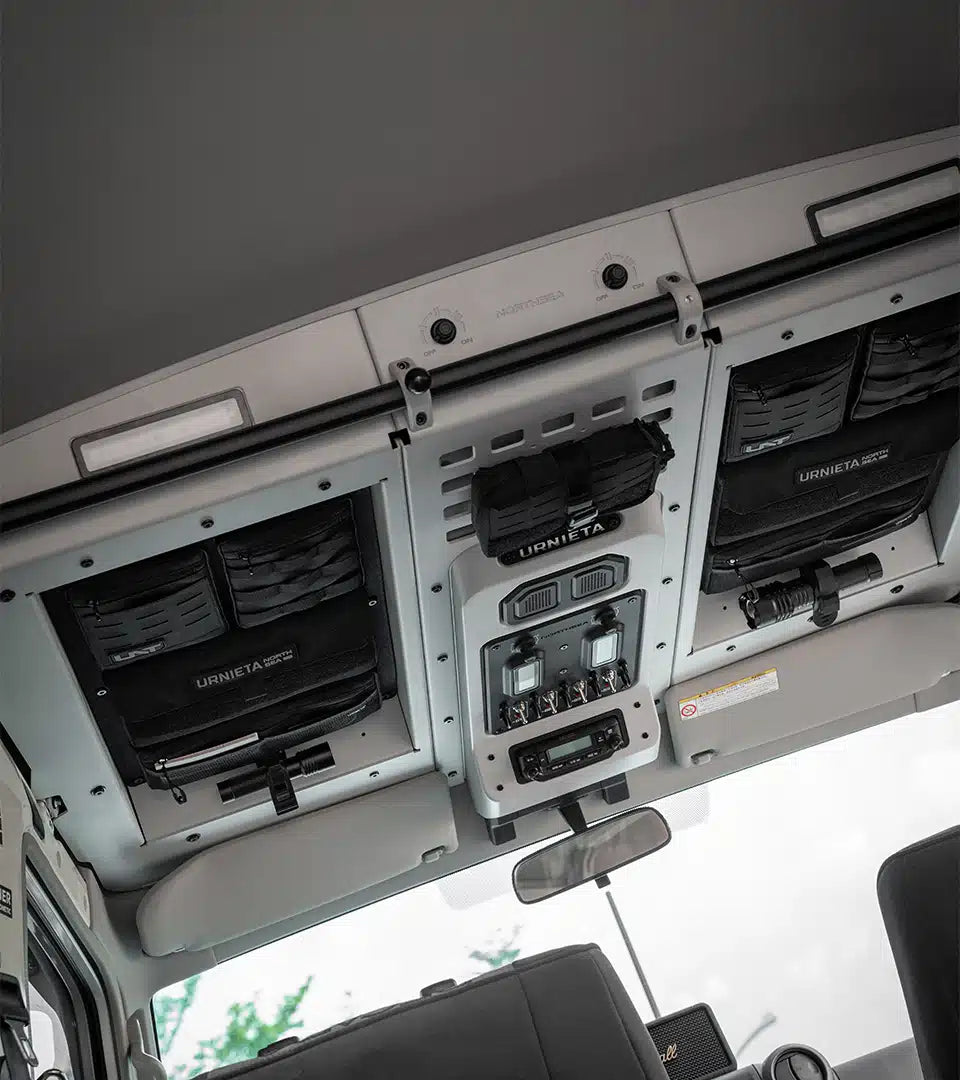
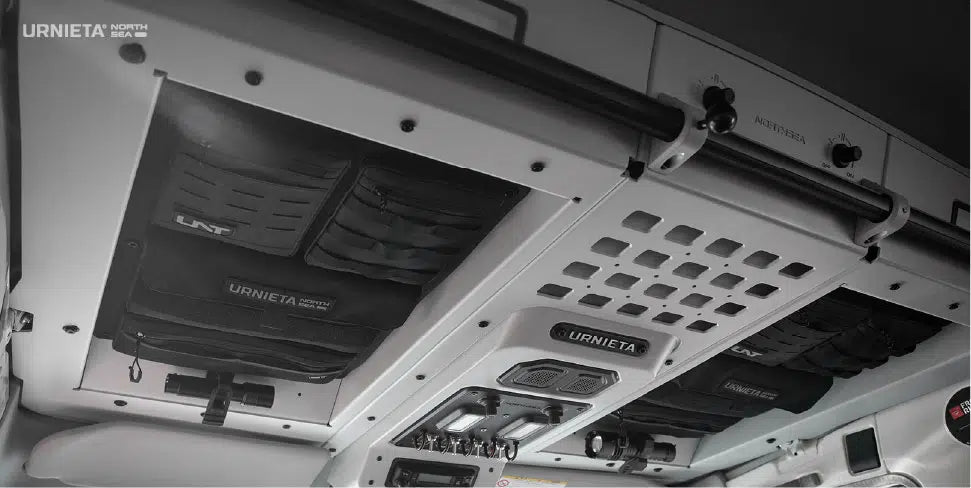
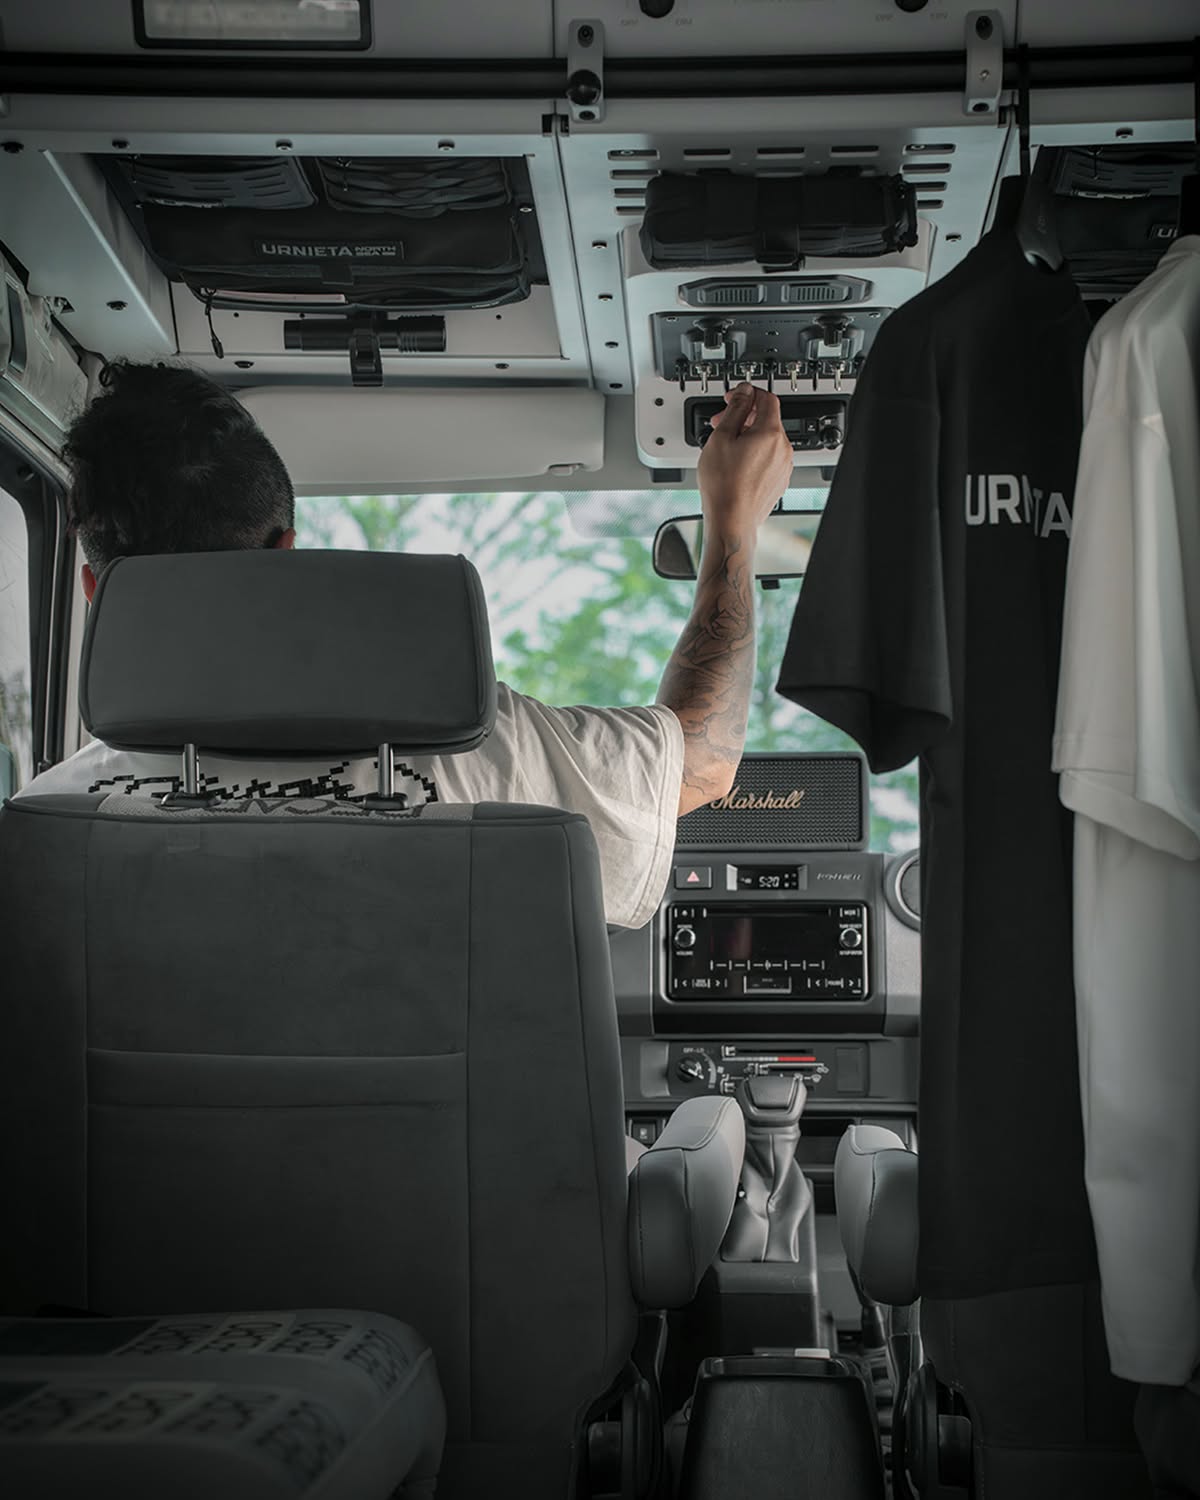
The URNIETA Roof Console Upgrade Kit is a single integrated module that replaces the entire overhead space in the LC78 Troop Carrier, with switch panel, lighting, radio mount, storage and accessory rail on one wiring harness.
Item code: URNIETA037
In high demand. We're working through a backlog of orders on this range, so this item may dispatch one to two weeks later than usual.
12-Month Australian Warranty.Backed by PVS Automotive, Sydney based support. Tax Deductible for Business. GST claimable if you are registered.Often fully deductible as a business expense. Check with your accountant. Australian Owned and Operated.Australian Owned Certified · AO 08314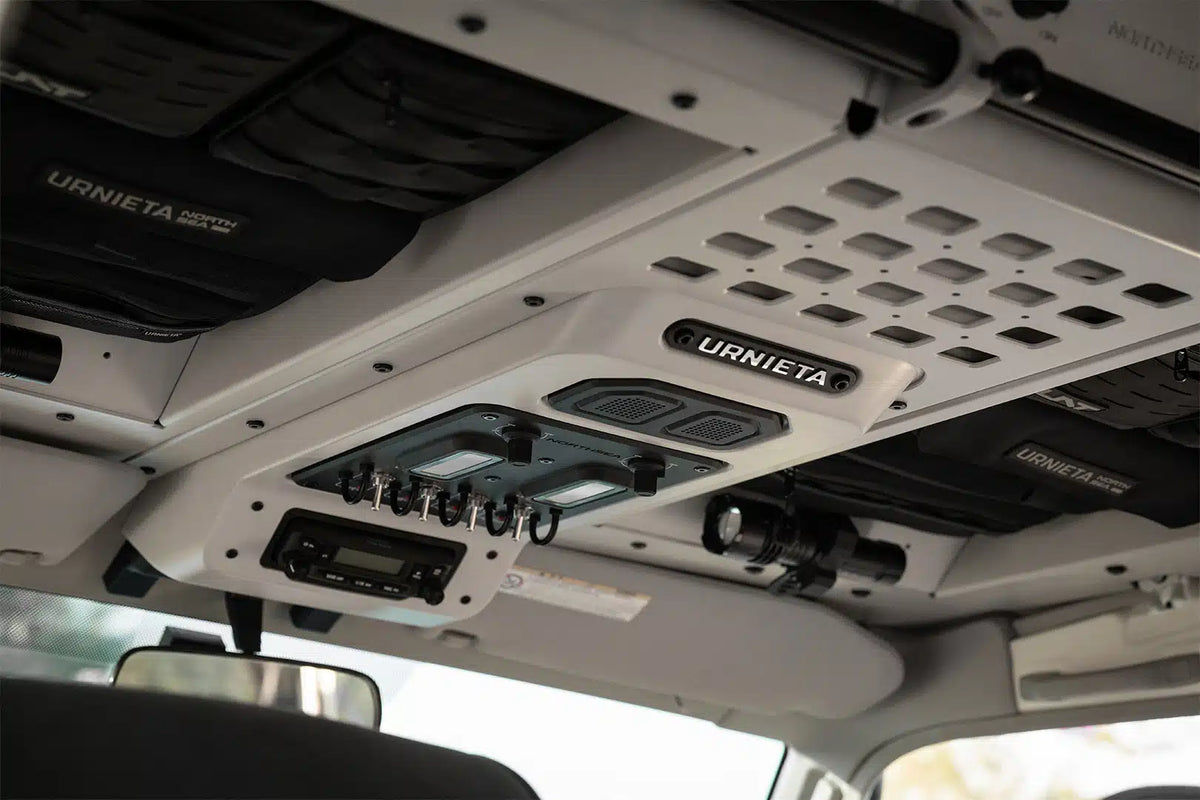
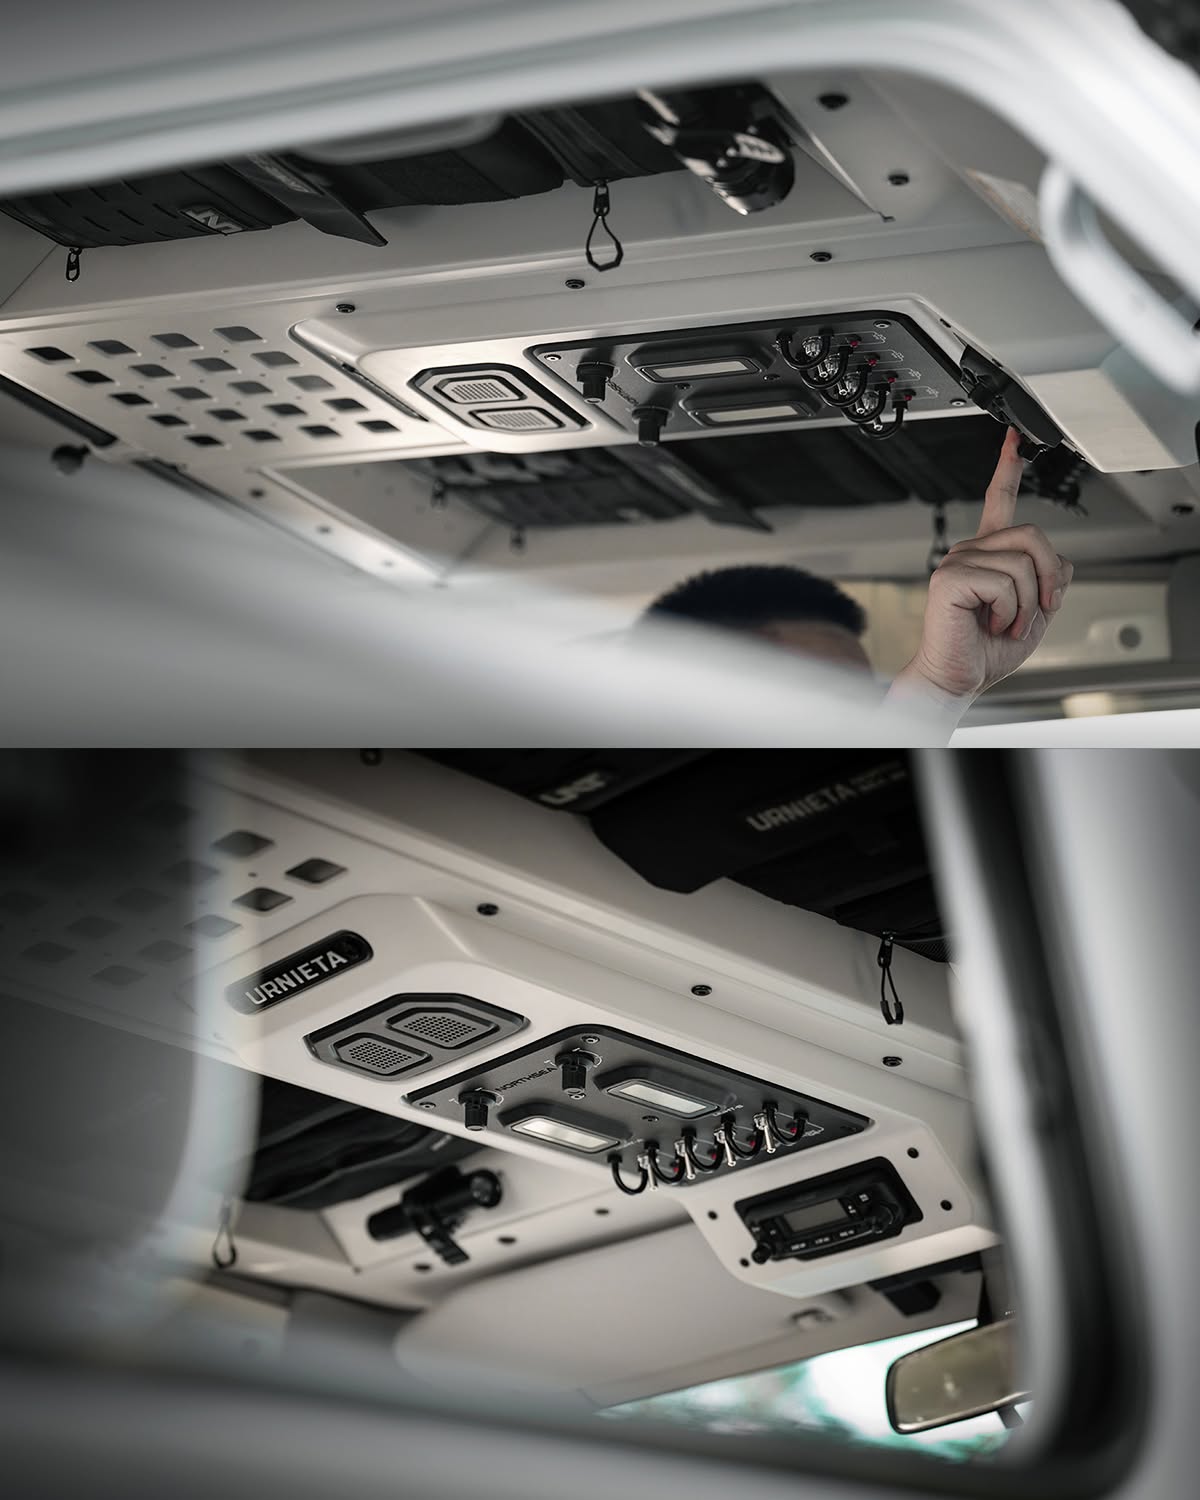
Built for the Troopy.
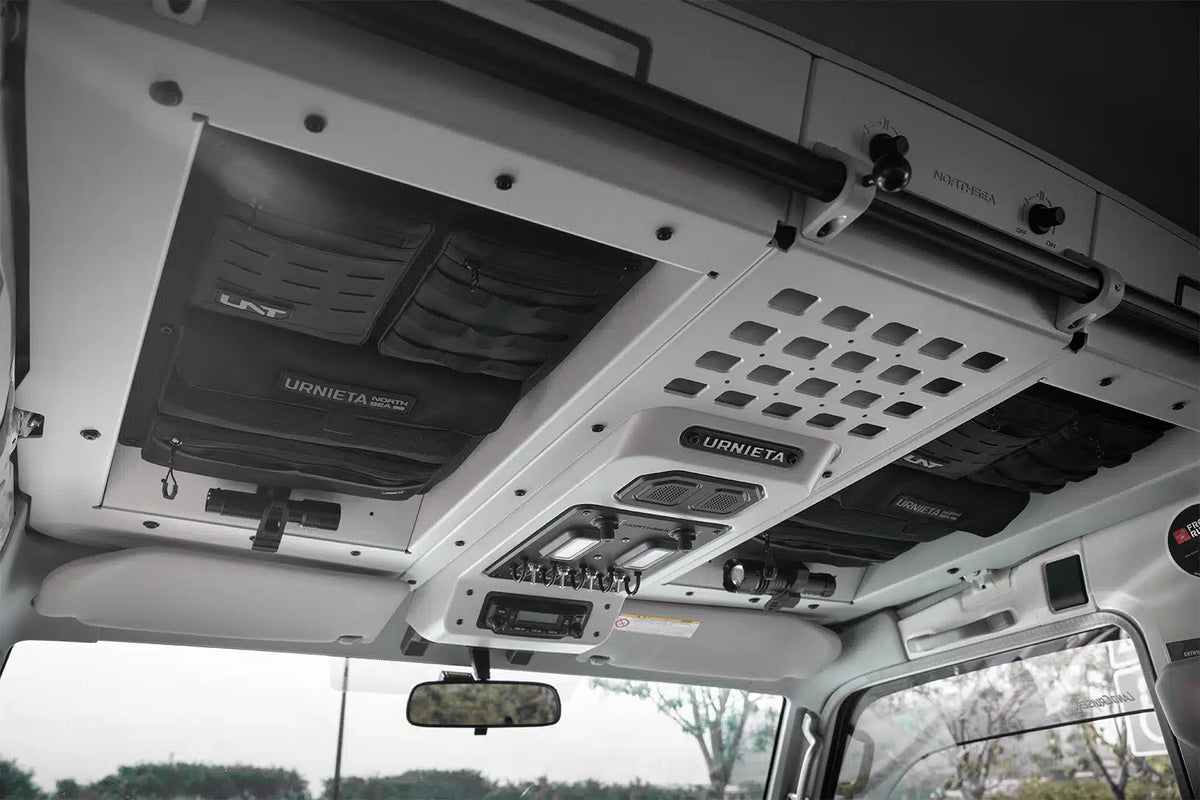
The URNIETA Roof Console Upgrade Kit is a single integrated module that replaces the entire overhead space in an LC78, designed specifically for the Troop Carrier.
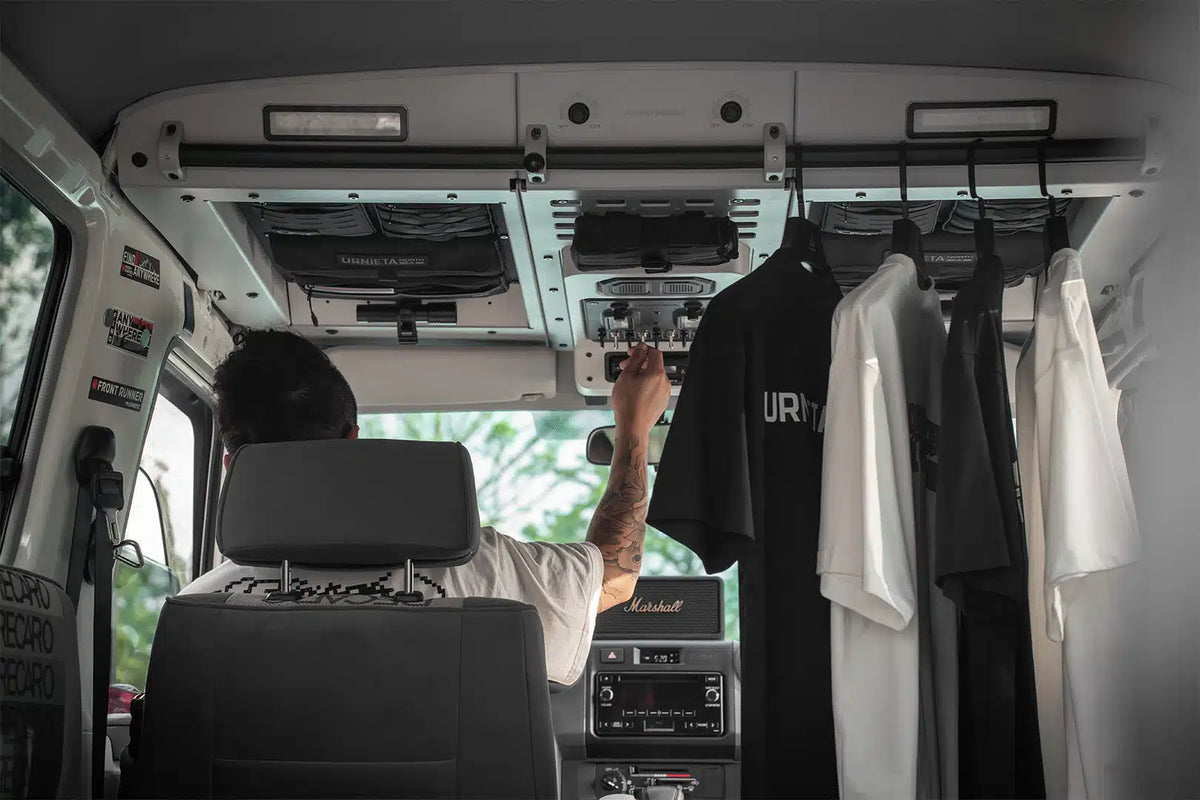
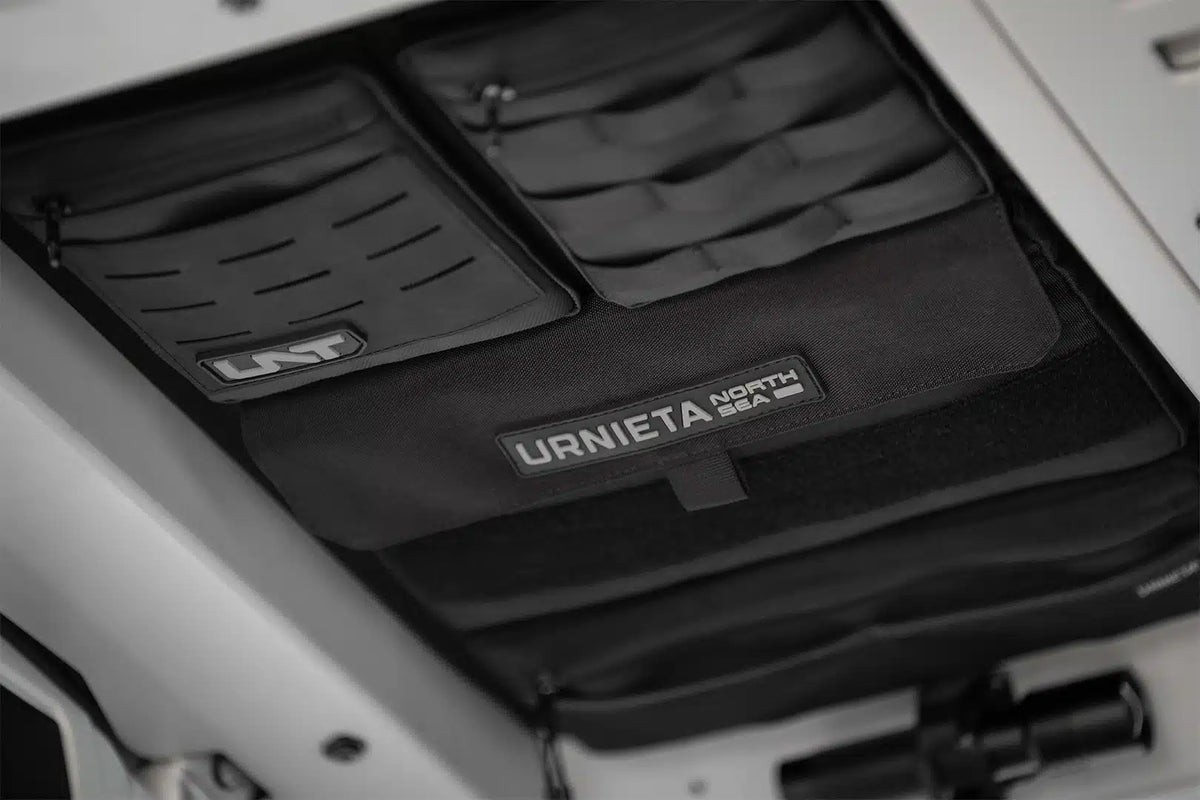
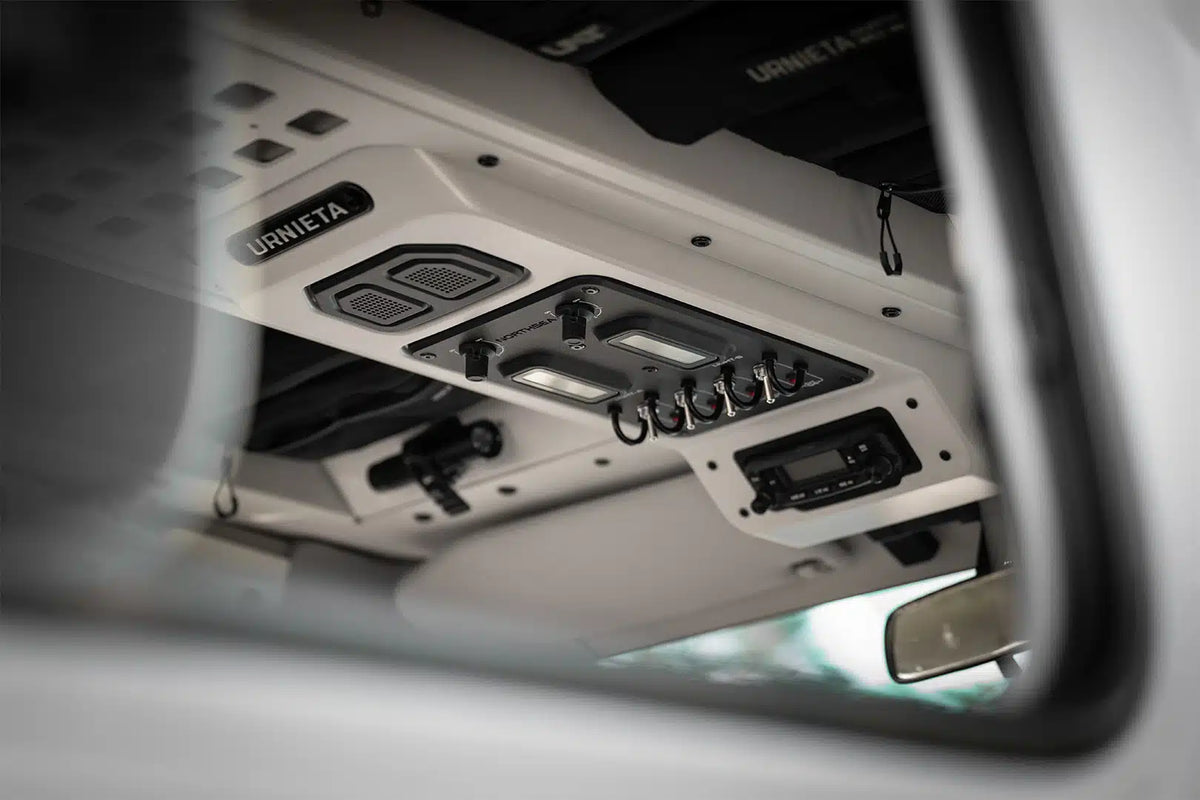
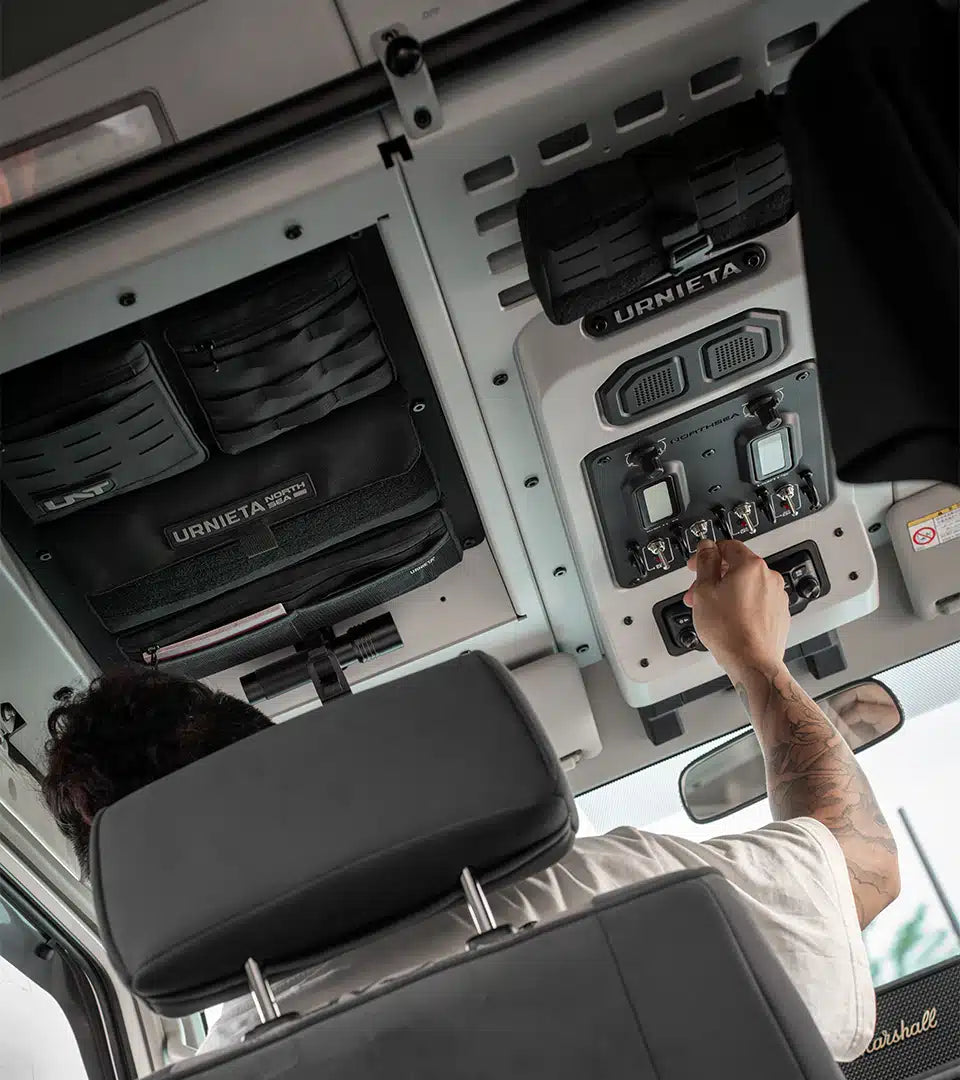
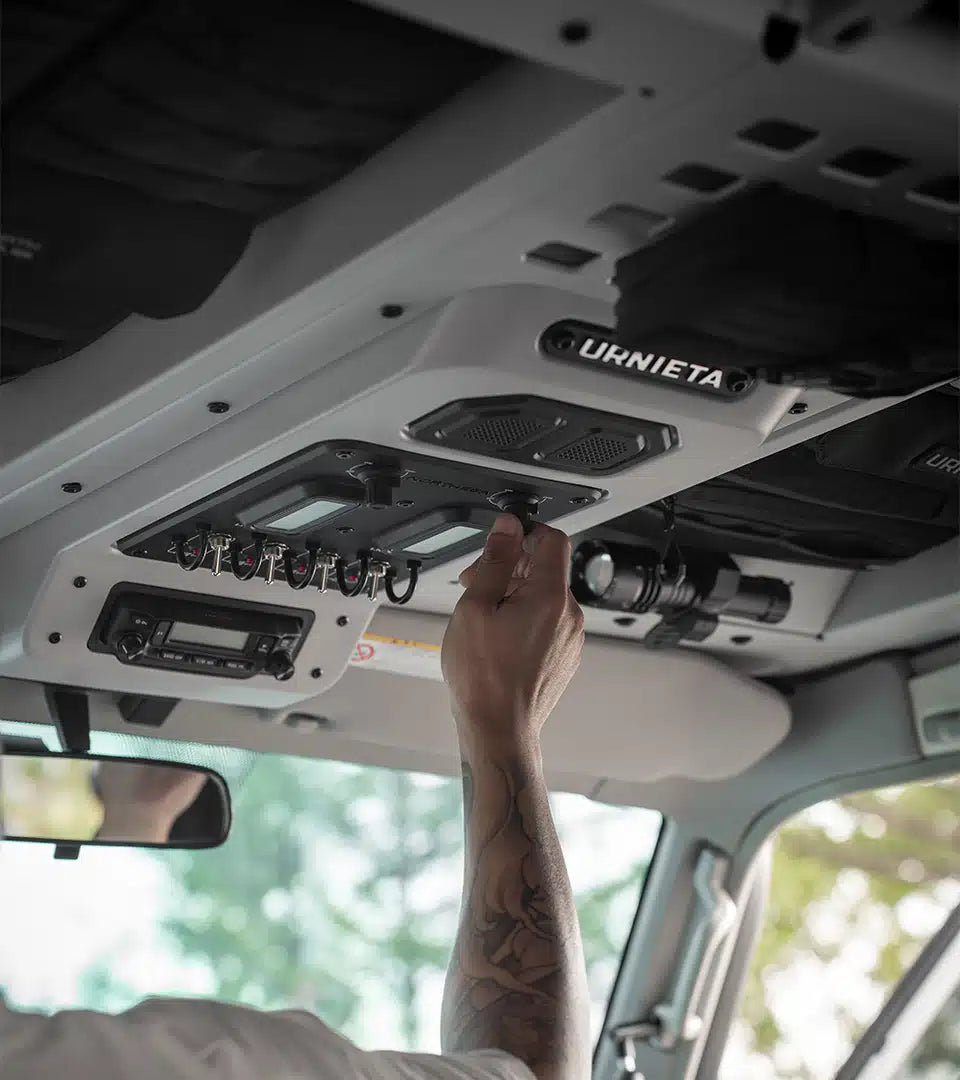
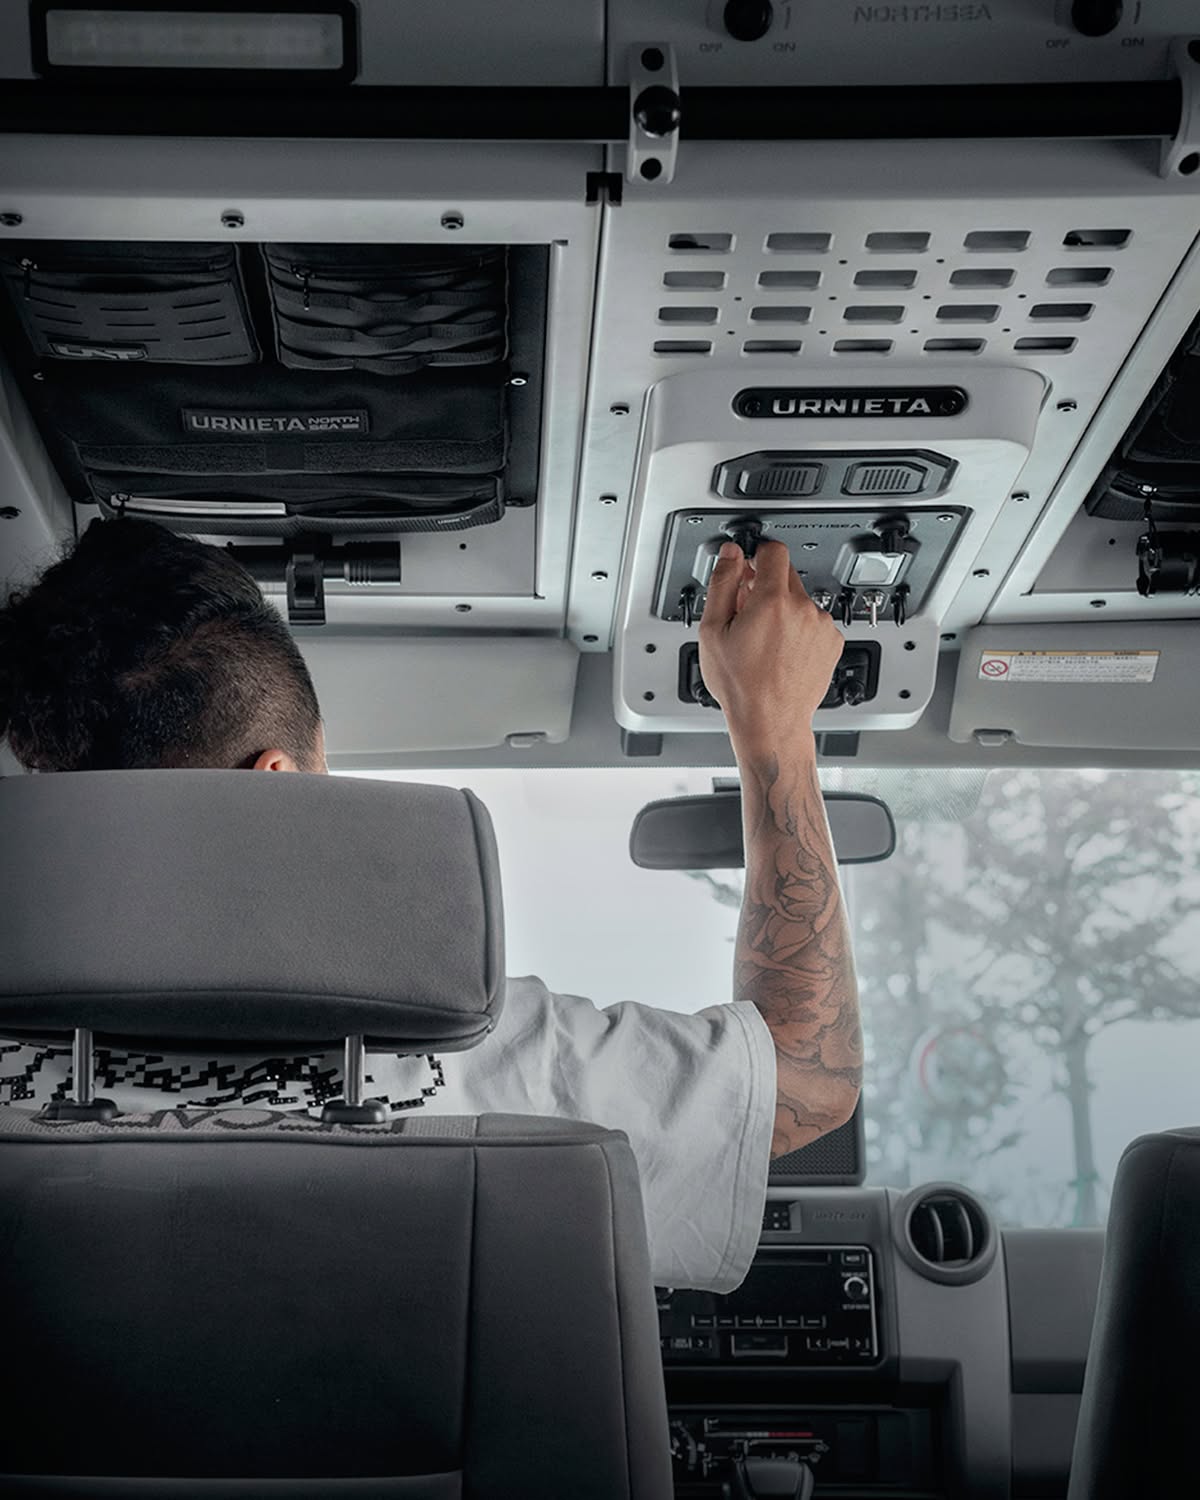
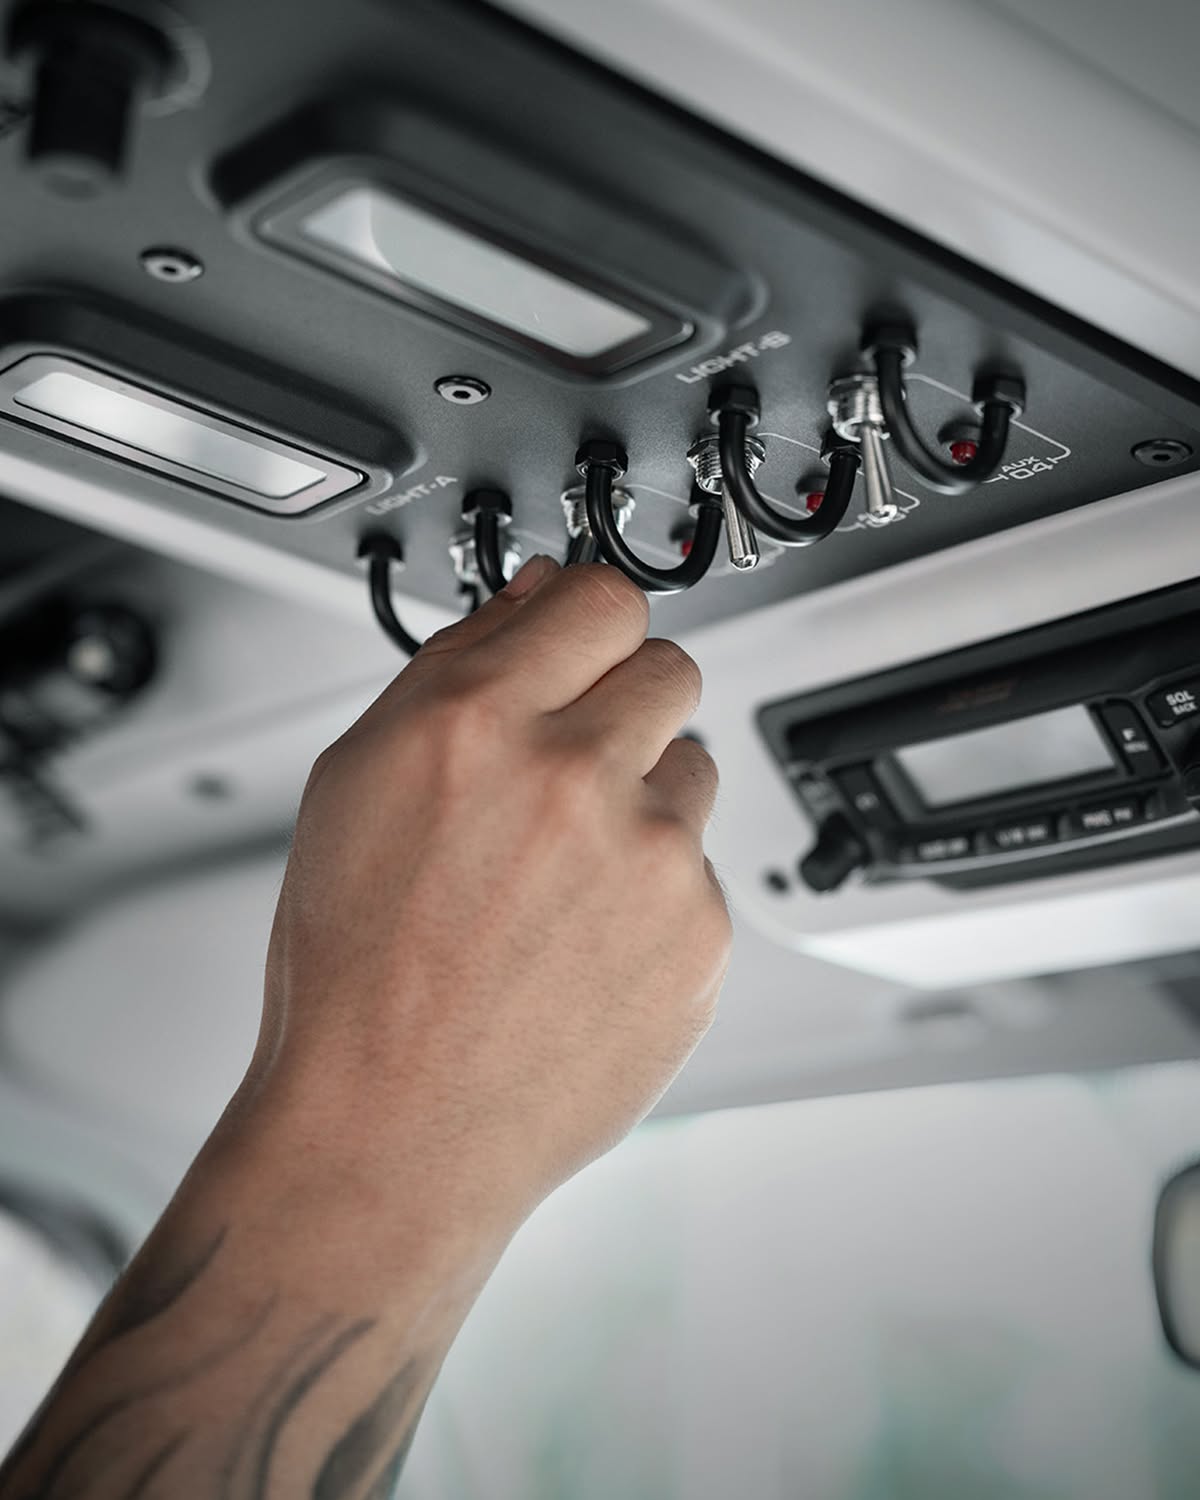
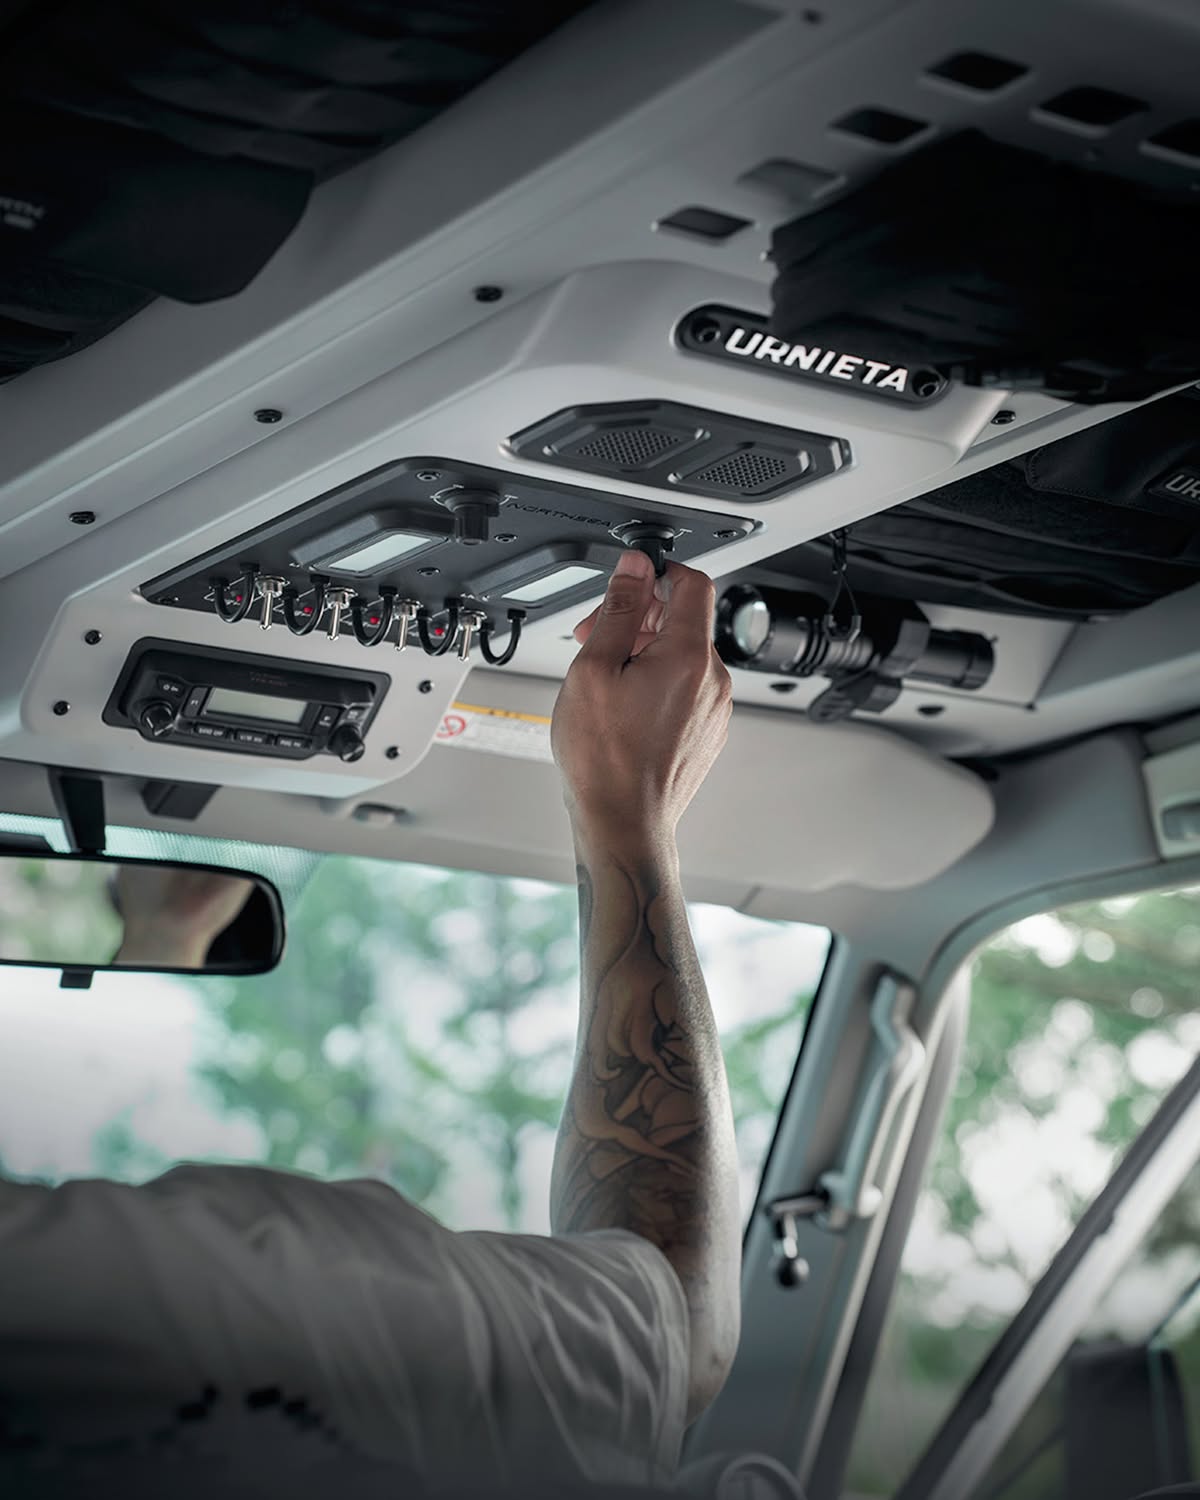
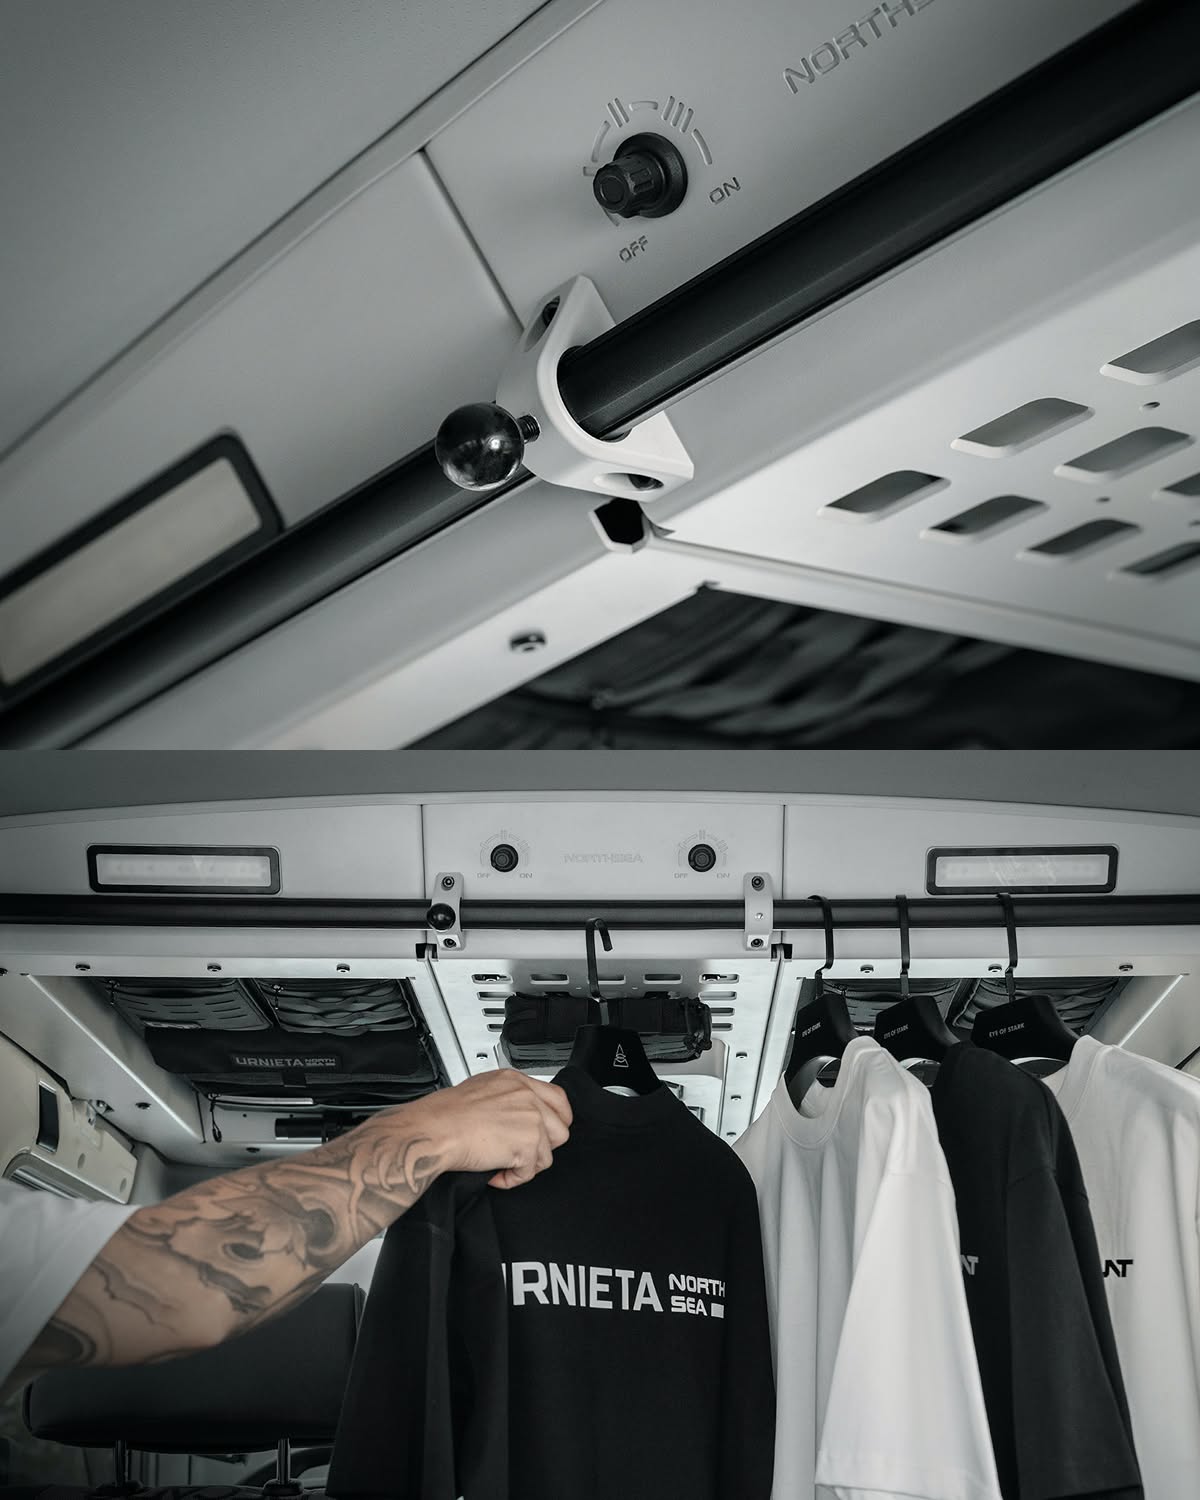
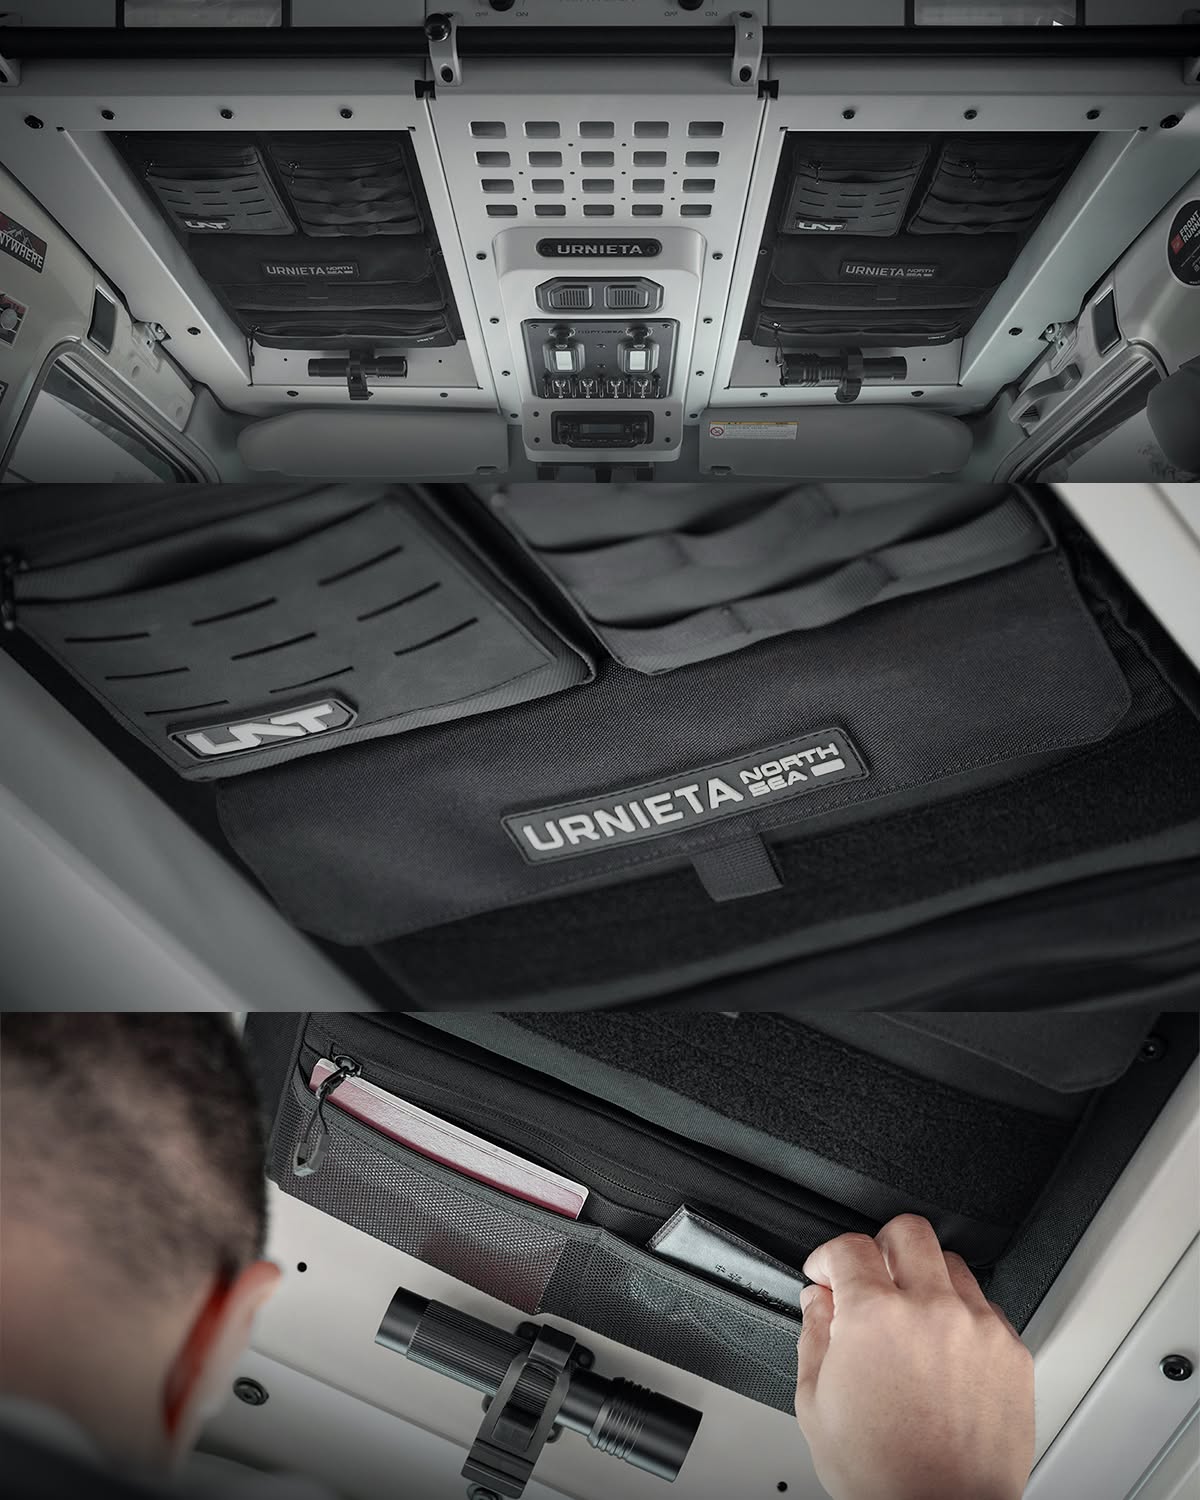
It comes with a 4-position sealed mechanical AUX switch panel, four cabin LED panels, a rear cargo LED bar, a radio mount bay with a speaker position, an accessory cross-rail and a wiring harness.
The radio bay comes with UHF radio inserts cut for the Yaesu FTM-6000R, Icom IC-2730 and Yaesu FTM-500D, or the opening can be left open. No radio is included.
Installation is a workshop job for two people and includes drilling M6 rivet holes.
What the kit delivers.
ONE MODULE
Switches, lights, radio mount, accessory rail and storage are built as a single integrated module on one wiring harness.
SEALED SWITCHES AND LIGHTING
A 4-position sealed mechanical AUX switch panel, four adjustable cabin LED panels and an adjustable rear cargo LED bar.
STORAGE AND MOUNTS
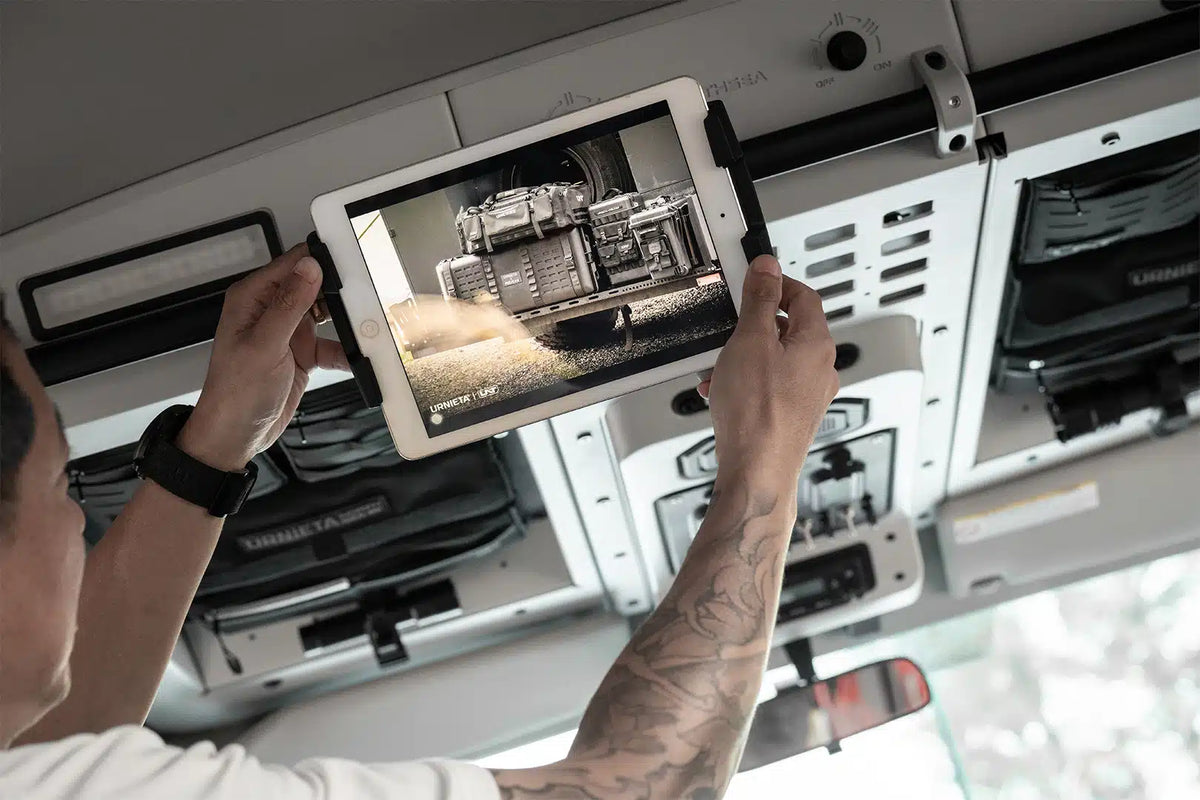
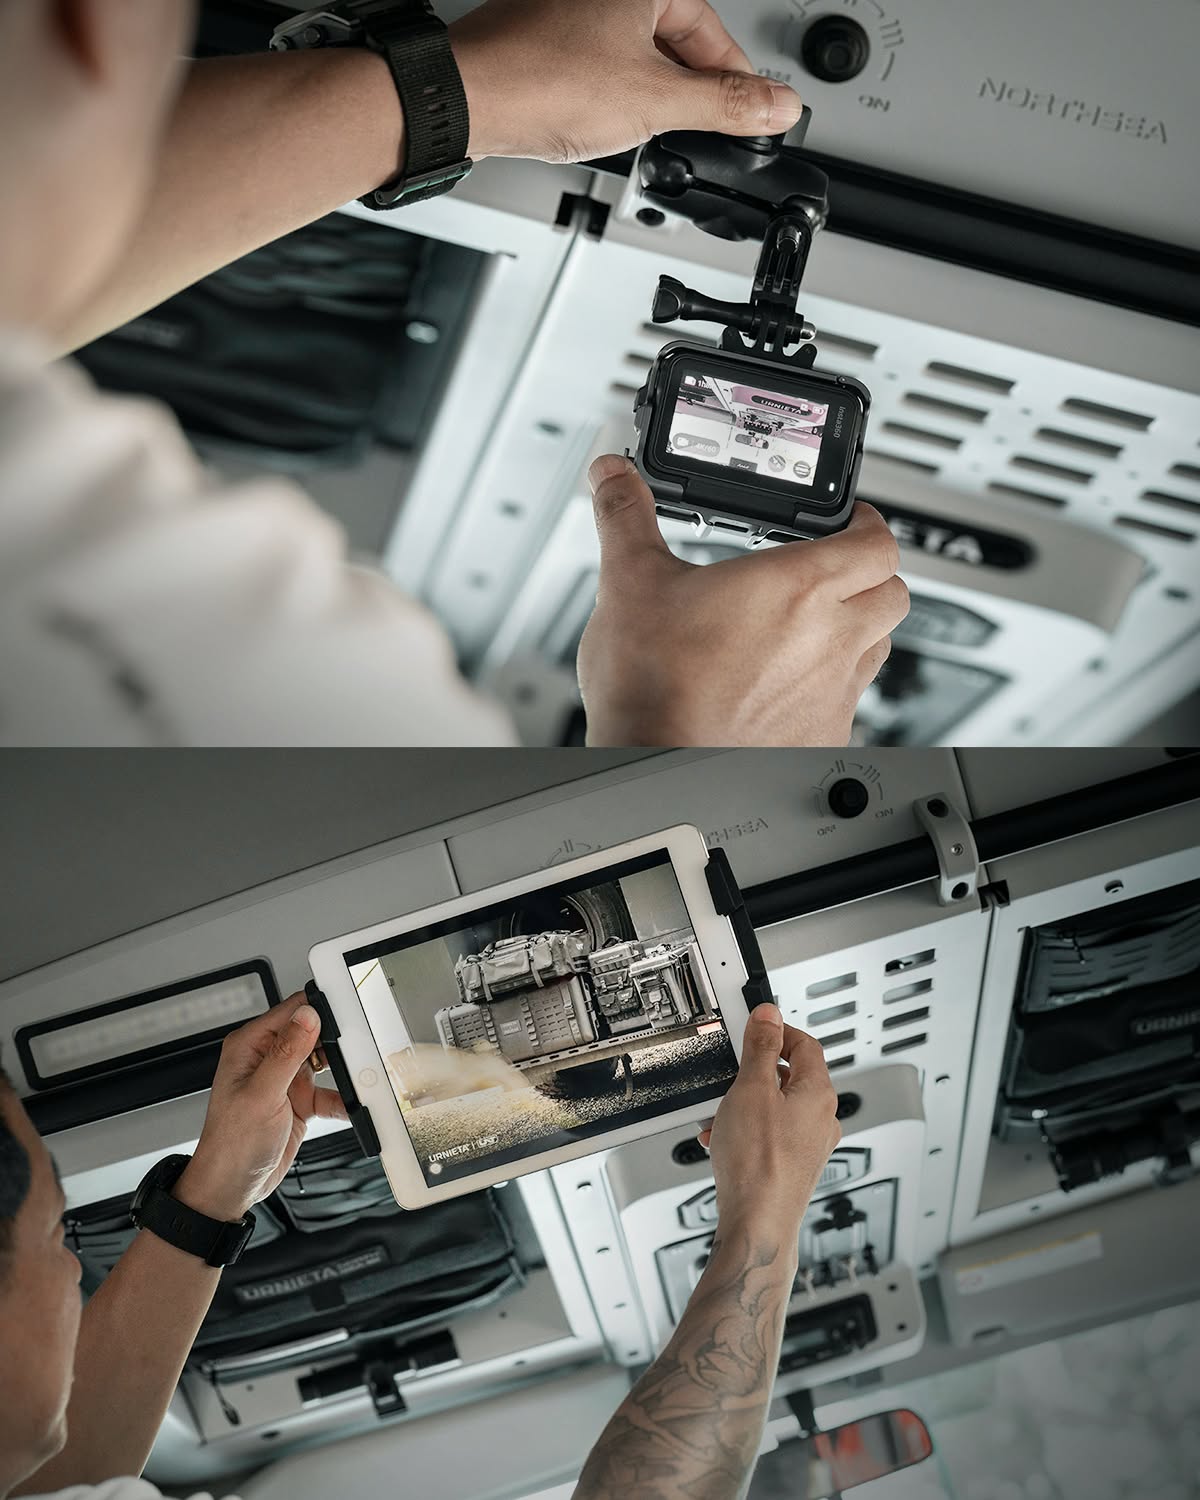
Two integrated roof expansion pouches, a modular hanging pouch and ten Velcro cargo straps, plus an iPad telescoping arm and two ball-head accessory mounts on the cross-rail.
Vehicle fitment.
Installation overview.
PREPARE THE VEHICLE
Remove the first and second roof beam covers and the centre light. Always install a relay box to keep the voltage stable and the wiring safe.
FIT THE BRACKETS
Fit the console brackets with the factory screws, mask the roof contact areas, then dry-fit the console with the positioning jig and mark and drill the M6 rivet holes.
BUILD THE CONSOLE
Assemble the console, fit the radio panel for your radio and connect the lighting harness to the factory circuits.
MOUNT AND SECURE
Fit the lighting and middle brackets, mount the assembled console to the roof leaving access to the harness, and torque all screws to spec.
UHF radio inserts.
Openings only, drawn square. Corner radii and the insert outer size aren't shown. The step on the FTM-500D opening is drawn to the supplier drawing and isn't dimensioned.
Spec it
your way.
Not sure which setup suits your build? Get fitment advice, install guides, or talk to the PVS team before you buy. We are Sydney based and here to help.