


Roof Console
Overhead panel for the 70 Series LandCruiser
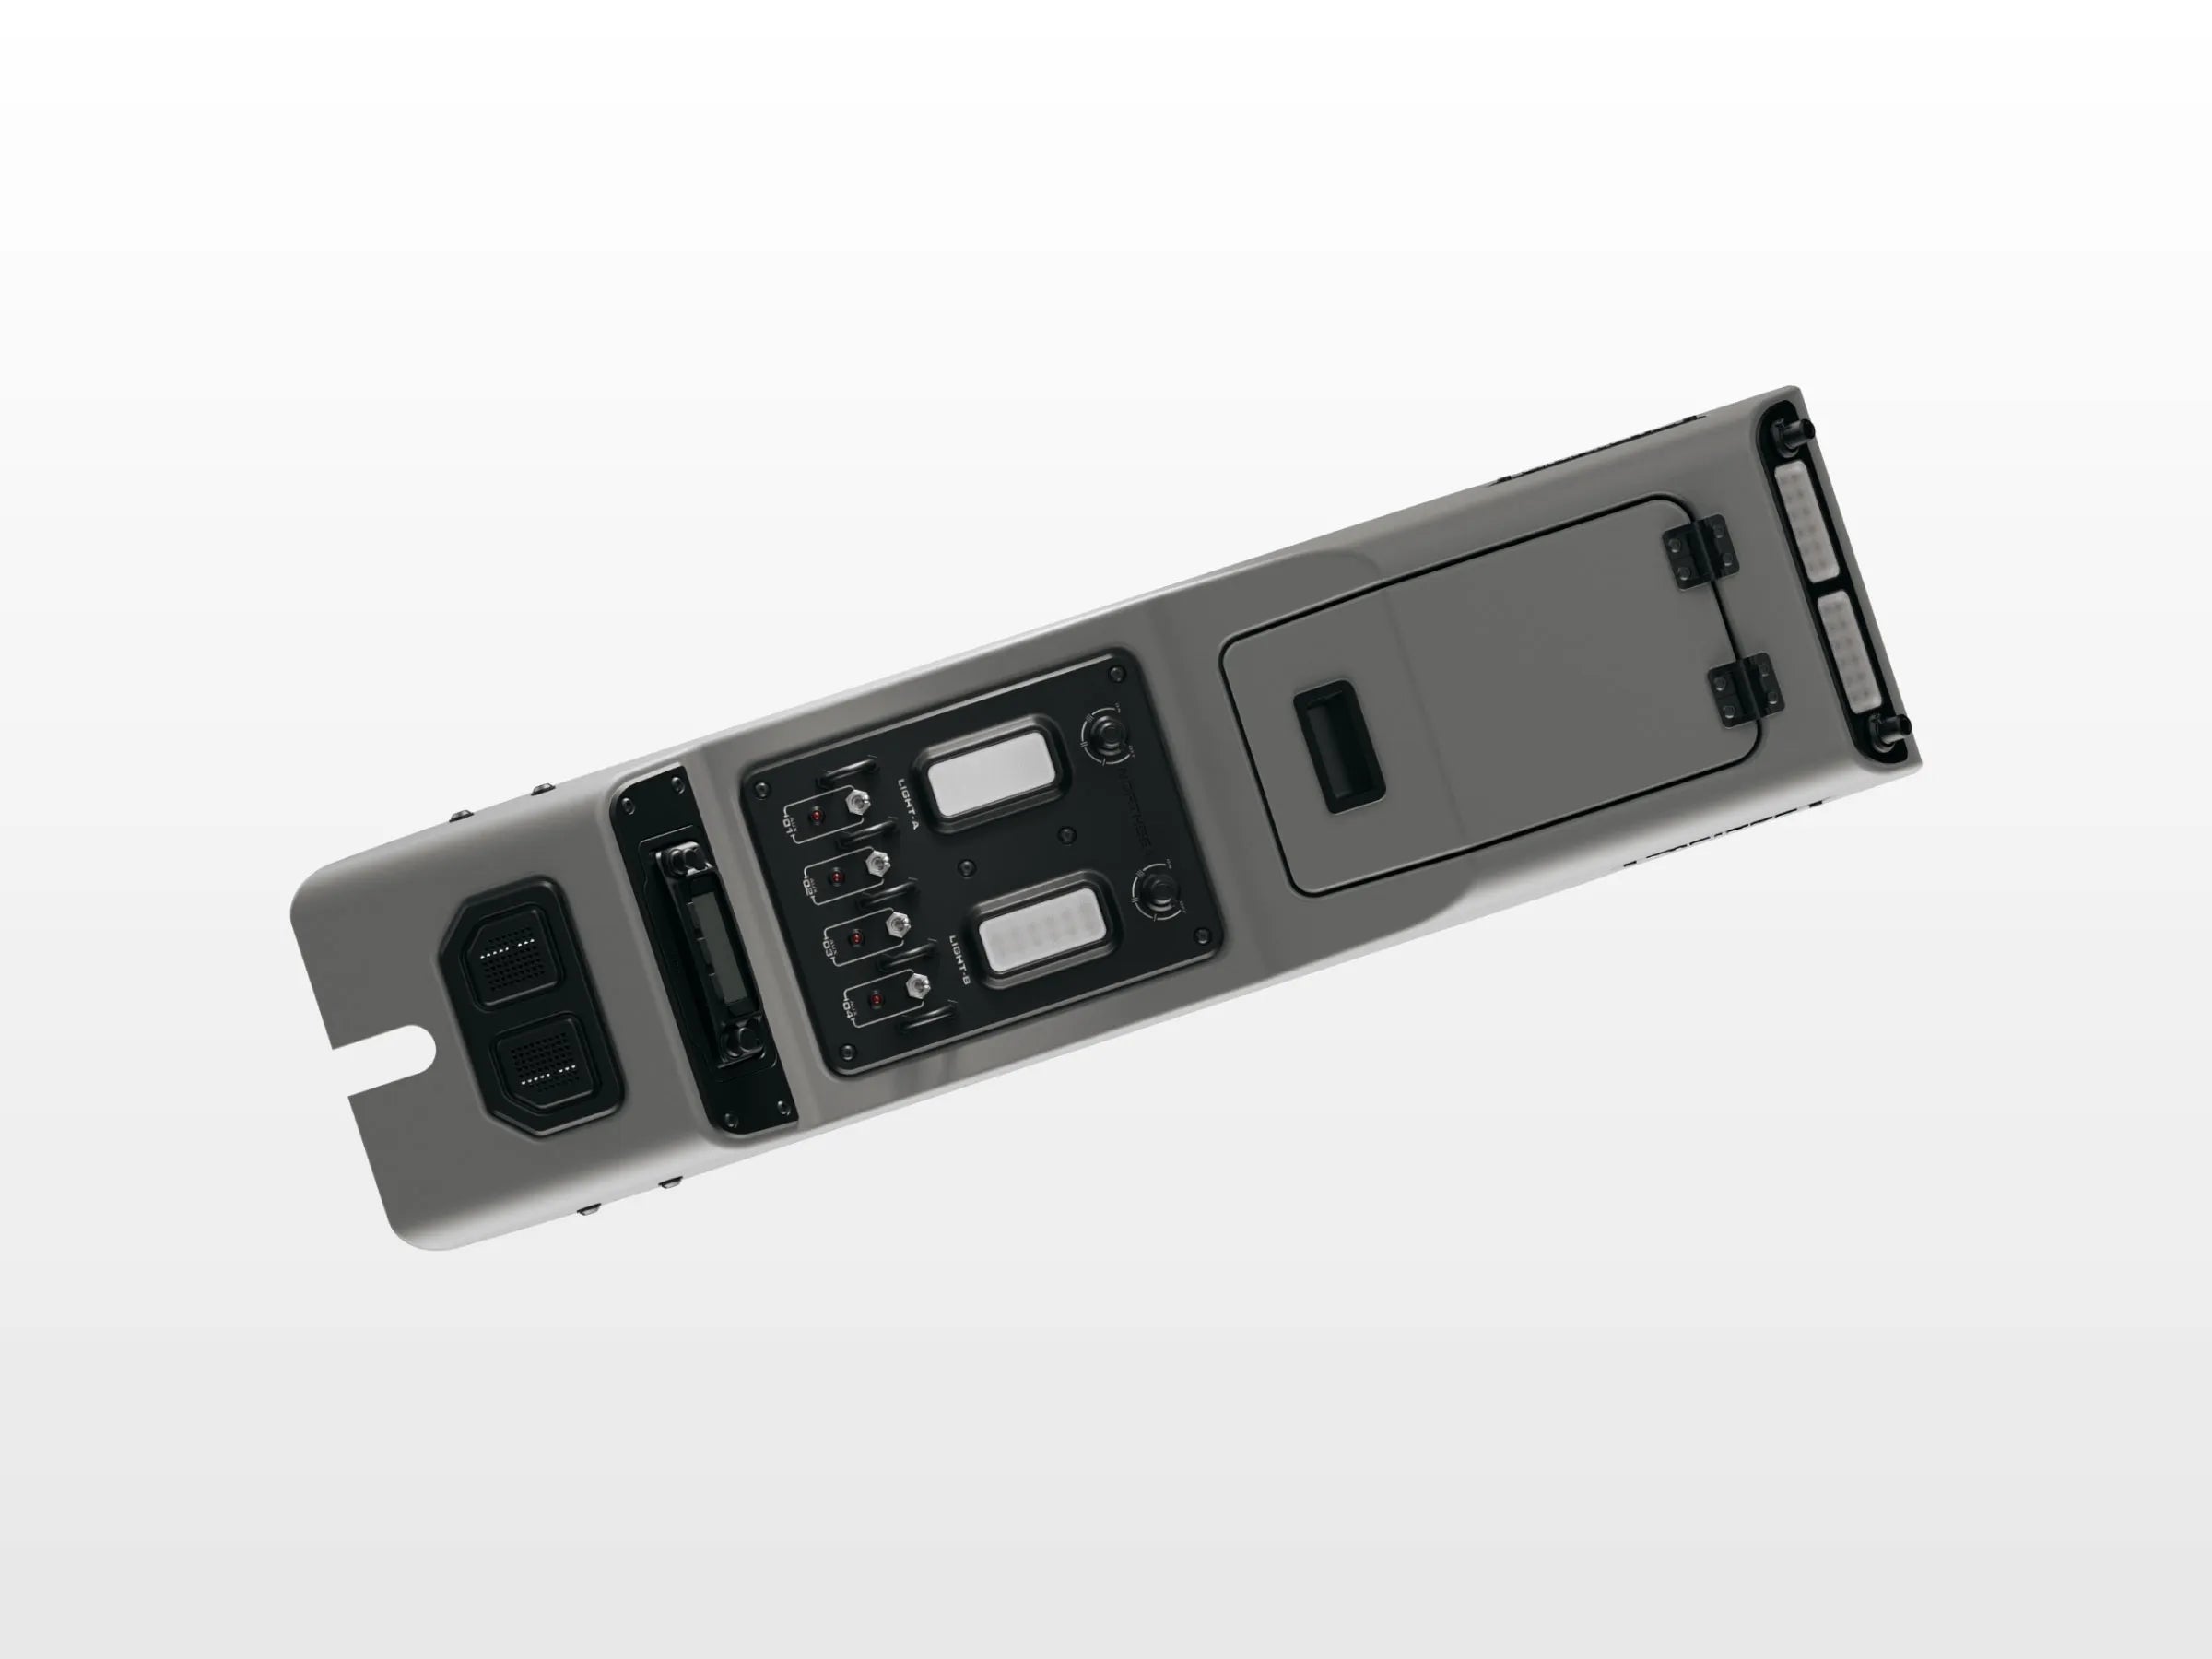
The URNIETA LC70 Series Roof Console brings a secure radio speaker mount, easy-to-use control switches, adjustable front and rear-row lighting and a storage box into the overhead position of your 70 Series.
Item code: URNIETA023
In high demand. We're working through a backlog of orders on this range, so this item may dispatch one to two weeks later than usual.
12-Month Australian Warranty.Backed by PVS Automotive, Sydney based support. Tax Deductible for Business. GST claimable if you are registered.Often fully deductible as a business expense. Check with your accountant. Australian Owned and Operated.Australian Owned Certified · AO 08314


Built for the 70 Series overhead.
The Urnieta LC70 Series Roof Console is designed to add convenience and practicality for off-road and daily use. It brings a secure radio speaker mount, easy-to-use control switches and adjustable front and rear-row lighting into the overhead position.
An included storage box holds small essentials. The system is crafted from SUS430 stainless steel and aluminium-magnesium alloy and weighs 3.8 kg. Use a relay box to manage the buttons, which gives the circuit better protection.
What's in the panel.
RADIO SPEAKER MOUNT
A secure radio speaker mount. The centre opening takes radio inserts cut for the Yaesu FTM-6000R, Icom IC-2730 and Yaesu FTM-500D, or you can leave it open. No radio is included.
CONTROL SWITCHES
Easy-to-use control switches. Fit a relay box to manage the buttons.
FRONT AND REAR LIGHTING
Adjustable front and rear-row lighting for visibility throughout your vehicle.
Installation overview.
PREPARE VEHICLE
Remove the front and rear mirrors, trim and centre light from the factory roof console area, and confirm all supplied parts. Install a relay box.
BUILD RADIO PANEL
Fit the radio panel bracket and outer cover for your radio (Yaesu FTM-500D, Icom IC-2730 or Yaesu FTM-6000R). Connect the 30 cm extension harness with red to ACC and black to negative.
MOUNT BRACKET
Install the console bracket with the original mirror screws and lights, and fix the front bracket together with the rearview mirror.
FIT CONSOLE
Fit the edge strip to the console, then secure it with the dedicated screws torqued to spec.
UHF radio inserts.
Openings only, drawn square. Corner radii and the insert outer size aren't shown. The step on the FTM-500D opening is drawn to the supplier drawing and isn't dimensioned.
Spec it
your way.
Not sure which setup suits your build? Get fitment advice, install guides, or talk to the PVS team before you buy. We are Sydney based and here to help.
