


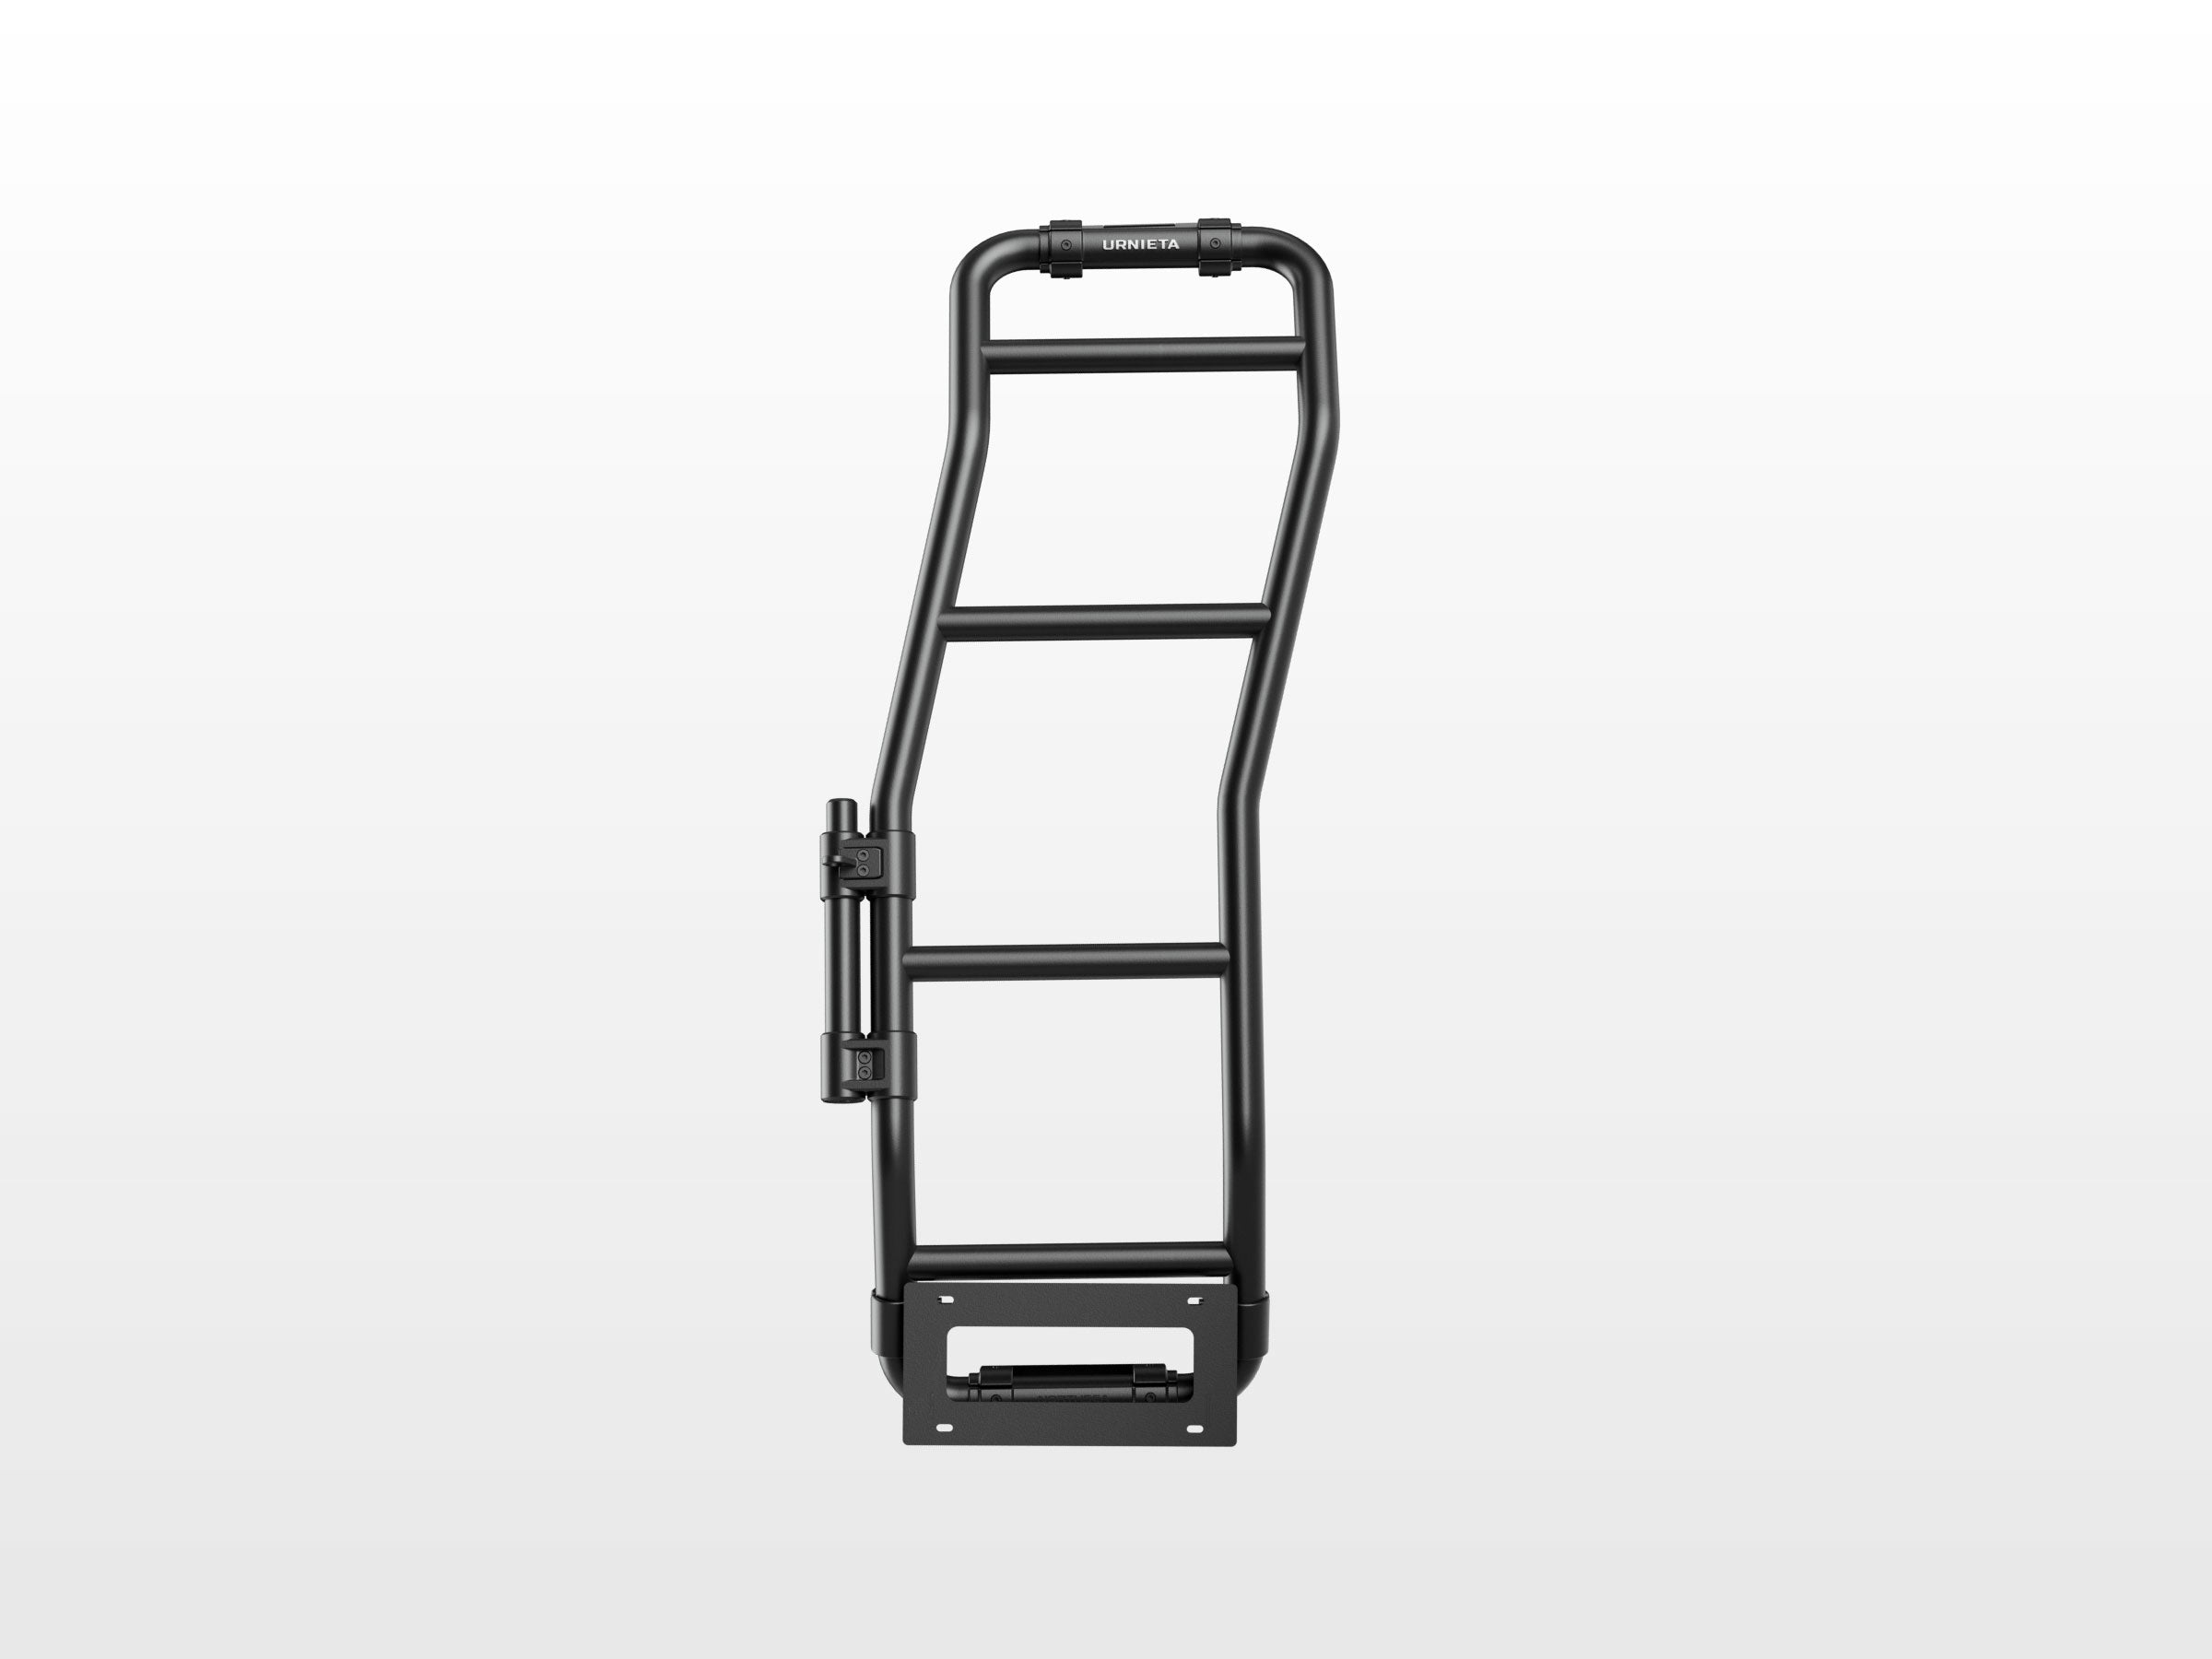
Rear Door Ladder
Roof access for the LC71, LC76 and LC78
The 76 wagon is tall, and getting onto your roof rack without a ladder is awkward at best. This rear door ladder is built from SUS430 stainless steel and aluminium-magnesium alloy, engineered for the LC70 so you can reach your roof-mounted gear without the stretch.
Item code: URNREARDOORLADDERLAN-7176
In high demand. We're working through a backlog of orders on this range, so this item may dispatch one to two weeks later than usual.
12-Month Australian Warranty.Backed by PVS Automotive, Sydney based support. Tax Deductible for Business. GST claimable if you are registered.Often fully deductible as a business expense. Check with your accountant. Australian Owned and Operated.Australian Owned Certified · AO 08314
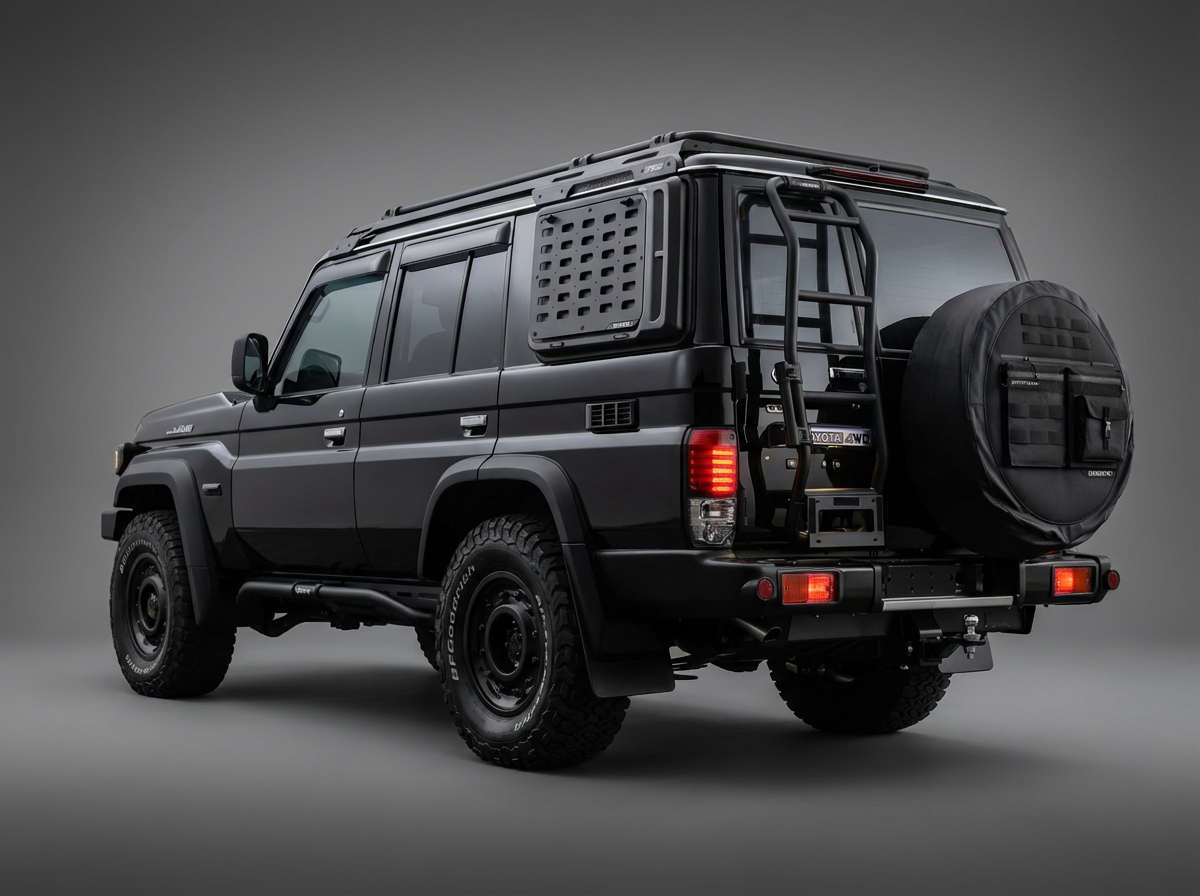


Roof access done properly.
The roof carries everything that doesn't fit inside, and getting onto it without a ladder is awkward at best. The URNIETA Rear Door Ladder Kit mounts to the rear door structure itself, using factory thread points behind the door card.
It's built from high-strength SUS430 stainless steel and aluminium-magnesium alloy. One frame also carries a flagpole mount, an antenna mount and an expandable licence plate bracket.
Built for the LC70 Series.
DOOR-MOUNTED
It mounts directly to the rear door structure using factory thread points behind the door card.
STAINLESS AND ALLOY
SUS430 stainless steel with an anti-slip texture across the contact face, on an aluminium-magnesium alloy frame.
THREE MOUNTS IN ONE
A multifunctional flagpole mount, an antenna mount and an expandable licence plate bracket, all on the one frame.
Vehicle fitment.
Installation overview.
MARK THE DOOR
Hold the ladder against the rear door frame and mark both sides with masking tape. Check all supplied parts.
SET THE RUBBER PADS
Remove the ladder and apply the rubber pads at the marked positions.
HANG AND ADJUST
Hang the ladder body on the door and adjust the gap between the lower bracket and the pipe bracket to 3 to 4 mm.
TENSION AND SECURE
Tighten the screws, fit the lower bracket tension block with the logo facing the right way, and torque all hardware.
Spec it
your way.
Not sure which setup suits your build? Get fitment advice, install guides, or talk to the PVS team before you buy. We are Sydney based and here to help.
