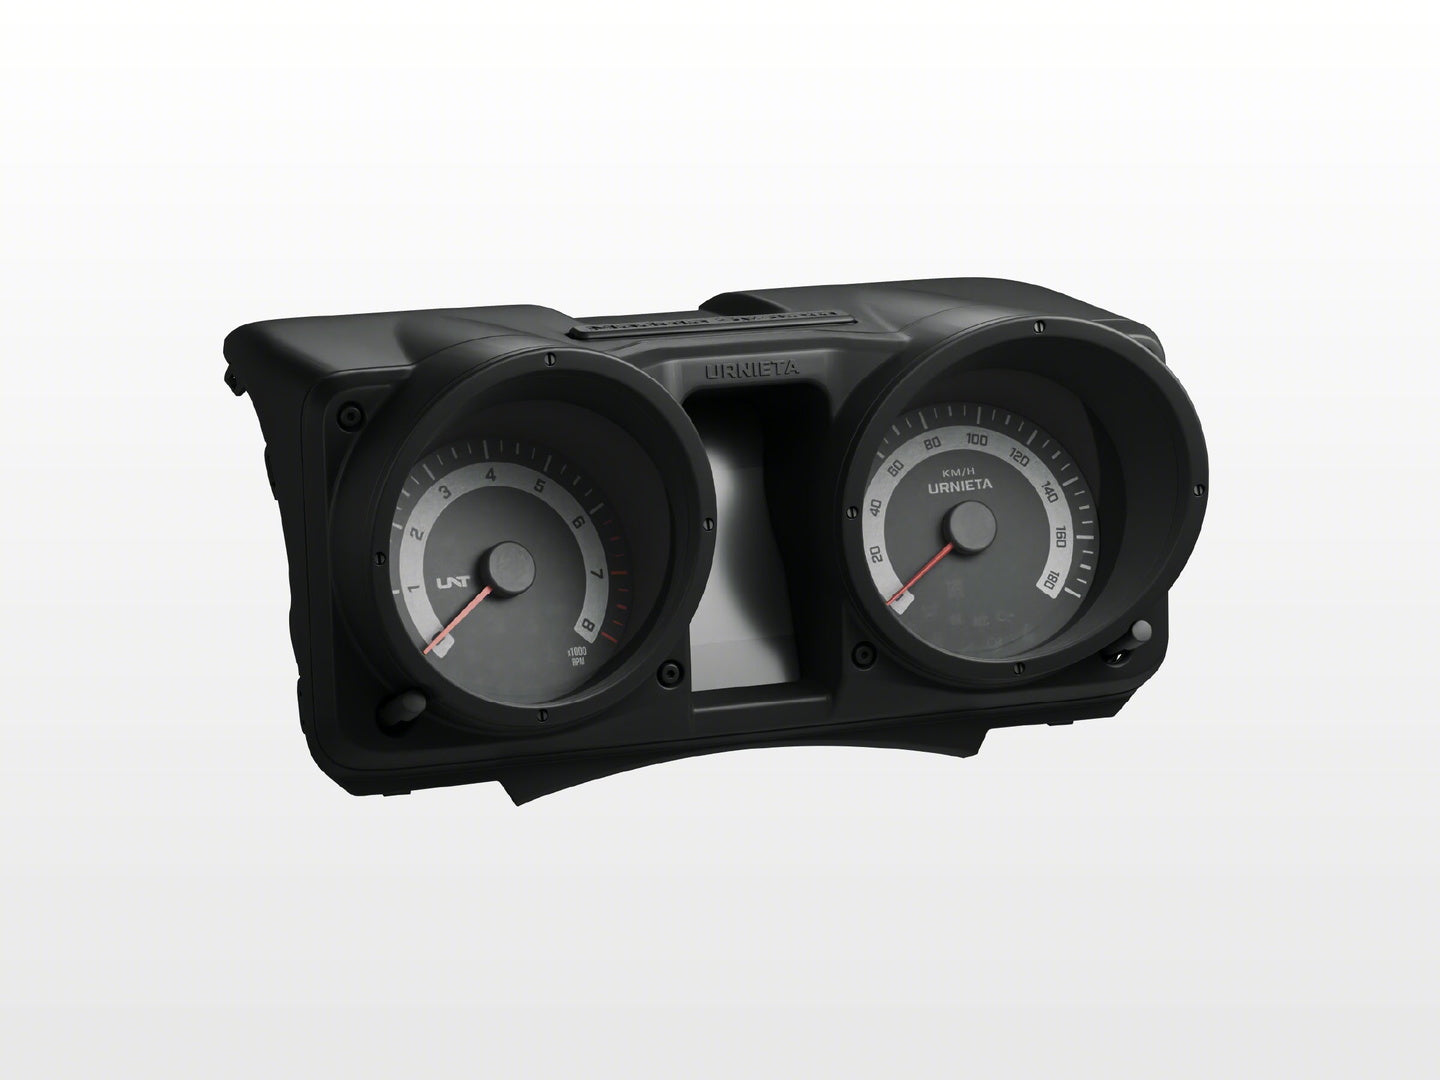
Multi-Function Dashboard Kit
Phone and camera mount in the Jimny cluster frame
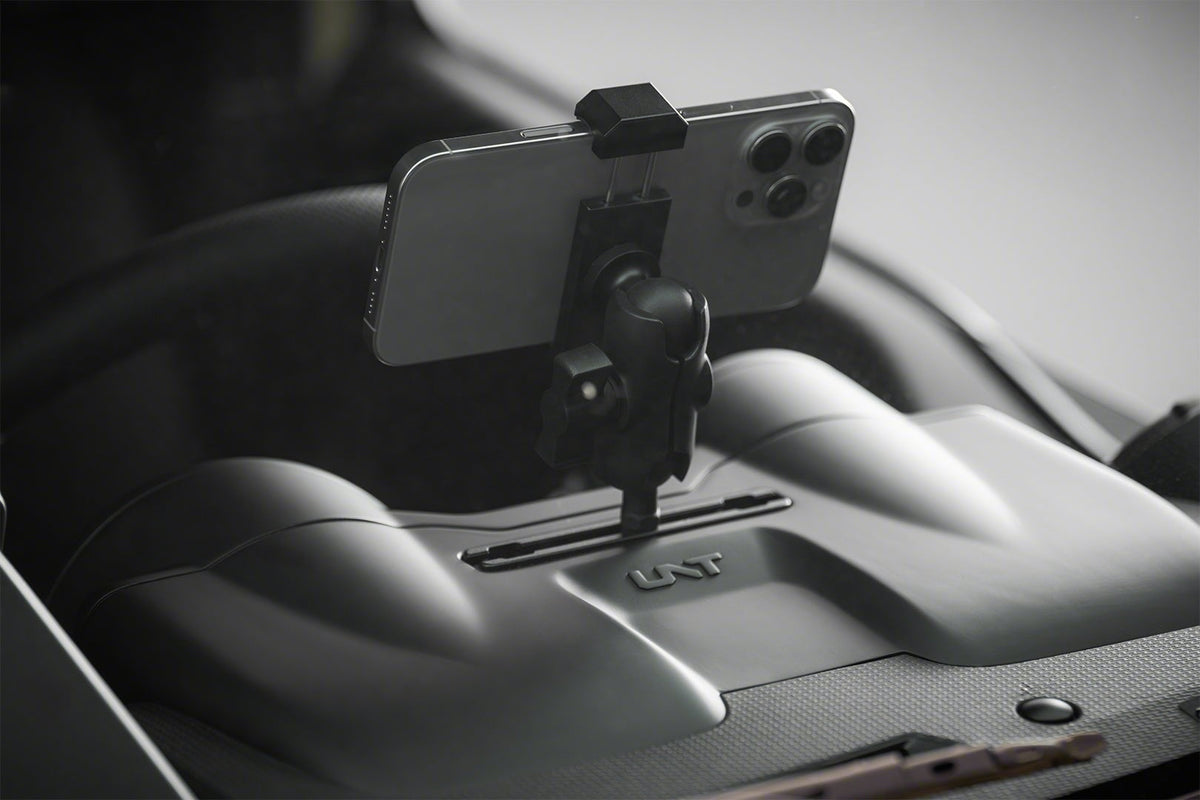
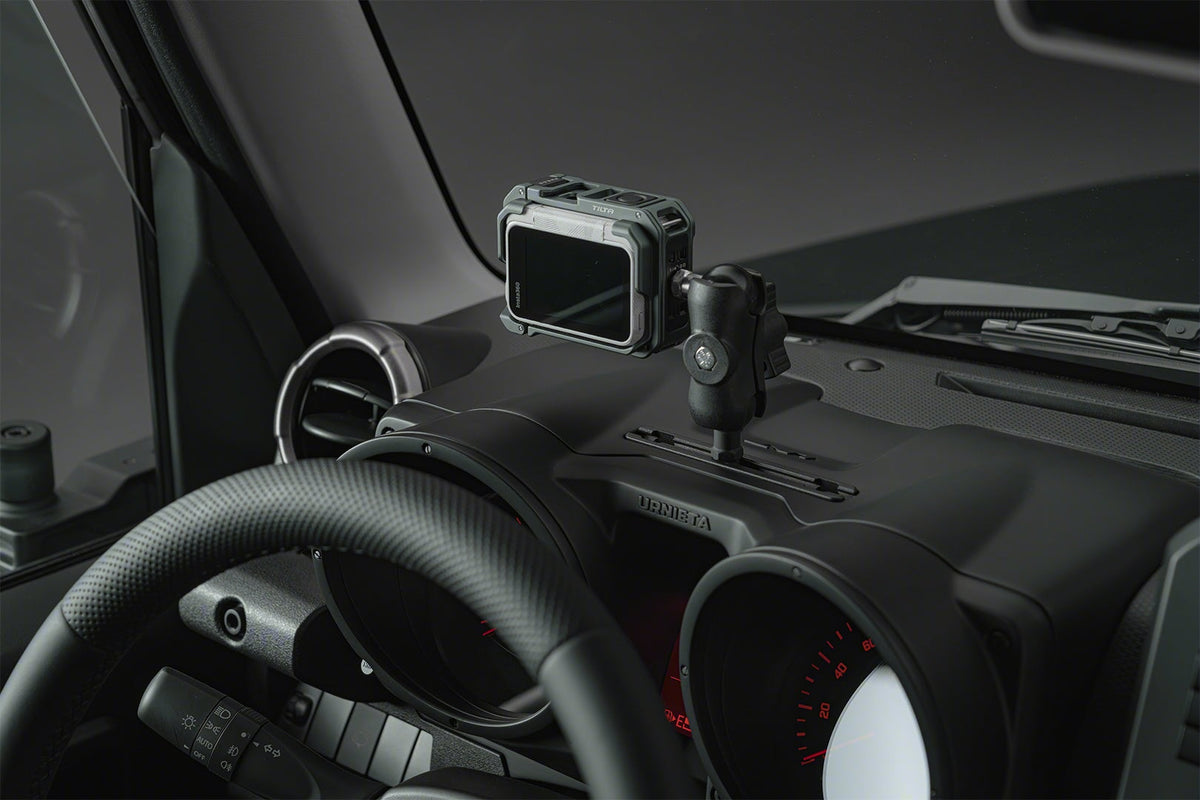
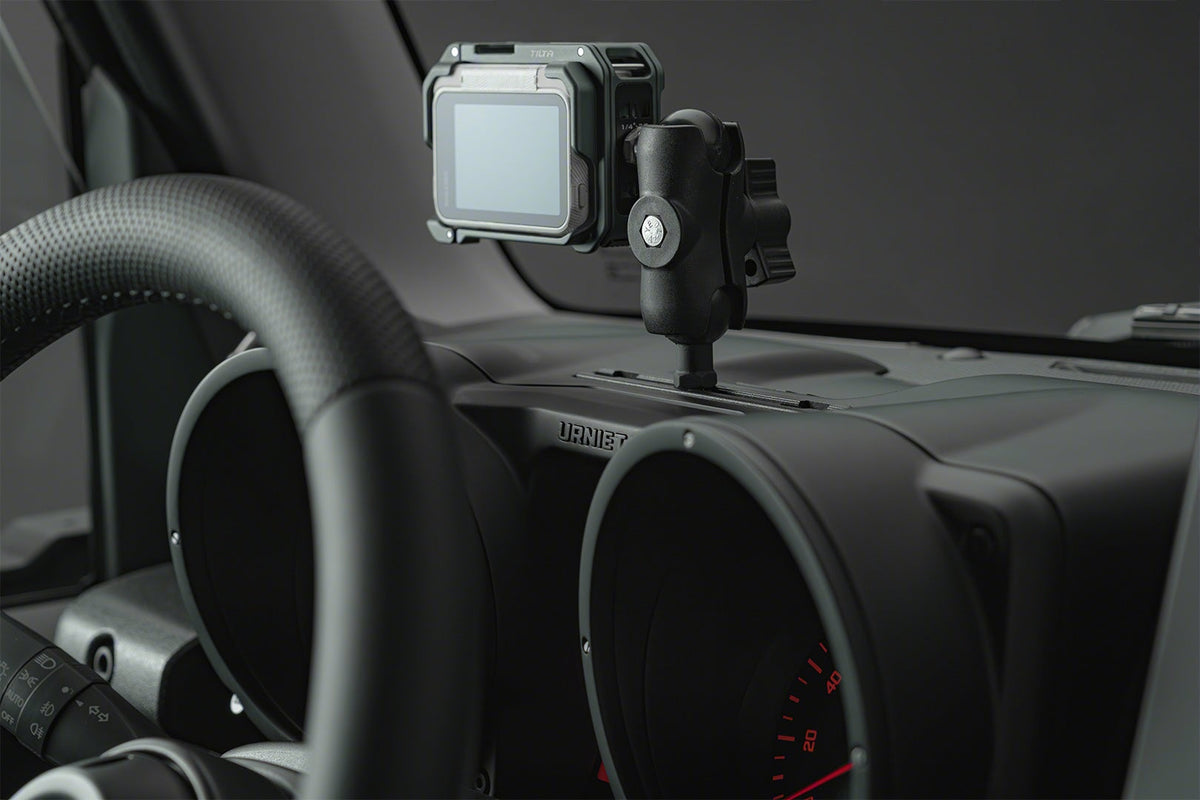
The instrument cluster frame becomes a secure phone and action-camera mount with a silicone dust cover. White and Black dial faces are sold separately.
Item code: URN-SAL-DSH-JIM
In high demand. We're working through a backlog of orders on this range, so this item may dispatch one to two weeks later than usual.
12-Month Australian Warranty.Backed by PVS Automotive, Sydney based support. Tax Deductible for Business. GST claimable if you are registered.Often fully deductible as a business expense. Check with your accountant. Australian Owned and Operated.Australian Owned Certified · AO 08314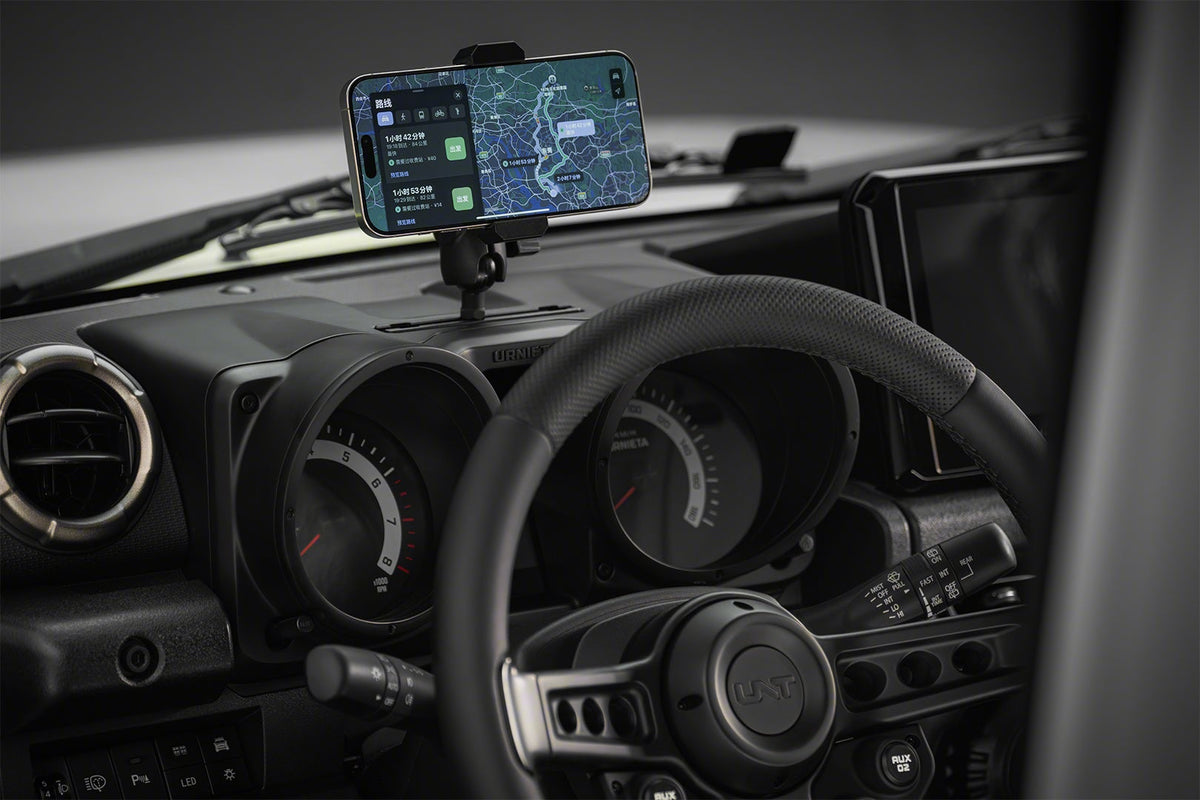
One kit, cleaner dash.
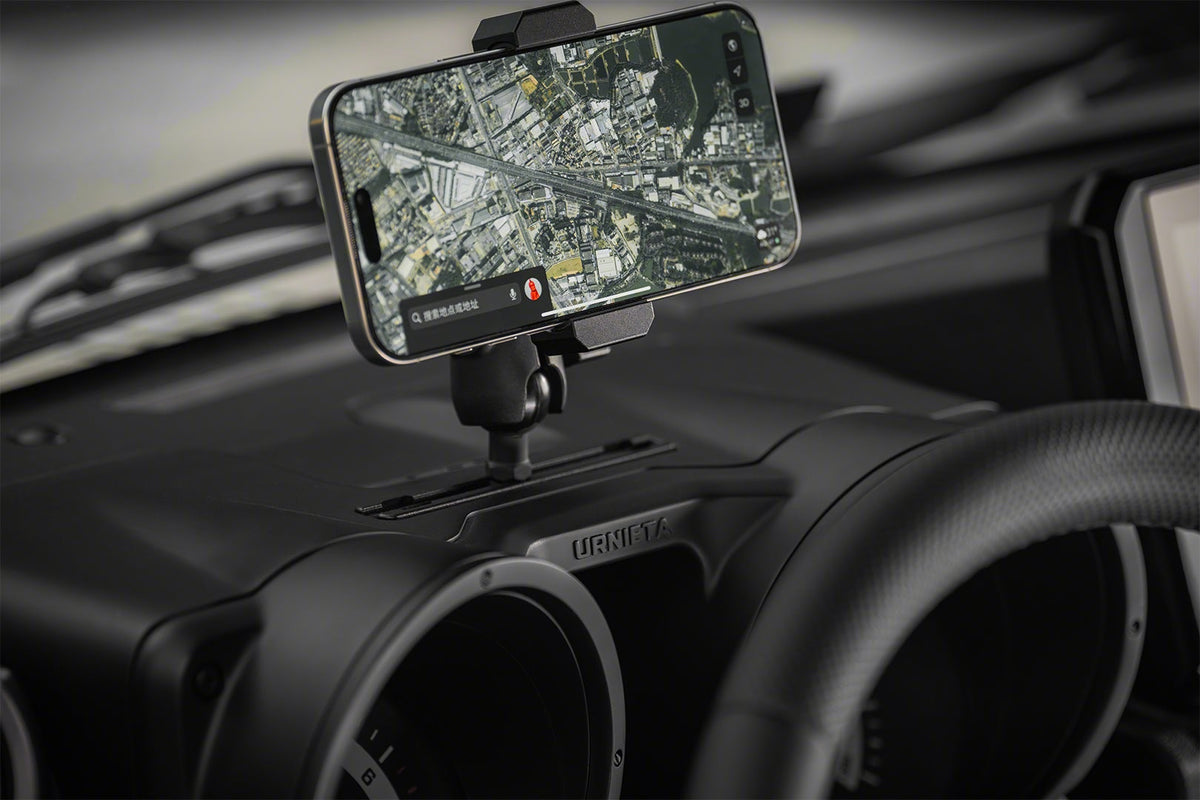
The Jimny dash came before phone navigation, so phones end up on windscreen mounts and vent clips. This kit moves the mount into the instrument cluster frame itself.
It replaces the OEM frame directly with no body modification. It holds phones and action cameras securely on rough tracks, and a phone in landscape stays out of your forward sightline.
Built for the Jimny interior.
VEHICLE-SPECIFIC FIT
A direct replacement for the OEM instrument cluster frame on the JB74 and JC74. No body modification.
INTEGRATED DEVICE MOUNT
Phone and action camera mounting is designed into the frame, and holds securely on rough tracks.
SILICONE DUST COVER
Covers the mount when no device is in it, and comes off easily when you need it.
Installation overview.
REMOVE THE FACTORY FRAME
Remove the OEM instrument cluster frame and check the supplied parts against the list.
FIT THE KIT
Fit the Urnieta frame in its place, check alignment, and secure it with the supplied hardware.
CHECK
Check every fastener is secure and the gaps are even before you drive.
Spec it
your way.
Not sure which setup suits your build? Get fitment advice, install guides, or talk to the PVS team before you buy. We are Sydney based and here to help.