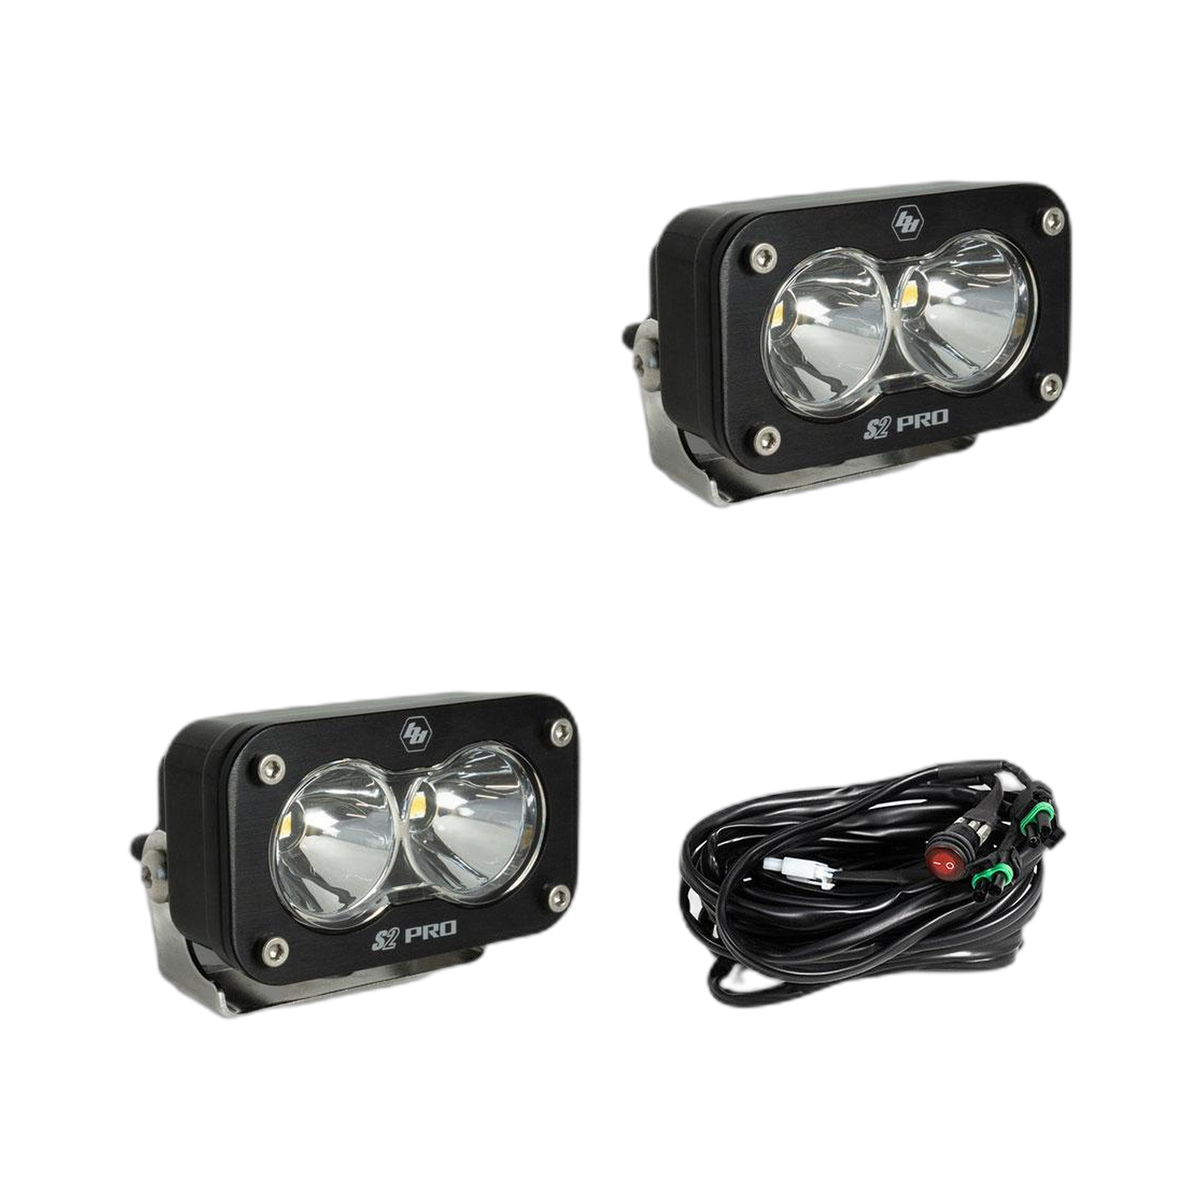
S2 Pro Black LED Auxiliary Light Pod Pair Clear lens, spot beam, by Baja Designs
The S2 Pro Black throws a tight, focused beam straight down the track, built for the miles once the bitumen ends. You get a matched pair with a clear spot lens, ready to mount on your bull bar, roof rack or A-pillar.
Thanks, your enquiry is with us. We will confirm current price, stock and lead time with the manufacturer and email you back. We have emailed a copy to . Reply to that email to add anything.
Item code: 487801
 ملكية وإدارة أسترالية.معتمدة كشركة أسترالية الملكية · AO 08314
Precision light, built for the bush.
Baja Designs built its name on race-proven LED lighting, and the S2 Pro sits squarely in that tradition. The compact pod shape mounts almost anywhere on your 4WD: a bull bar, roof rack, A-pillar bracket or behind the grille, without the bulk of a full light bar.
The clear spot lens is purpose-made for distance. It concentrates the beam into a focused pattern that cuts through the dark well down the track, so it works as a driving light supplement or a long-range spot alongside a wider flood or combo bar already on your rig.
Finished in black, the housing blends cleanly with most modern 4WD setups and stands up to the elements once you're off the sealed road. Buy as a pair and you get balanced, symmetrical output from the start, with no need to track down a second unit later.
S2 Pro features, no compromises.
SPOT BEAM LENS
The clear spot lens focuses light into a tight, long-range pattern, suited to high-speed tracks and open outback terrain where you need to see far ahead.
BLACK HOUSING
The tough black finish keeps the pods looking clean and low-profile on any rig, and stands up to dust, mud and moisture on the trail.
PAIR INCLUDED
You get a matched pair straight out of the box, so output is symmetrical and you don't need to hunt down a second pod separately.
Installation overview.
CHOOSE YOUR LOCATION
Pick a solid mounting point such as a bull bar, roof rack rail, A-pillar bracket or grille area. Check there's enough clearance for the pod and that your chosen angle lets you aim the beam down the road.
MOUNT THE BRACKET
Secure the pod bracket to your chosen mount point with appropriate fasteners. Make sure the mount is firm with no flex before you continue.
RUN THE WIRING
Route the wiring loom from the pods back to your switch or relay, keeping cables away from heat sources and sharp edges. Use grommets where wiring passes through the firewall or body panels.
AIM AND TIGHTEN
With power connected, switch the lights on and adjust the beam angle to suit your driving. Tighten all mounting hardware once you're happy with the aim.