Windshield Light Mount System
Rain gutter panel system, no drilling into the A-pillar
Built for the Toyota LandCruiser 70 Series, the URNIETA LC70 Windshield Light Mount System gives you a vehicle-specific way to mount auxiliary lights at the windshield cowl.
Item code: URNIETA042
In high demand. We're working through a backlog of orders on this range, so this item may dispatch one to two weeks later than usual.
12-Month Australian Warranty.Backed by PVS Automotive, Sydney based support. Tax Deductible for Business. GST claimable if you are registered.Often fully deductible as a business expense. Check with your accountant. Australian Owned and Operated.Australian Owned Certified · AO 08314
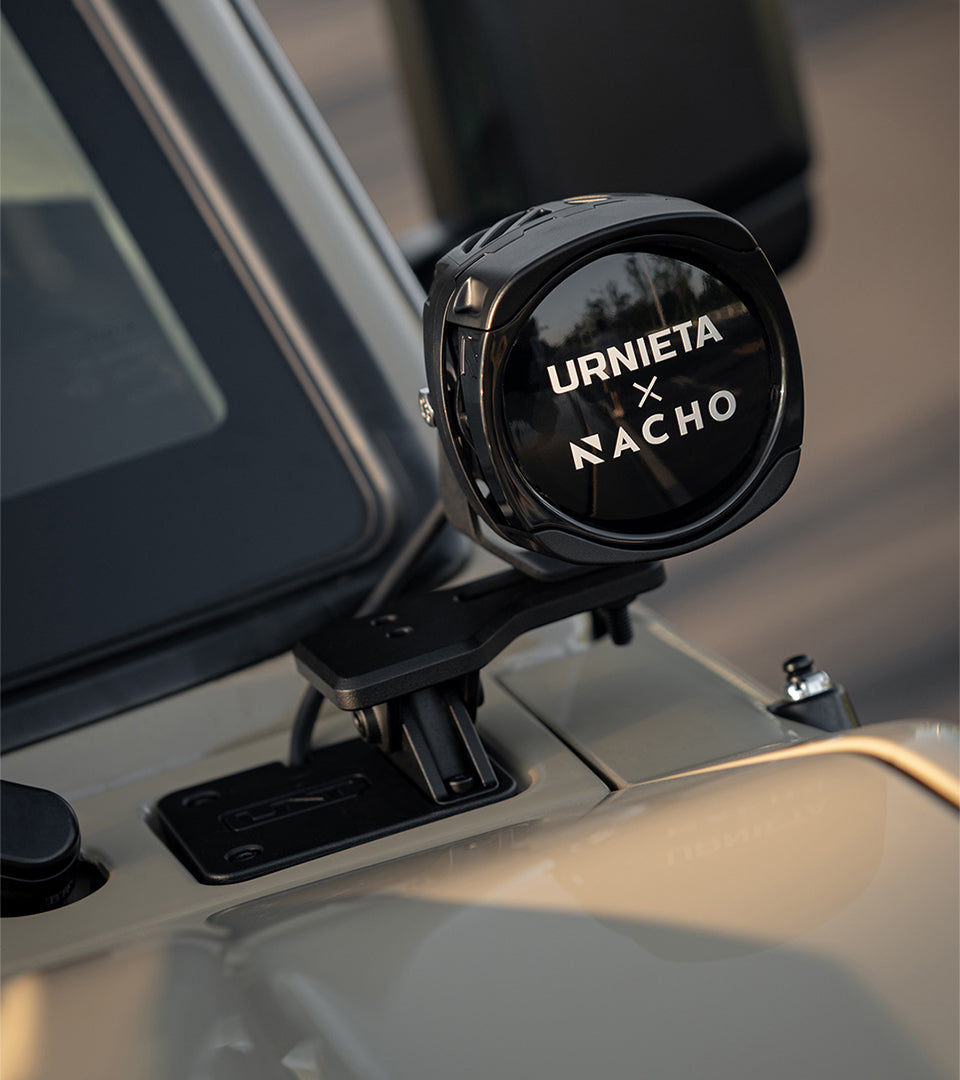
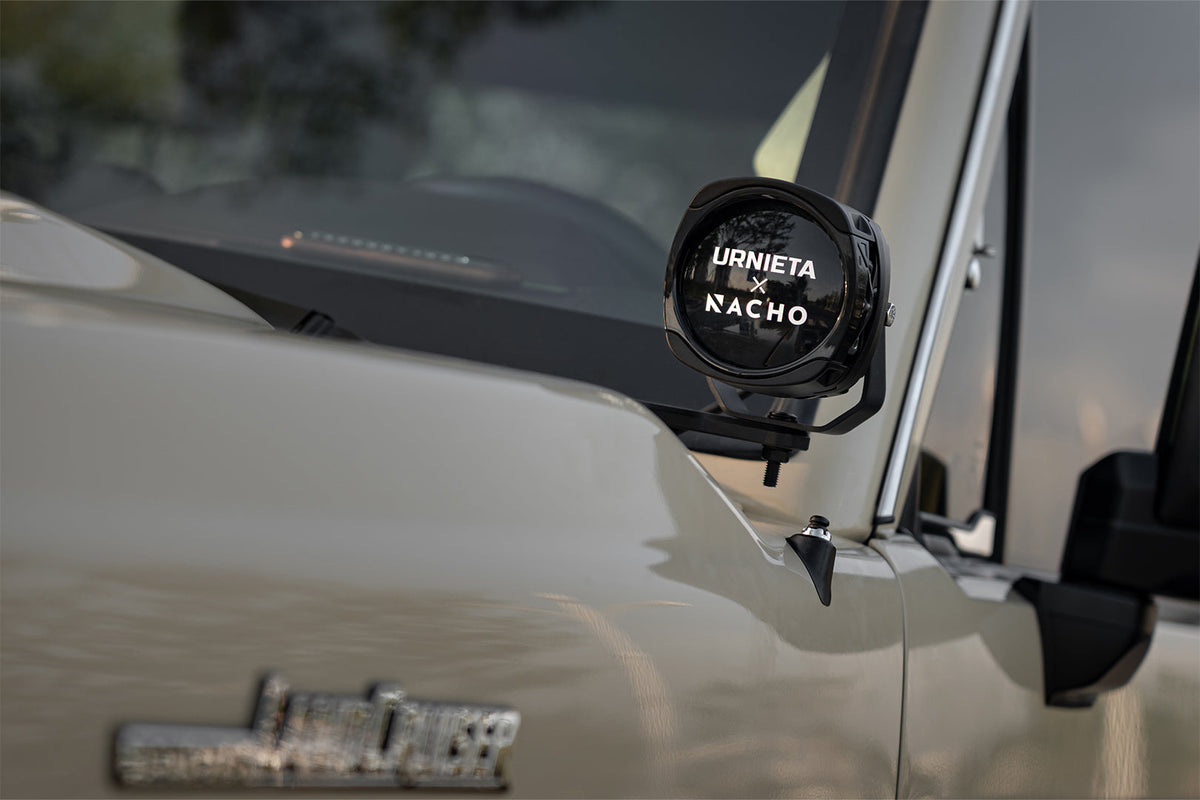
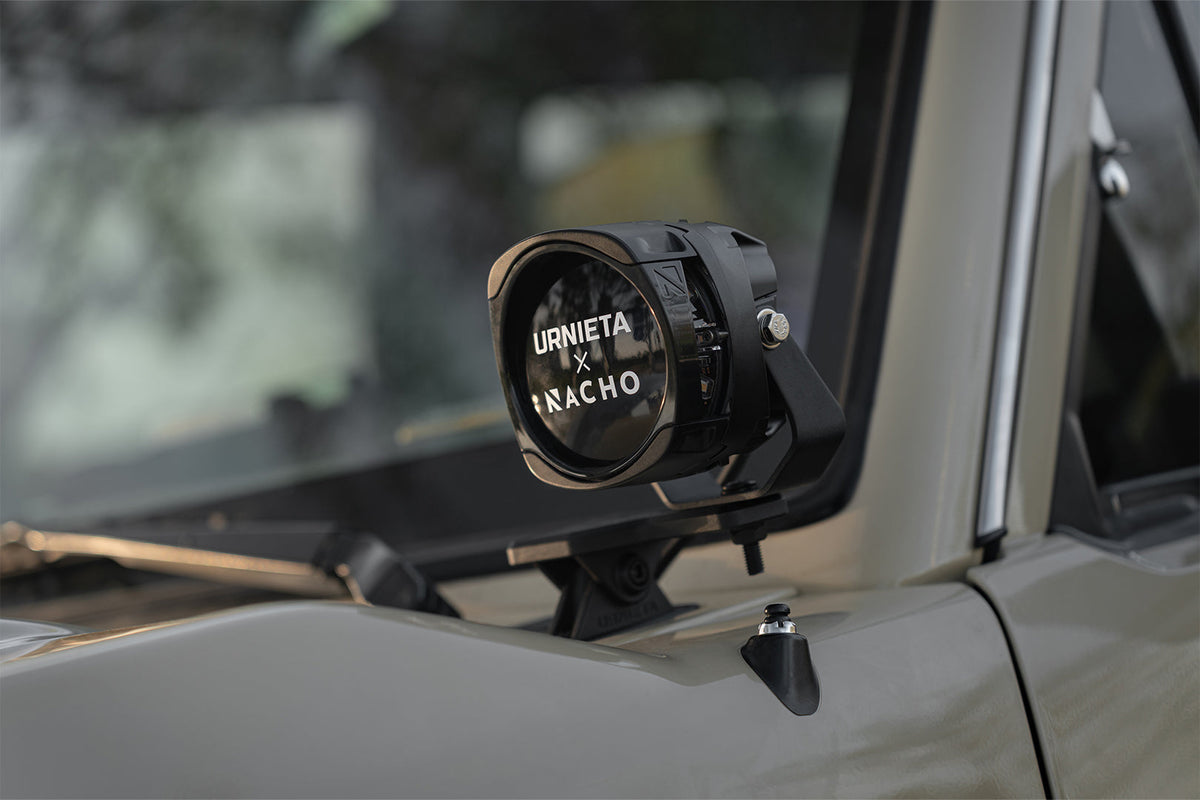
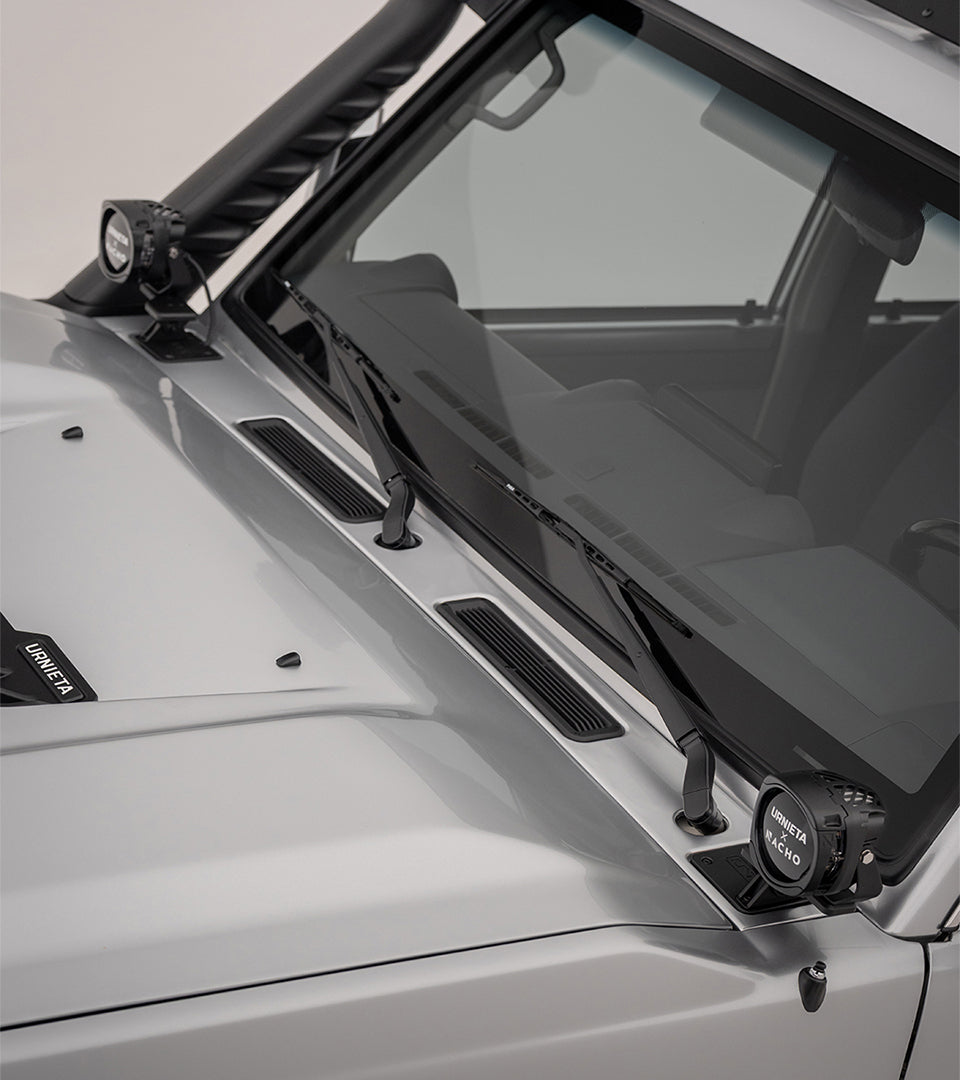
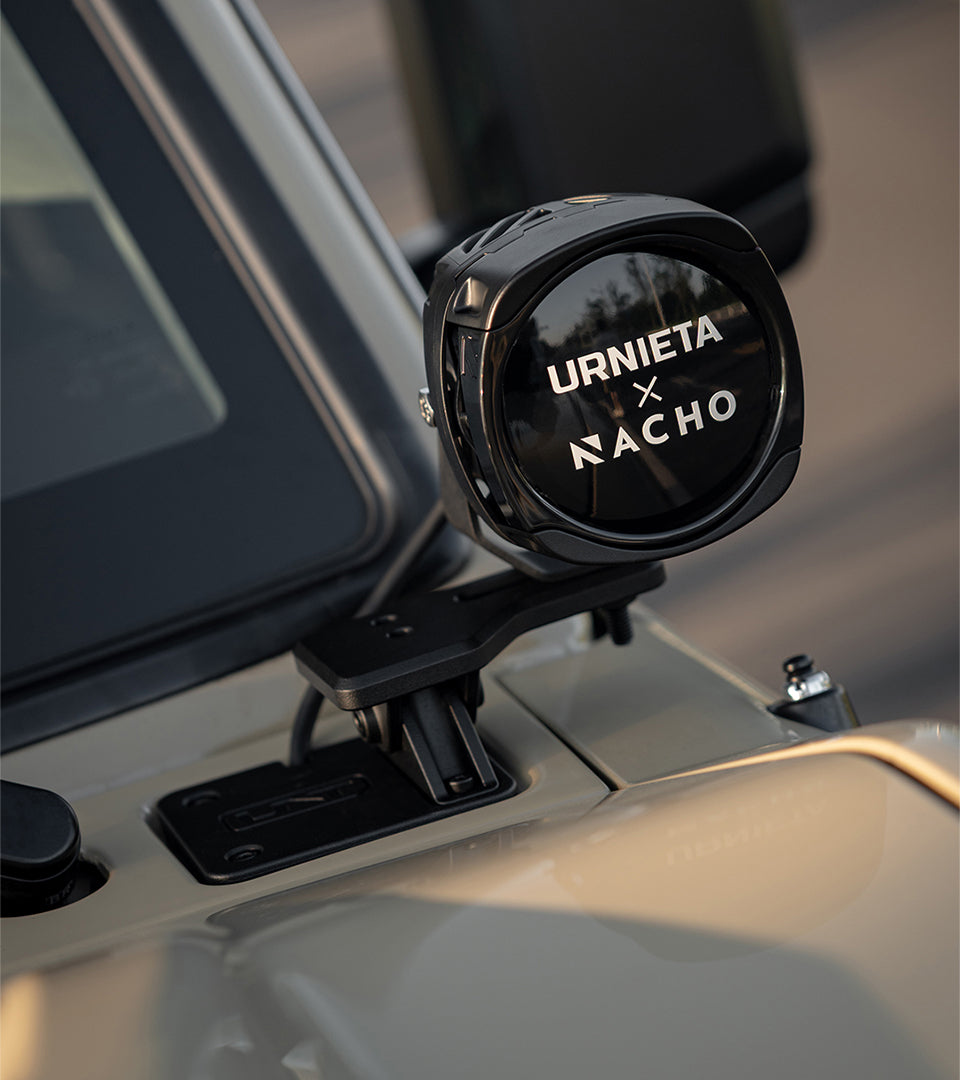
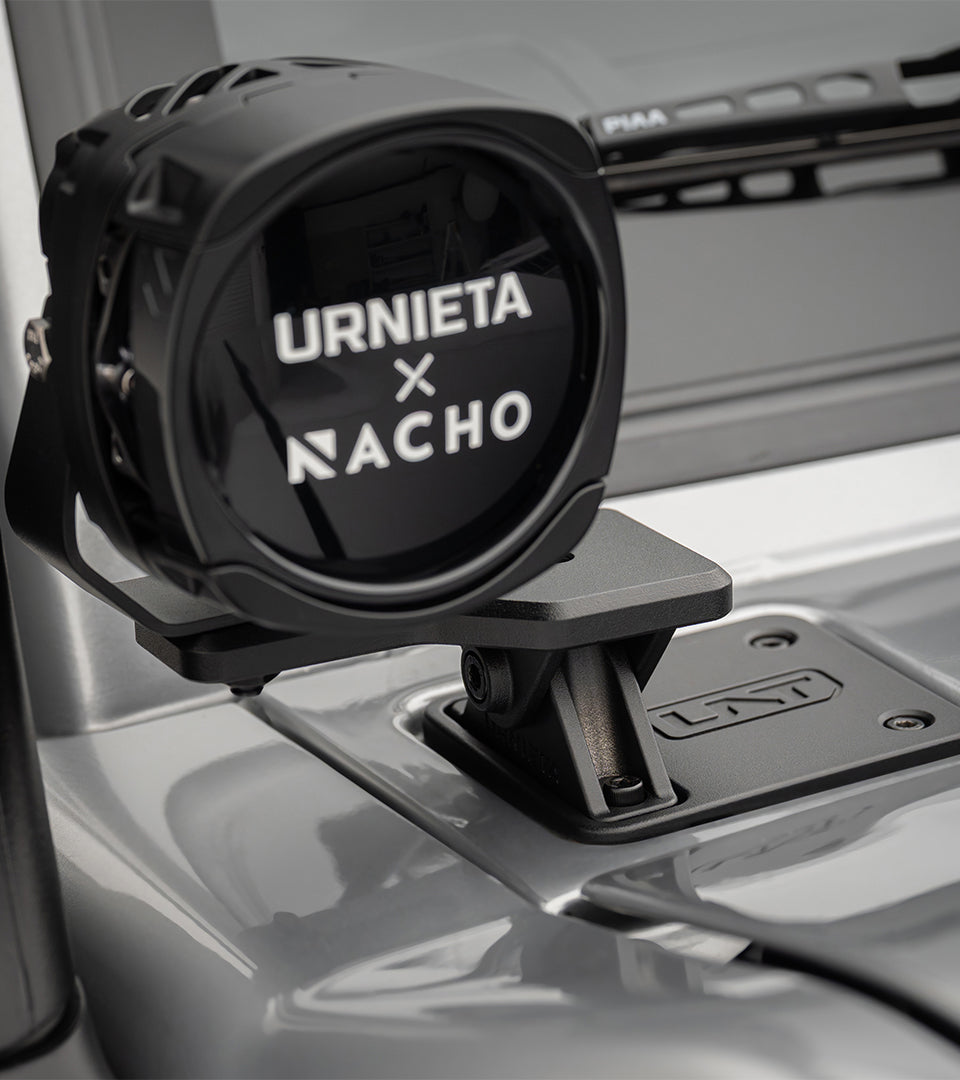
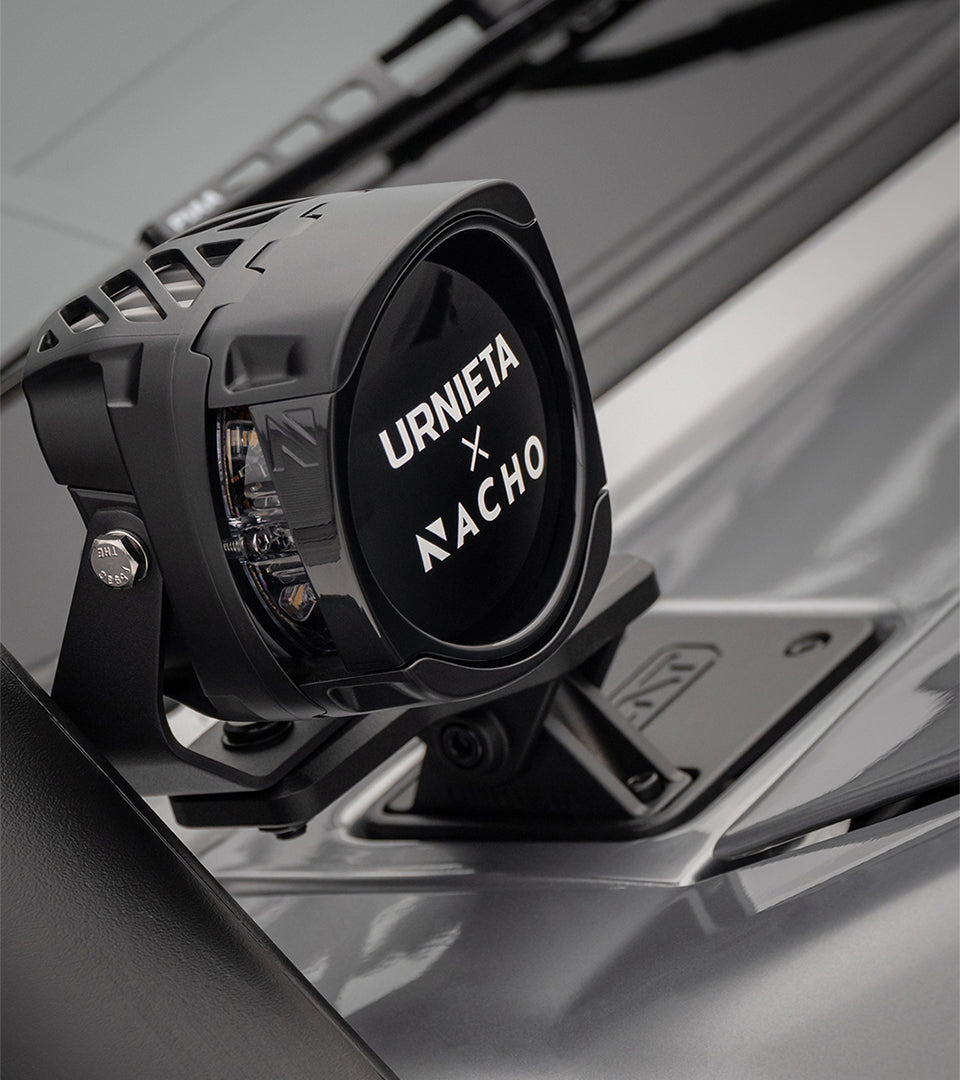
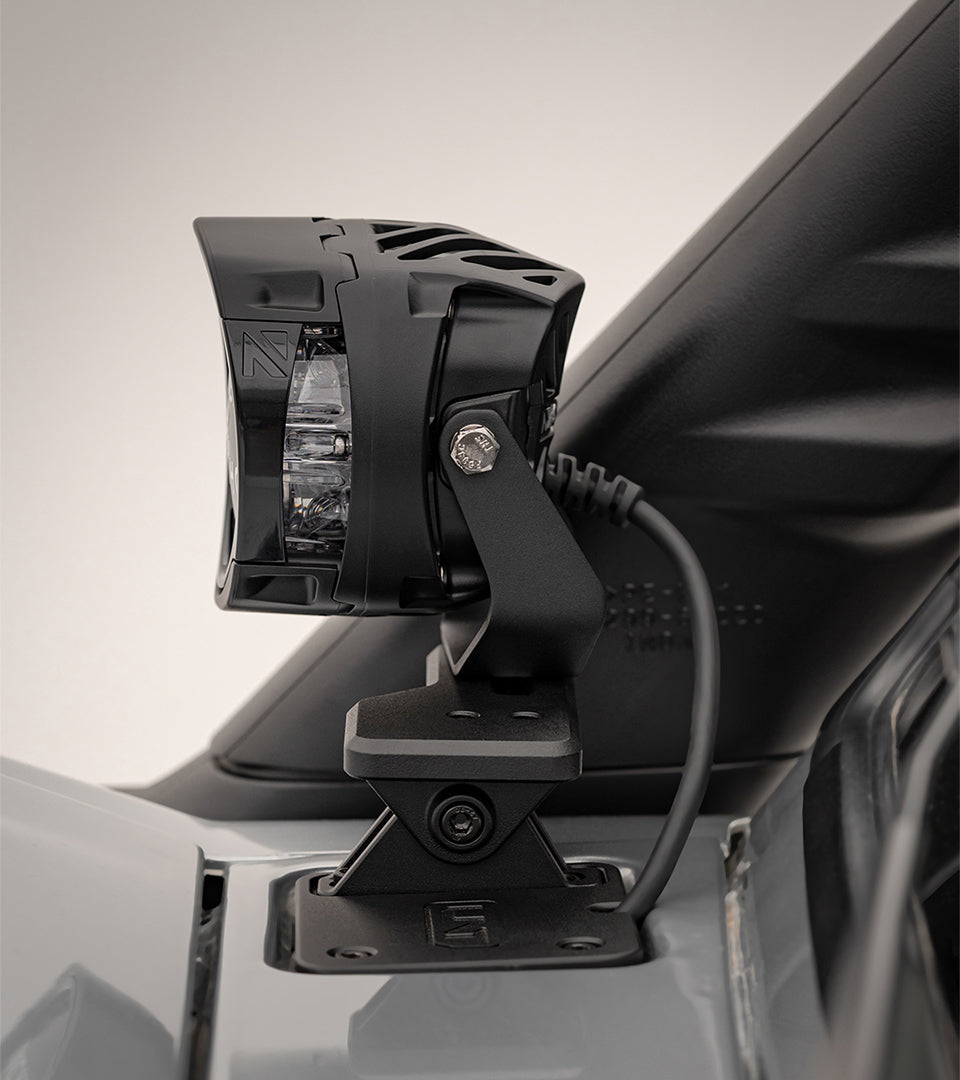
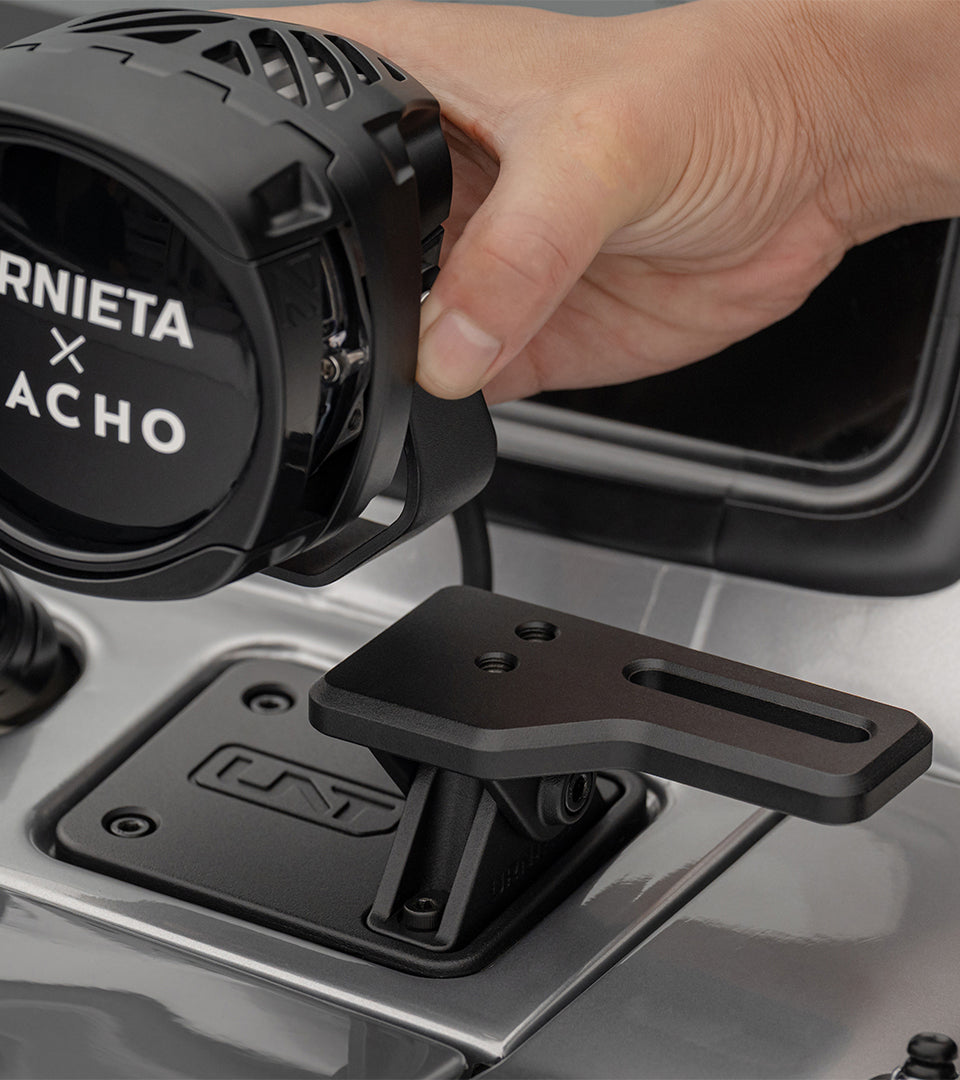
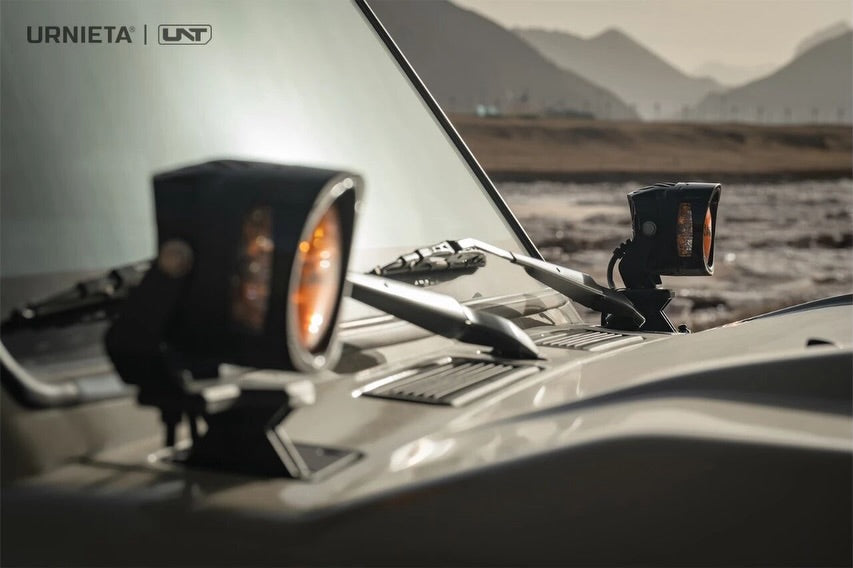
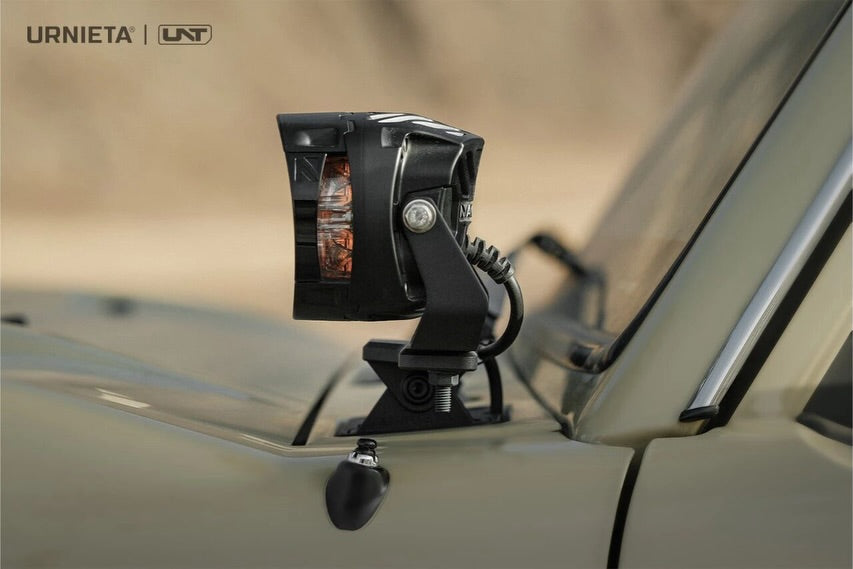
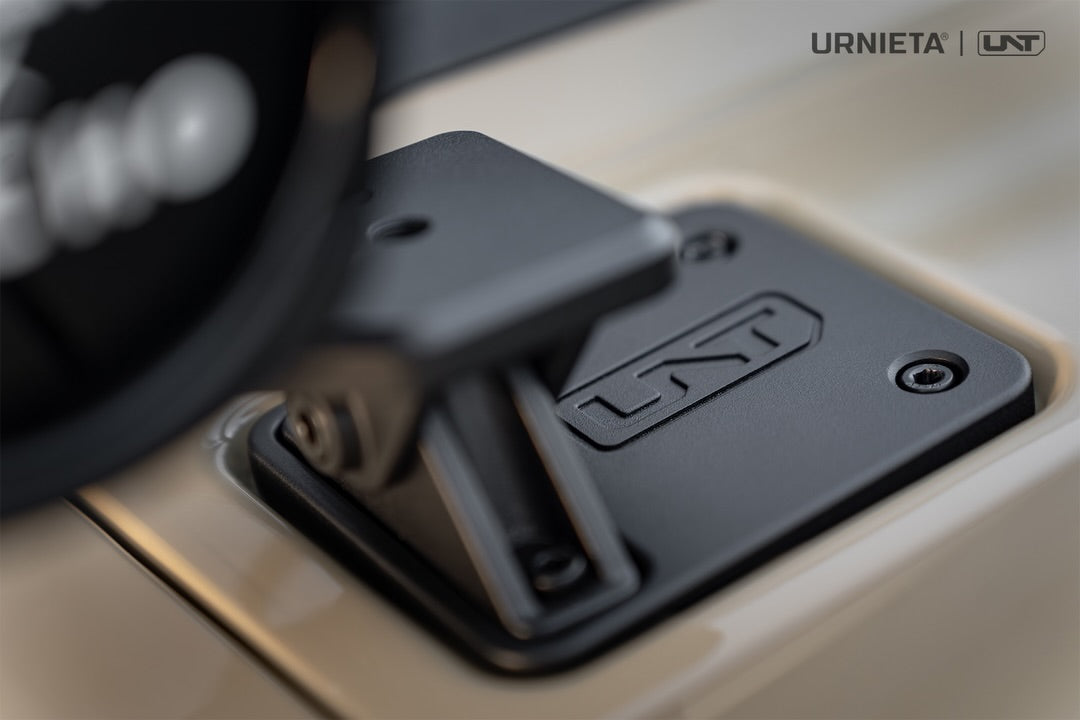
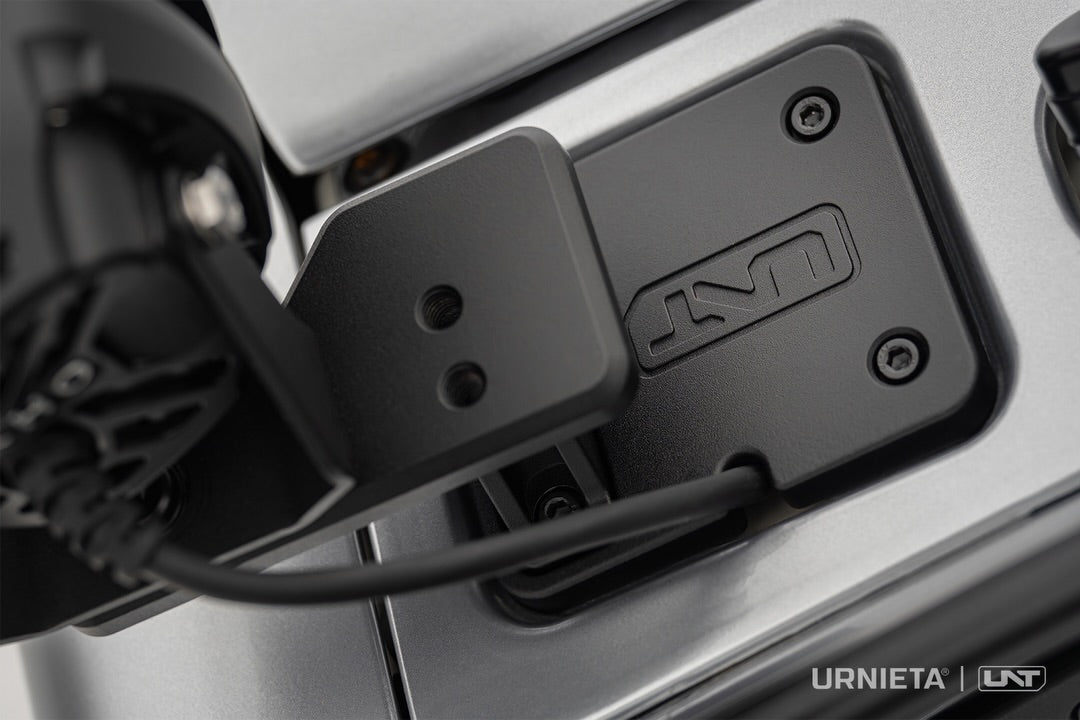
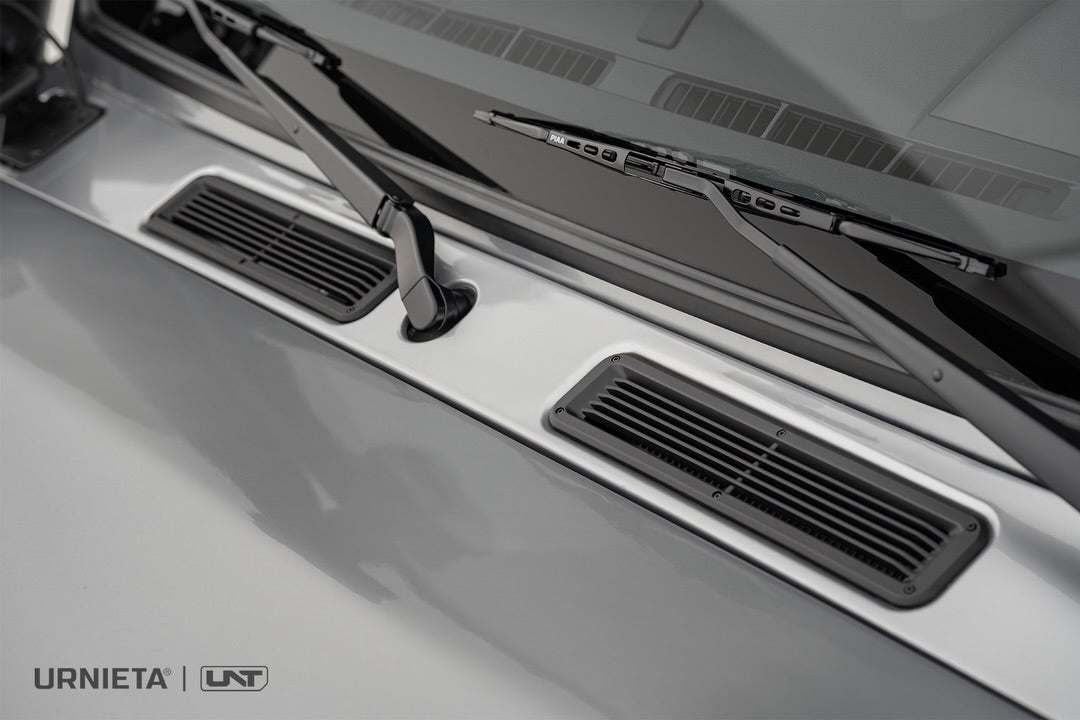
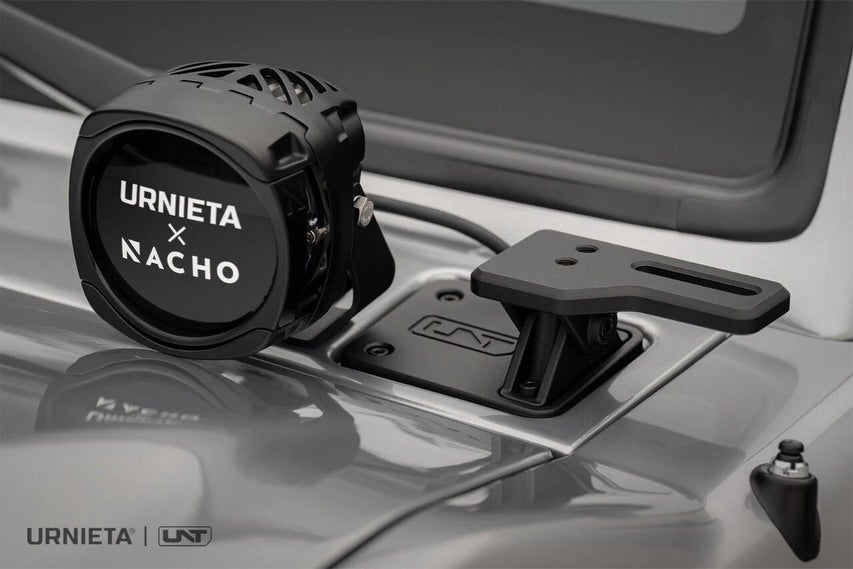
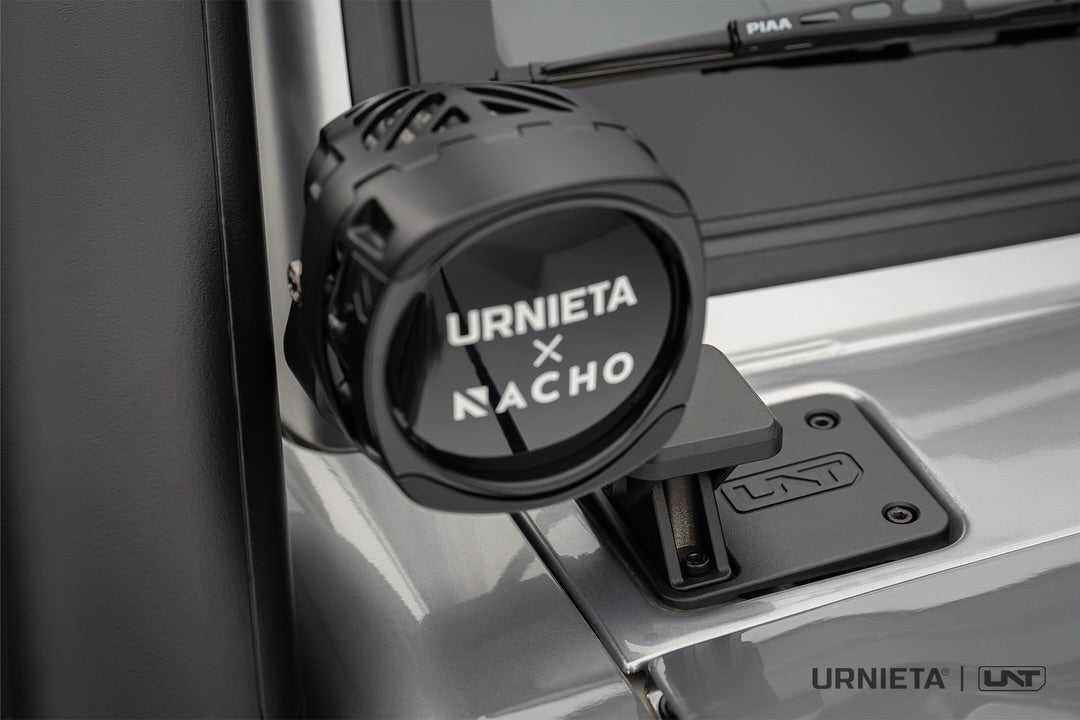
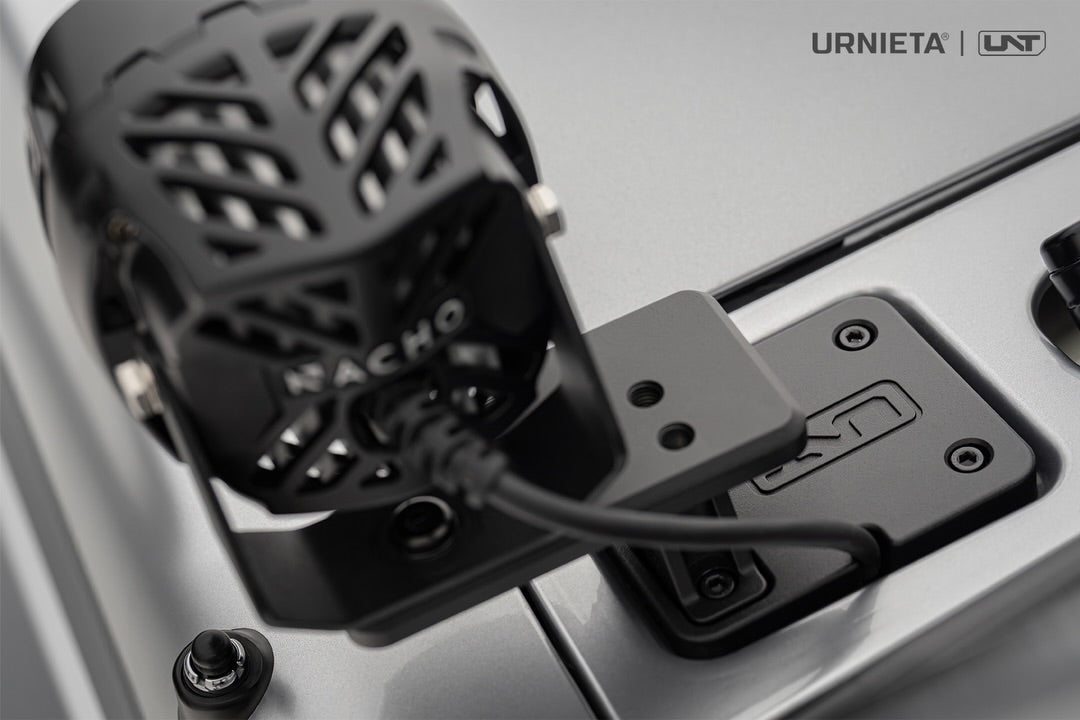
No holes, no compromise.
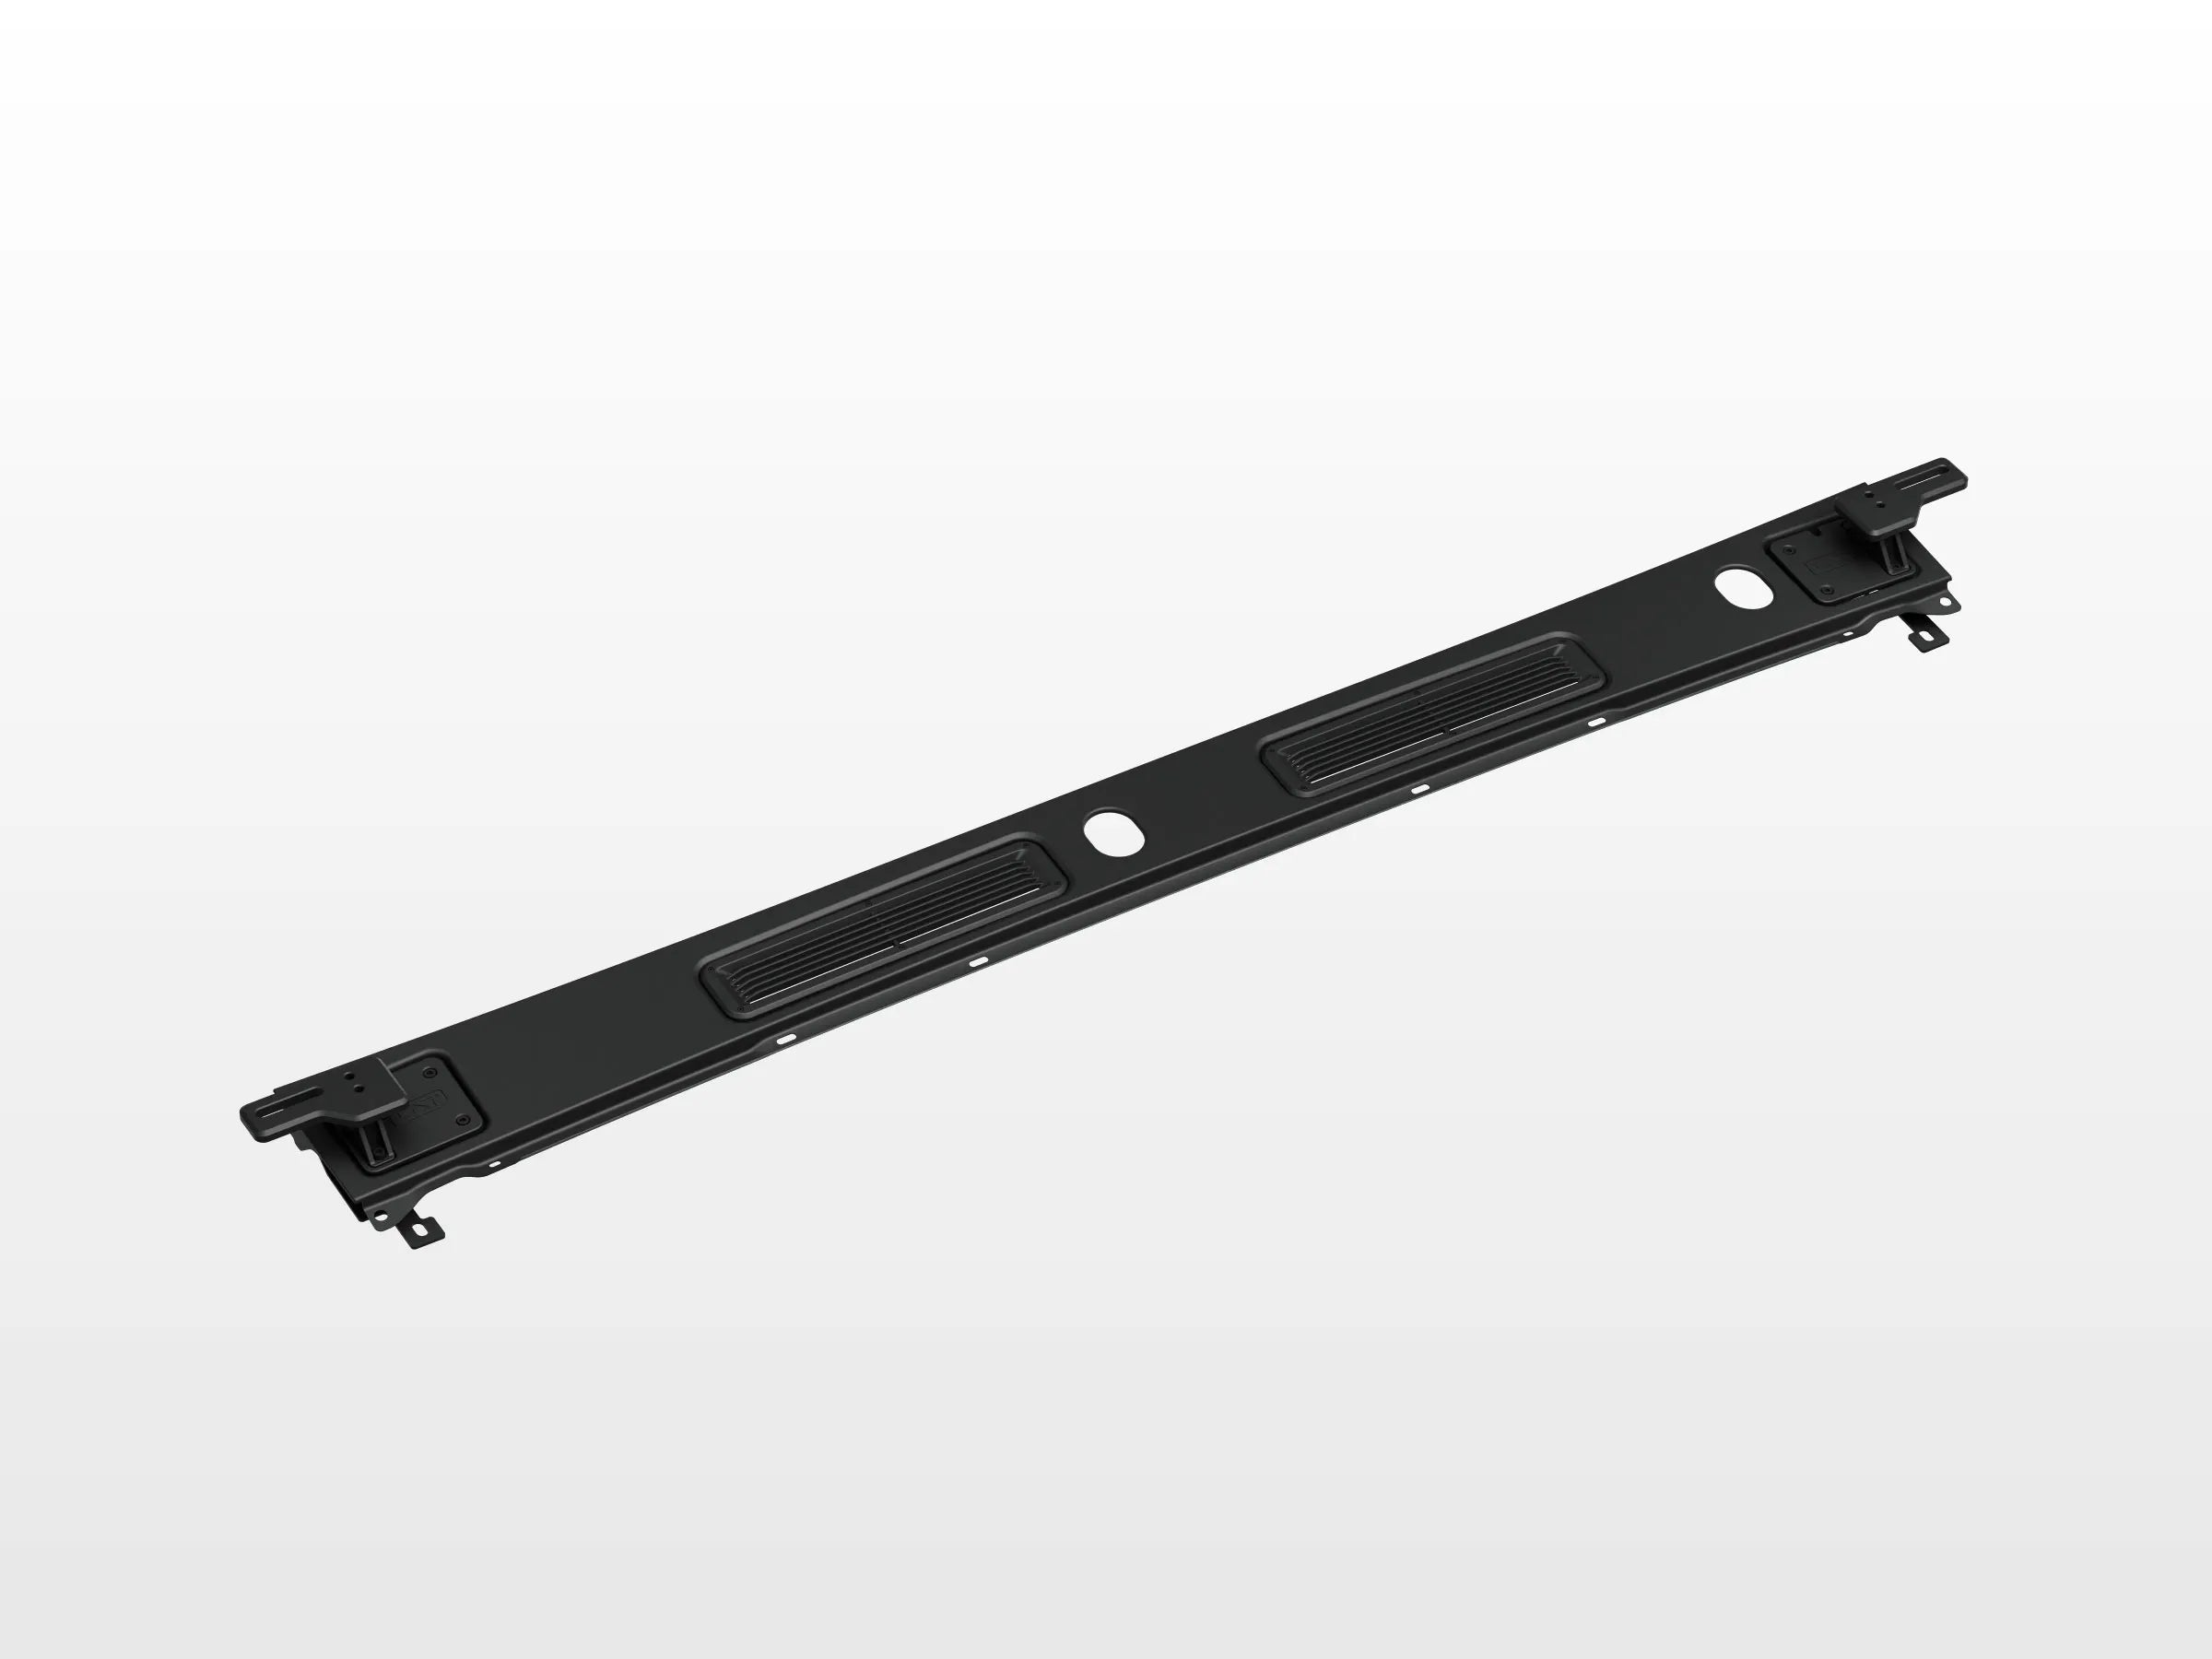
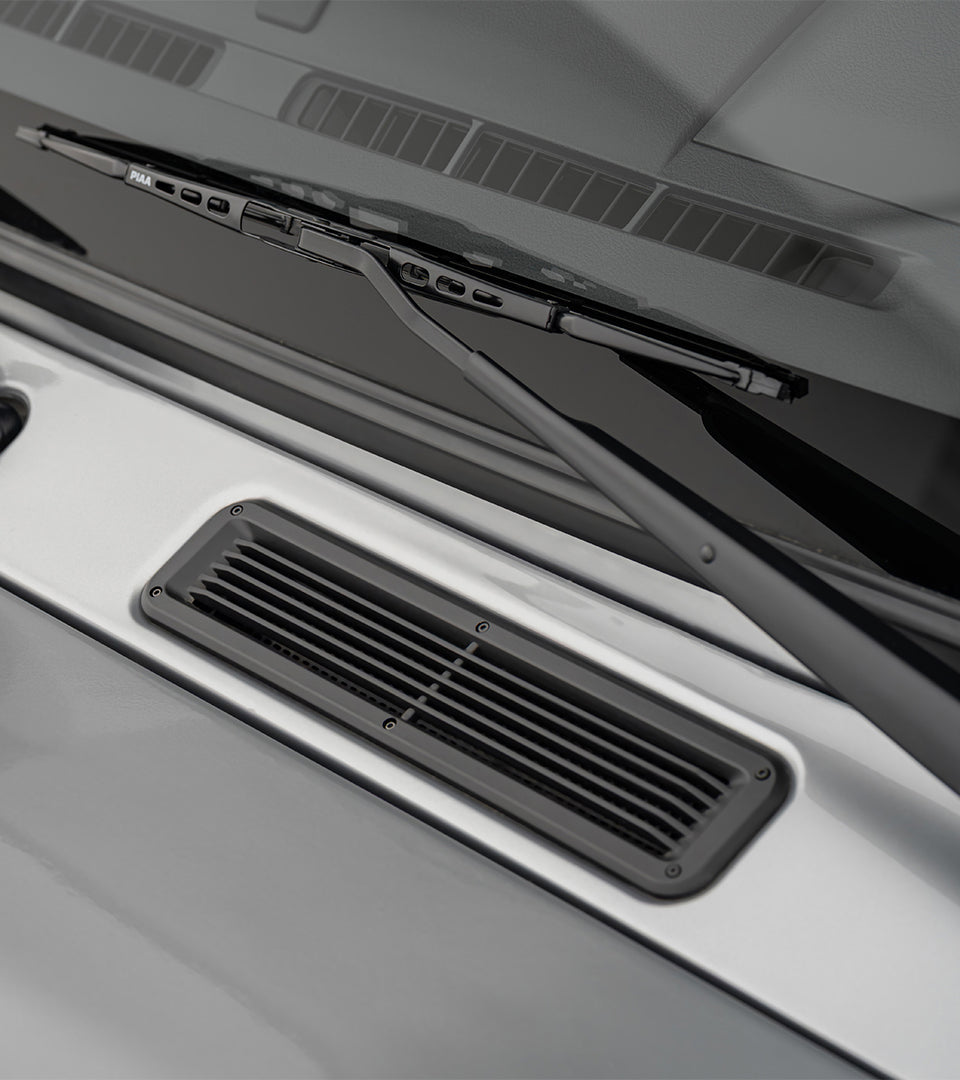
The LC70 was never drawn with a place to mount auxiliary lights. This system is built around a redesigned rain gutter panel assembly, a structural piece that replaces the factory cowl trim behind the hood.
The panel gives the brackets a chassis-grounded anchor. There's no drilling into the A-pillar, no clamping to the windshield frame and no body panel modification.
Built to the details.
NO DRILLING
The OEM rain gutter trim comes off and the URNIETA panel goes on, using the original factory thread points. No drilling into the A-pillar.
STRUCTURAL PANEL
The redesigned rain gutter panel is the load-bearing foundation of the system. The brackets hang from it, not from sheet metal.
DUAL-AXIS ADJUSTMENT
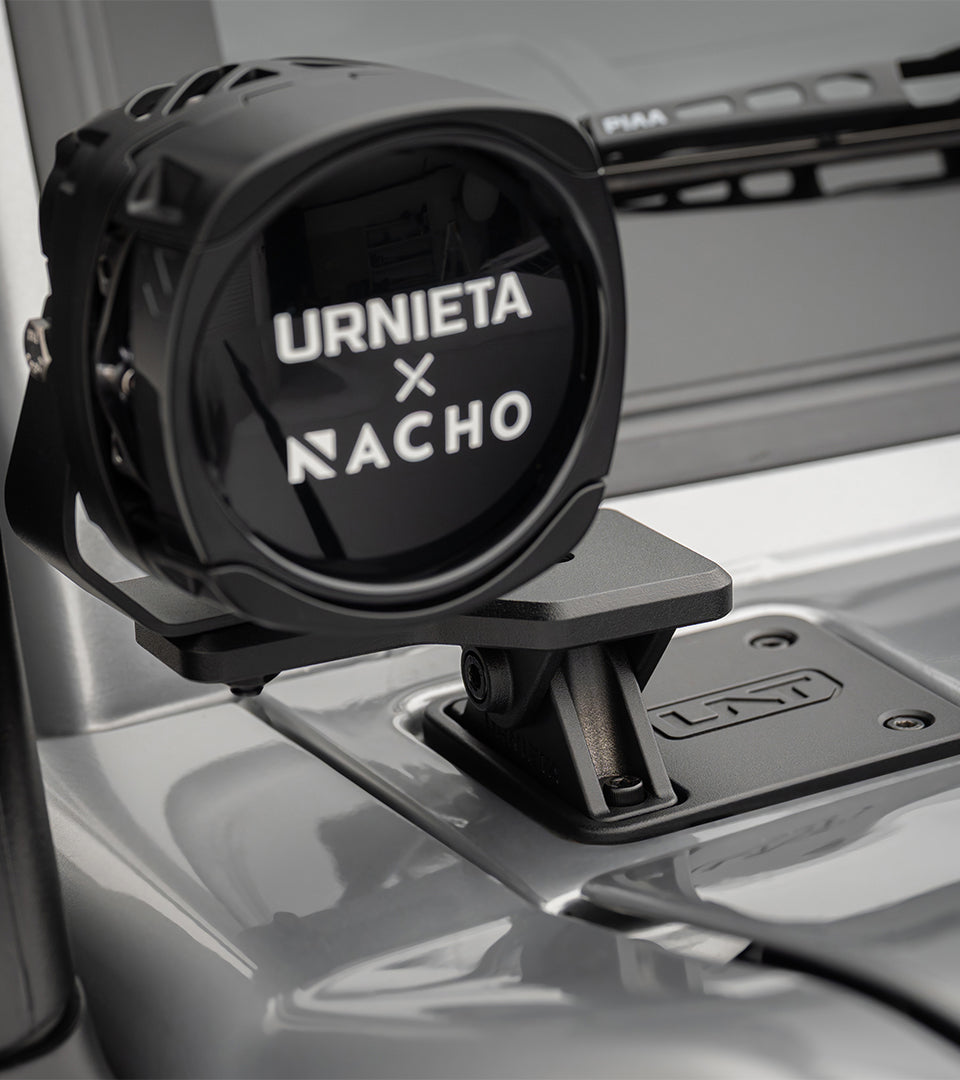
Each light bracket pivots on two axes, with lateral swing across the windshield and vertical pitch. It accepts most aftermarket pod lights and short bars, using the factory hole pattern with no adapter plates.
Vehicle fitment.
Installation overview.
PREPARE THE VEHICLE
Remove the original cowl rain guard and wipers. Check all supplied parts.
FIT THE LIGHT BRACKETS
Remove the cowl cover screws and fit the left and right light mount brackets with the factory screws, left loose for adjustment.
SET THE RAIN PLATE
Fit the new rain collection plate and adjust both bracket sides together through the slotted holes.
SECURE THE BASES
Torque the bracket base screws, then fit the rain plate and light fixture base plates.
Spec it
your way.
Not sure which setup suits your build? Get fitment advice, install guides, or talk to the PVS team before you buy. We are Sydney based and here to help.