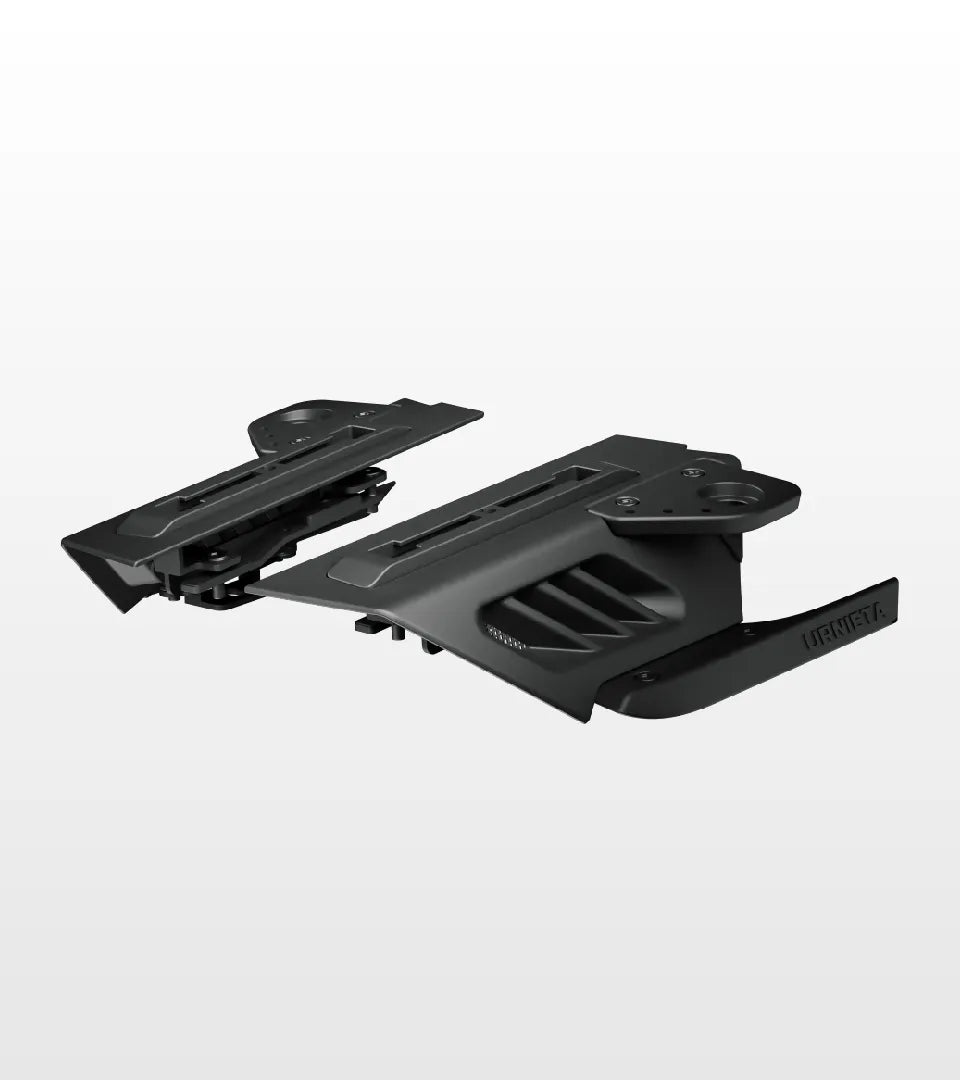
A-Pillar Light Mounts
250 Series LandCruiser Prado
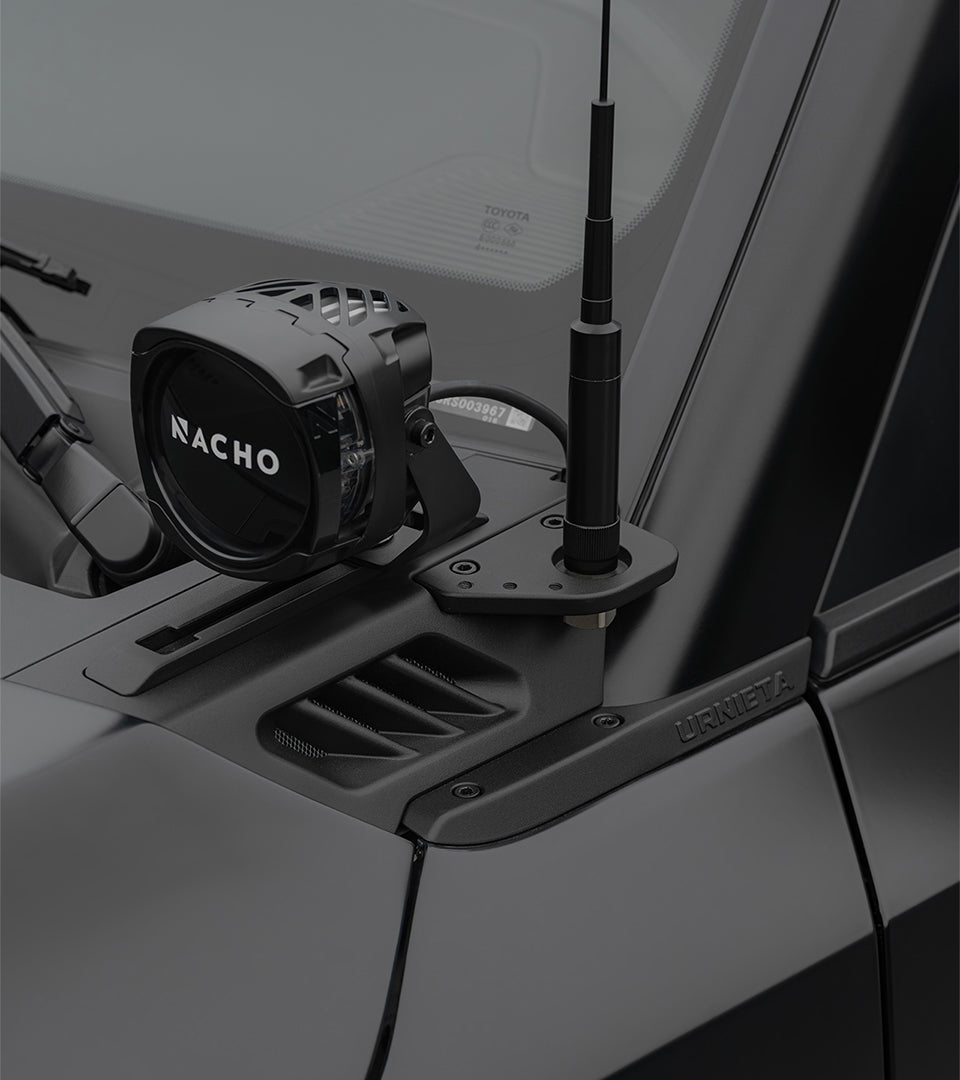
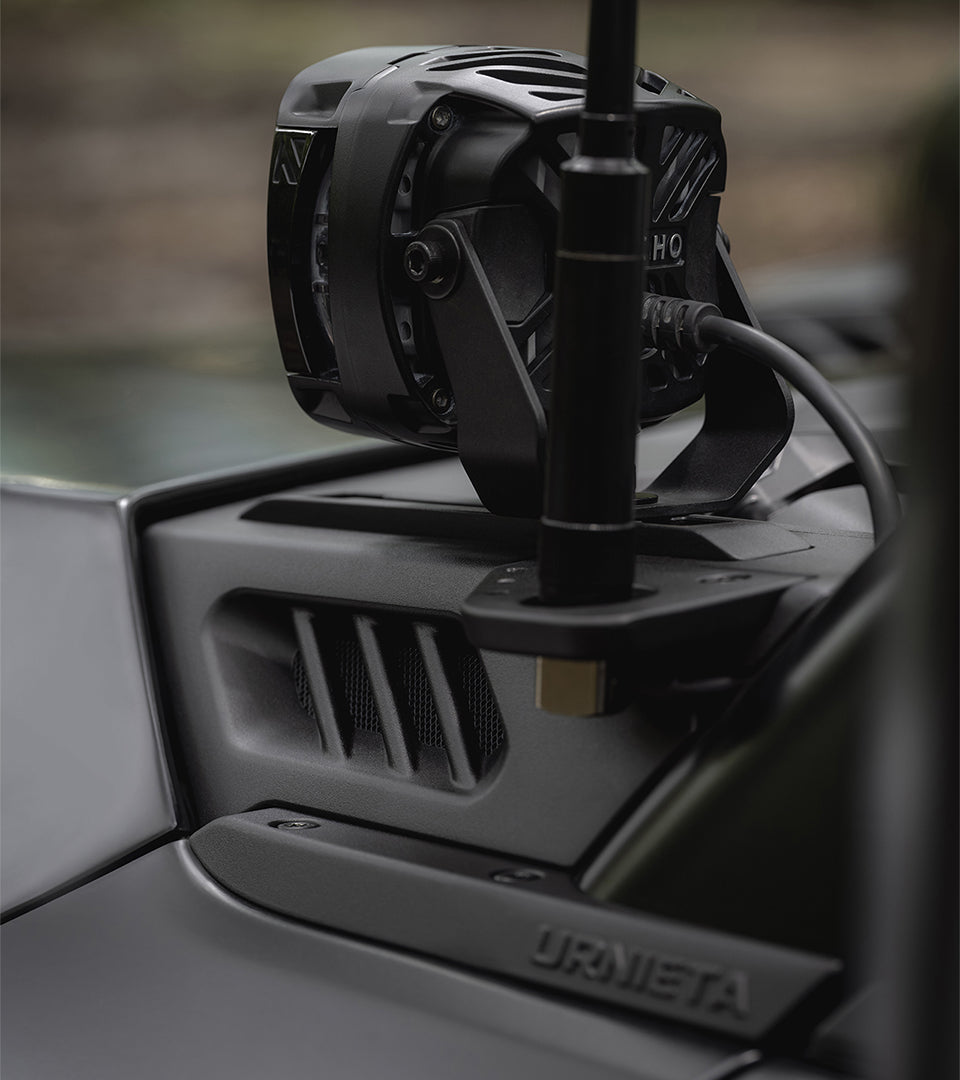
You can run lights, a radio antenna and an action camera off one pillar bracket instead of three. The antenna position sits 5 cm above the Urnieta roof rack, so it doubles as a height gauge.
Item code: URN-APL-LC250
In high demand. We're working through a backlog of orders on this range, so this item may dispatch one to two weeks later than usual.
12-Month Australian Warranty.Backed by PVS Automotive, Sydney based support. Tax Deductible for Business. GST claimable if you are registered.Often fully deductible as a business expense. Check with your accountant. Australian Owned and Operated.Australian Owned Certified · AO 08314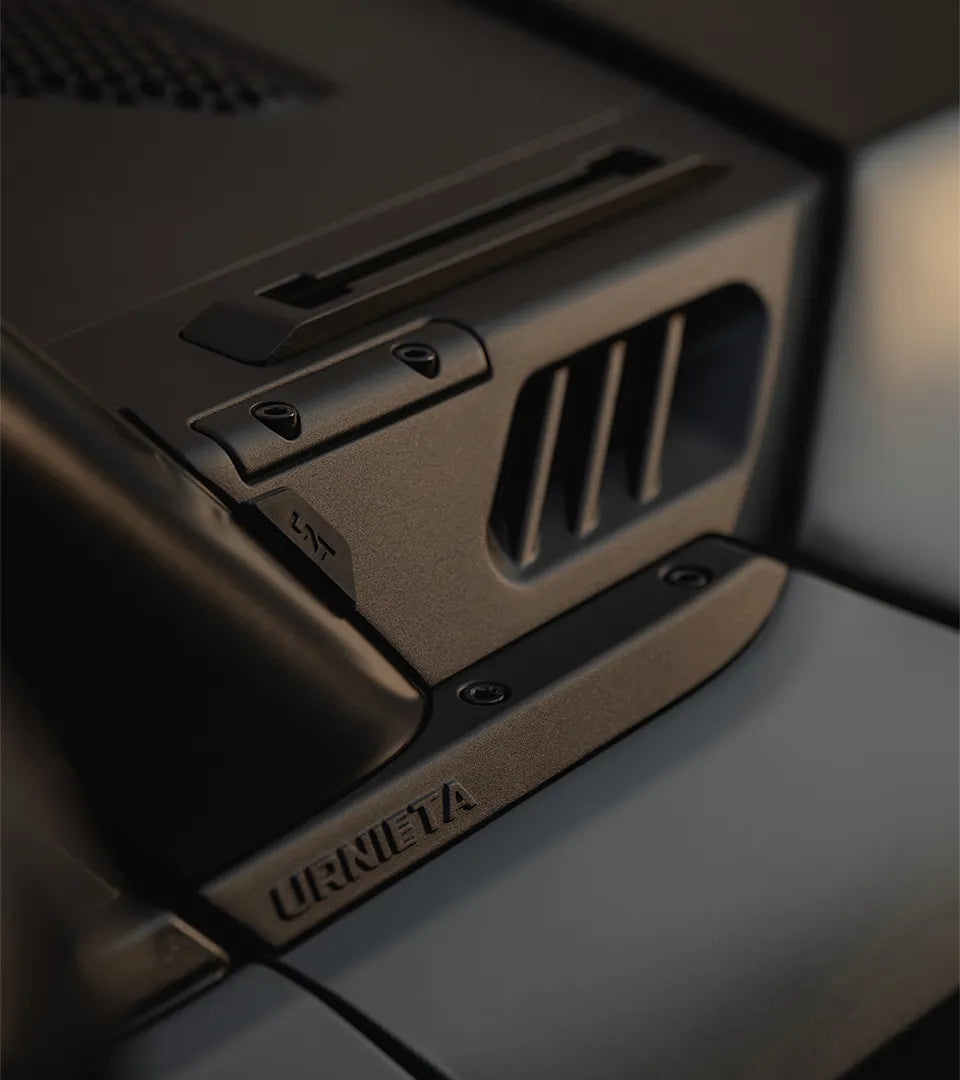
One pillar, every job.
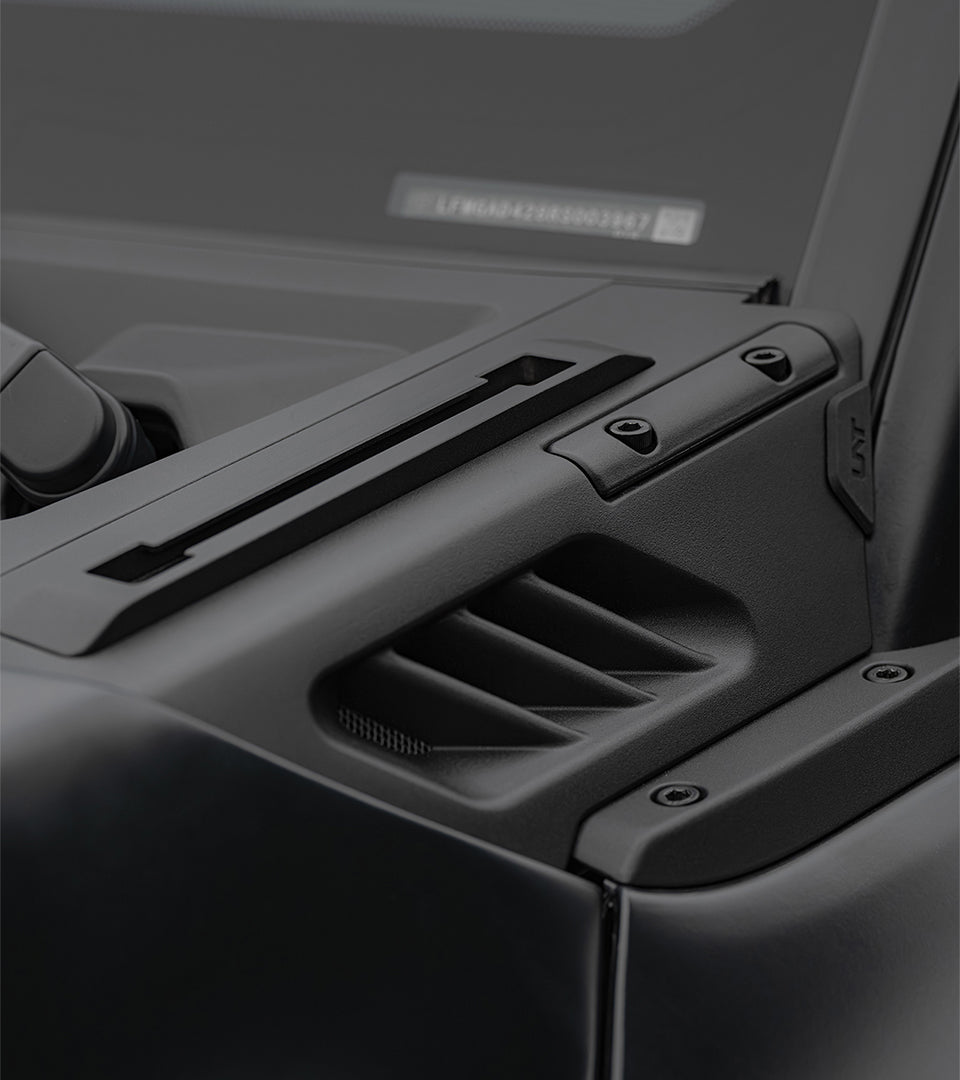
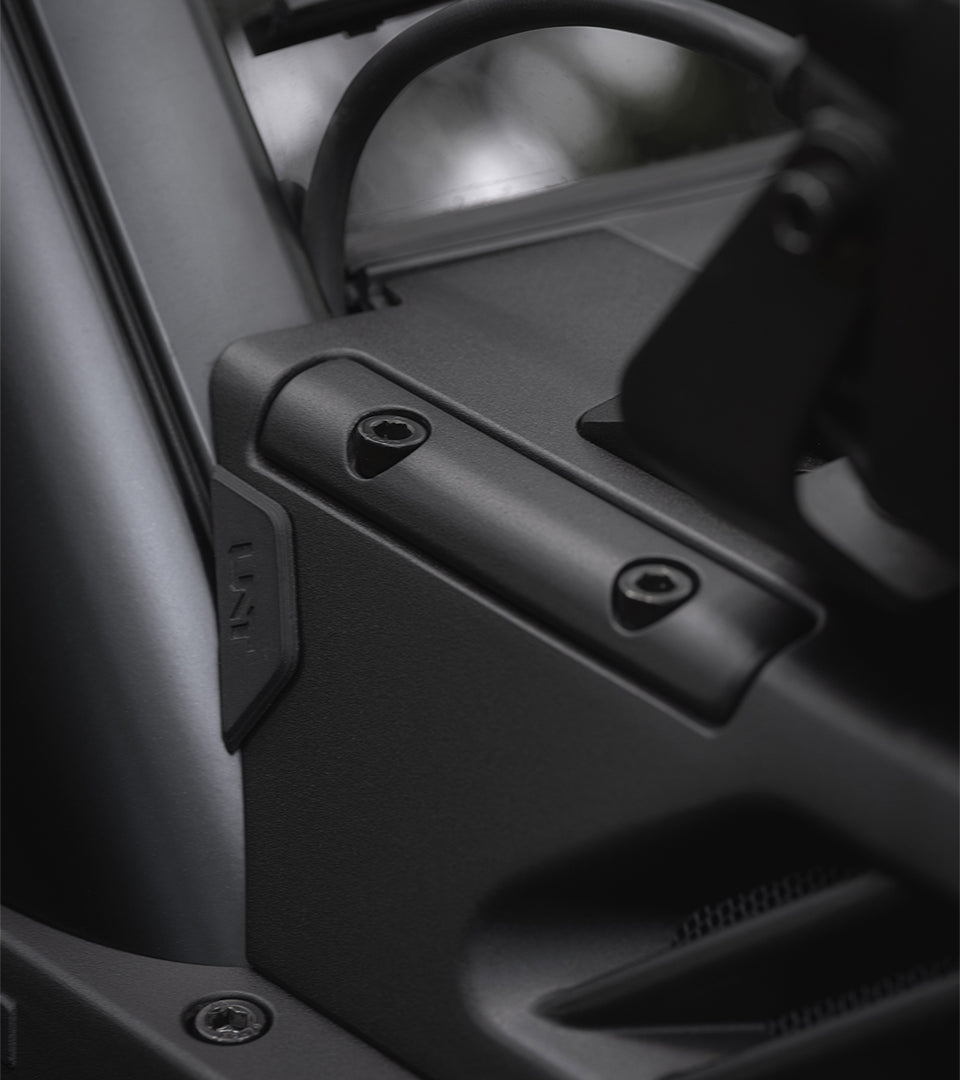
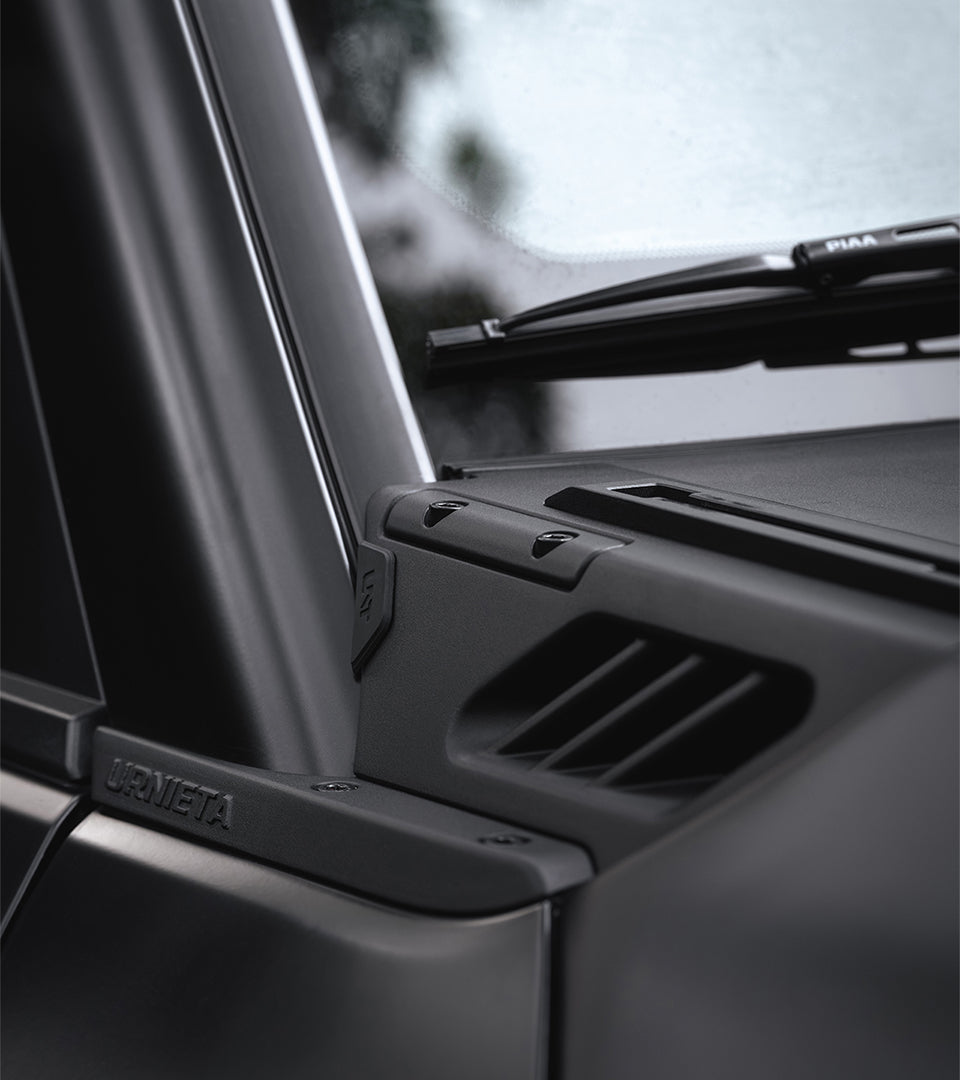
Most A-pillar brackets take the space and give you one mounting point back. This one carries lights, an antenna and a camera together, and still leaves the pillar looking like part of the vehicle.
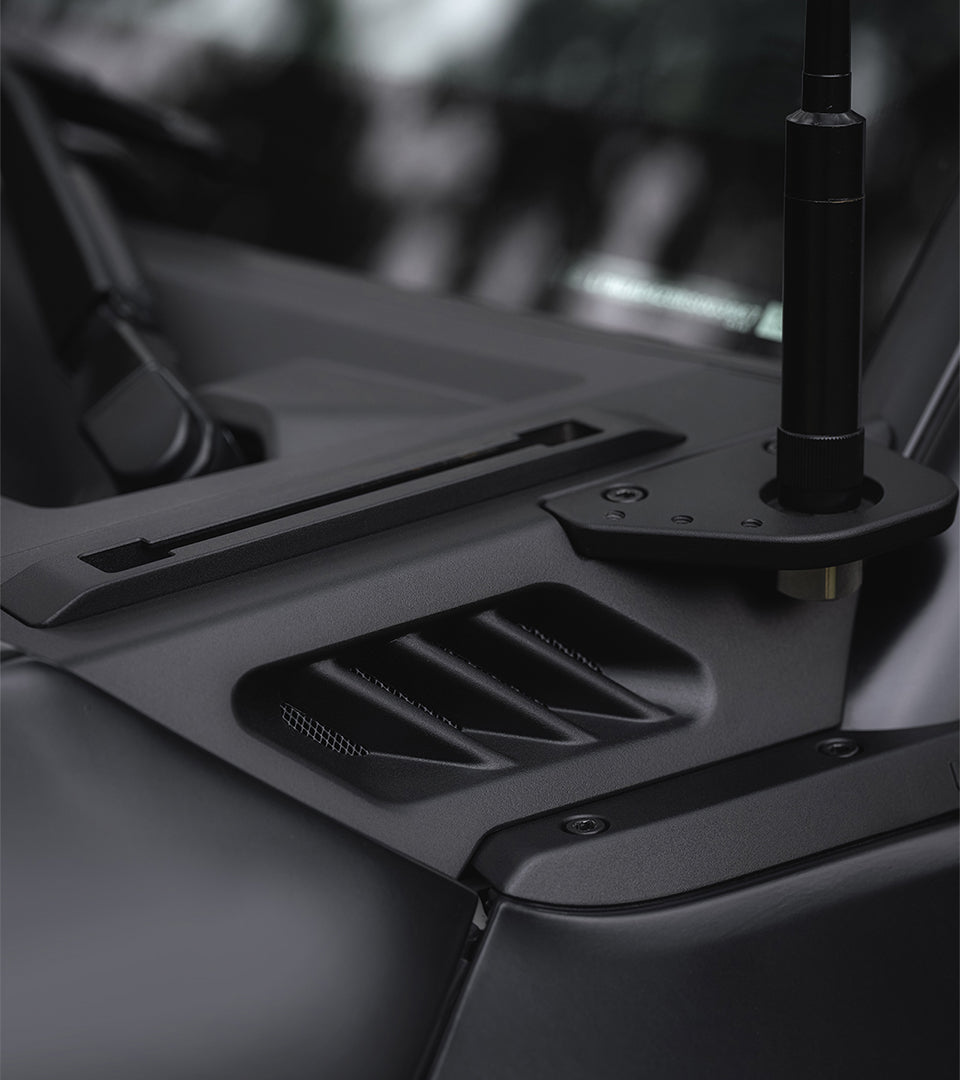
The antenna sits 5 cm proud of the Urnieta roof rack, which turns it into a clearance reference: if the antenna clears an obstacle, the whole vehicle clears it. Pull the antenna out and that position takes another light instead, so you can run two per side. The vent grille echoes the front fascia kit and helps engine-bay airflow at the same time.
Built to be reconfigured.
HEIGHT-GAUGE ANTENNA POSITION
The antenna mount sits 5 cm above the Urnieta roof rack. It reads as a clearance gauge on the trail and picks up better radio signal up high.
LIGHT OR ANTENNA, YOUR CALL
Run the antenna and auxiliary lights together, or swap the antenna out for a second light and run a dual-light setup per side.
ADJUSTABLE RAIL
The mount slides fore and aft on the rail so you can set your beam and camera angle, and supplied blanking pieces cover the positions you leave empty.
Vehicle fitment.
Installation overview.
PREPARE THE VEHICLE
Inspect the mounting points, remove the trim the kit needs out of the way, and check the supplied hardware against the parts list before you start.
TEST FIT
Offer the part up, check your clearances and confirm alignment before anything is torqued down.
SECURE THE HARDWARE
Fit the supplied hardware to specification, then recheck torque after the first few trips.
Spec it
your way.
Not sure which setup suits your build? Get fitment advice, install guides, or talk to the PVS team before you buy. We are Sydney based and here to help.