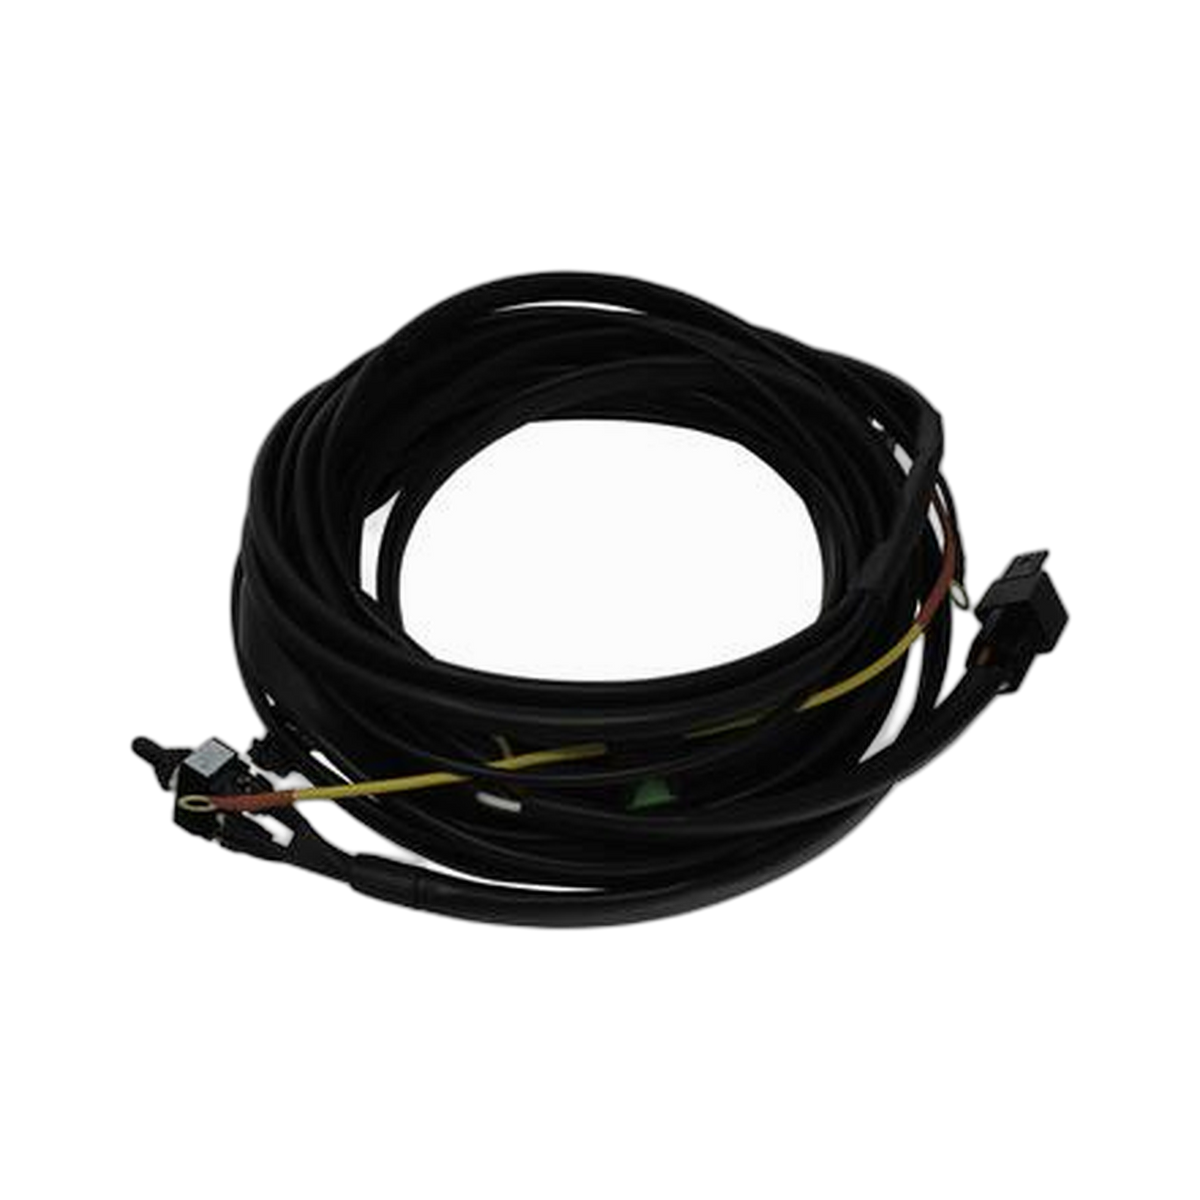
LP6/LP9 Pro 2-Light Max Wiring Harness Plug and play power for two LP6 or LP9 Pro lights
The Baja Designs LP6/LP9 Pro 2-Light Max Wiring Harness gives you a clean, ready-to-run electrical setup for two LP6 or LP9 Pro auxiliary lights. No splicing guesswork and no undersized wiring, just a harness built to match the demands of Baja Designs' own lights.
Thanks, your enquiry is with us. We will confirm current price, stock and lead time with the manufacturer and email you back. We have emailed a copy to . Reply to that email to add anything.
Item code: 640172
 Australisches Eigentum, australisch geführt.Australian Owned Certified · AO 08314
Wired the right way.
Auxiliary lighting is only as reliable as the wiring behind it. Undersized or poorly routed cable can rob your lights of performance, cause voltage drop or create heat and reliability issues on the track or trail.
Baja Designs engineered this harness for the LP6 and LP9 Pro platform, so the connectors, relay capacity and cable gauge match those lights exactly. You can install two lights at once with a dedicated dual-output layout that keeps things tidy under the bonnet.
If you're already running Baja Designs LP6 or LP9 Pro pods, this is the harness to pair them with. It takes the complexity out of the electrical side so you can focus on mounting and aiming your lights.
Harness highlights.
BRAND-MATCHED
Engineered by Baja Designs specifically for LP6 and LP9 Pro pods, so you get full electrical compatibility straight out of the box.
DUAL-LIGHT READY
One harness runs two lights at once, keeping your install clean and your wiring runs to a minimum.
MAX SPECIFICATION
Max-grade harness construction handles the power demands of the LP6 and LP9 Pro lights without compromise.
Installation overview.
MOUNT YOUR LIGHTS
Secure both LP6 or LP9 Pro pods in your chosen mounting positions before you run the wiring.
CONNECT THE HARNESS
Plug the harness connectors into each light using the dedicated dual outputs. The matched connectors seat firmly and correctly the first time.
ROUTE AND SECURE
Run the harness to your battery, routing it away from heat sources and moving parts. Use the supplied relay and fusing as the power connection point.
SWITCH AND TEST
Connect your switch input, check all connections are secure, then test both lights for correct operation.