


Indicator Resistor Anti Hyper Flash Kit Plug and play LED fix for your 70 Series LandCruiser
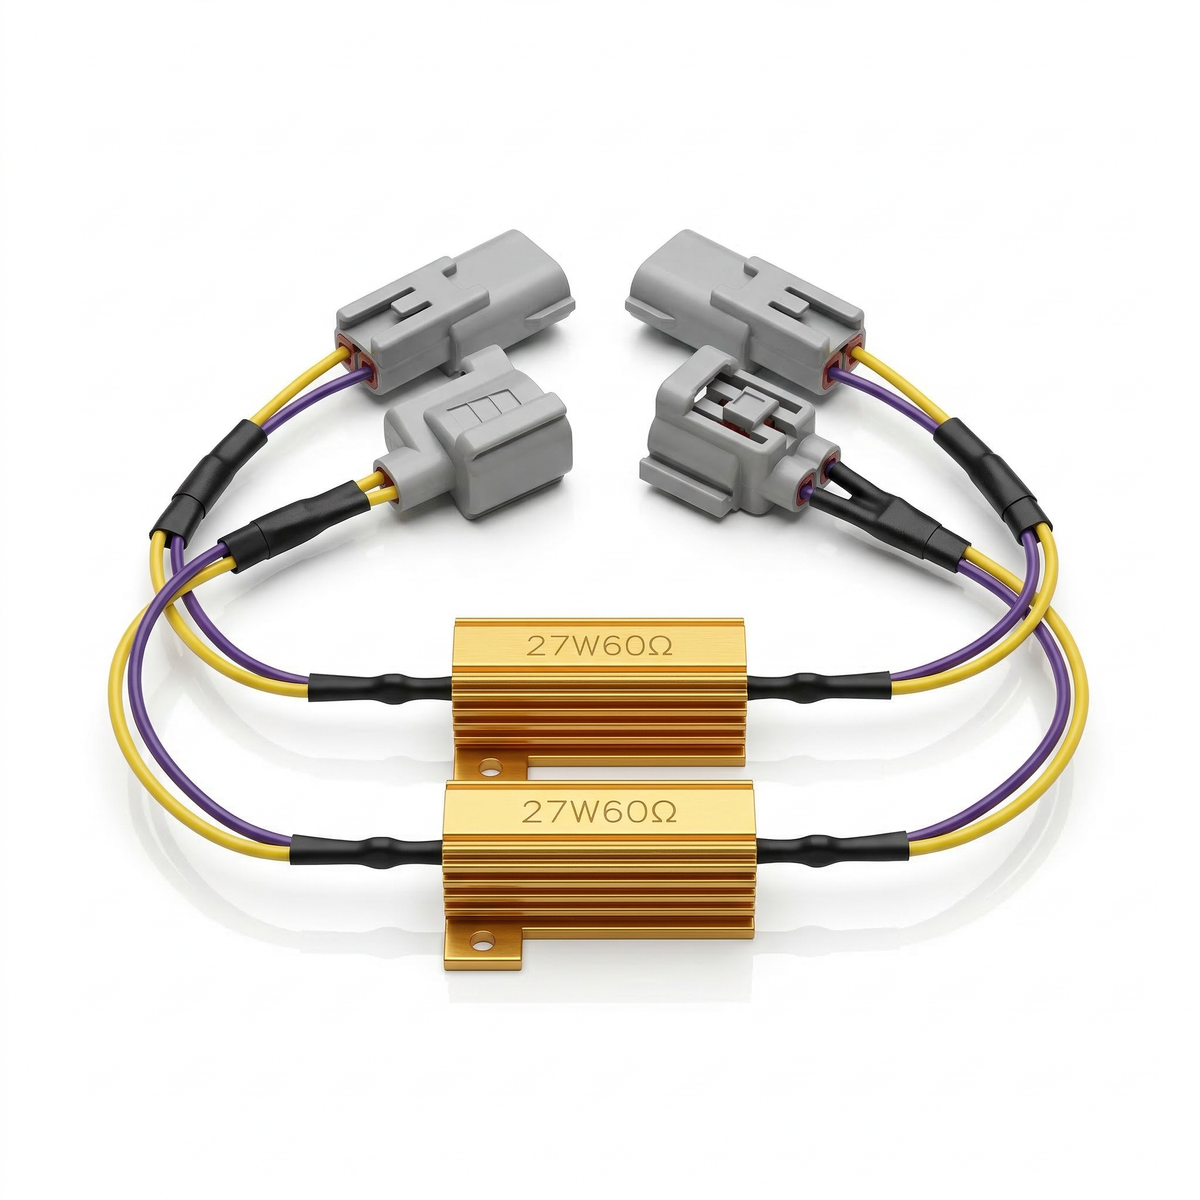
Stop your indicators hyperflashing after an LED upgrade. This plug and play resistor kit is built for the 2007 to 2026 Toyota 70 Series LandCruiser and connects straight into your factory harness, no cutting or soldering.
or 4 interest-free payments of $12.25 with Shop Pay & Afterpay
Item code: LC70-INDICATOR-WIRING
 Australisches Eigentum, australisch geführt.Australian Owned Certified · AO 08314
Why your indicators flash too fast.
When you swap your factory incandescent indicator bulbs for LEDs, the lower current draw fools your LandCruiser's flasher circuit into thinking a bulb has blown. The result is hyperflash, that rapid blinking that also confuses oncoming drivers and can draw attention you don't want on the road.
This kit adds the correct load back into the circuit using inline resistor modules, bringing the flash rate back to normal. The connectors are OEM-spec, so you unplug the factory loom and plug in the resistor harness, that's it. No modifications to your wiring, no voided warranties from a butchered loom.
Worth noting: if you've already fitted LED taillights, you don't need resistors at the rear as well. Plugging the two resistor modules into your front or side indicators is enough to correct the flash rate across the whole circuit.
What makes this kit worth fitting.
OEM-SPEC CONNECTORS
Pre-wired plugs match your factory 70 Series harness exactly. No cutting, no splicing, no soldering. Connect in minutes and the fit looks factory.
HEAT-DISSIPATING RESISTORS
The resistor modules are built to shed the heat from carrying the extra load. Mount them away from plastic surfaces and they'll handle what Aussie conditions throw at them.
COMPLETE INSTALL KIT
Heat shrink and cable ties are included so you can secure and protect the harness properly without a trip to the hardware store. Everything you need is in the box.
Vehicle fitment.
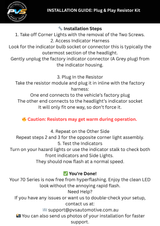
Installation overview.
LOCATE THE INDICATOR LOOM
Access the front or side indicator housing behind the headlight or indicator mount. Find the factory indicator connector on the vehicle loom.
PLUG IN THE RESISTOR MODULE
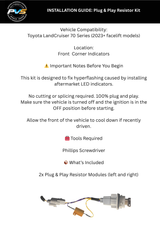
Unplug the factory connector and insert the resistor module inline between the vehicle loom and the indicator. The OEM-spec plugs click straight in, no modification needed.
SECURE AND TIDY
Mount the resistor module against a metal surface using the included hardware. Use the supplied heat shrink and cable ties to secure the harness neatly and protect connections from moisture.
TEST YOUR INDICATORS
Switch on and cycle through left and right indicators to check for normal flash rate. Repeat for the opposite side, then refit any trim or covers you removed for access.
What owners Say.
"The indicator resistors worked a treat. Needed 2 resistors per side, probably because it has LED lights in the back bar as well. Thanks for fixing the hyper flashing problem."
"Easy to fit to stop indicator hyper flash after LED taillight upgrade."